Binding is the final step that turns your quilt into a finished, usable piece. It protects the raw edges, adds durability, and is often the detail that pulls the whole quilt together. While binding can feel intimidating at first, it’s very manageable when broken down into simple steps.
In this tutorial, I’ll walk you through how to attach quilt binding, miter the corners, and join the binding ends for a smooth, professional finish.
(If you need help making binding strips, be sure to check out this post on how to make quilt binding.)
What You’ll Need
Finished quilt (quilt top, batting, and backing already quilted)
Prepared binding strip
Sewing machine
Pins or clips
Iron
Hand-sewing needle and thread (for finishing)
Prepare Your Quilt
Before attaching the binding, trim your quilt so all edges are straight and square. Make sure the corners are clean and at right angles. This step is key to getting crisp corners and an even binding all the way around.
Attach the Binding to the Quilt
Before you begin, decide how you plan to finish your binding. This determines which side of the quilt you’ll start sewing on.
If you plan to hand stitch the binding on the back, sew the binding to the front of the quilt first.
If you plan to machine stitch the binding on the front, sew the binding to the back of the quilt first.
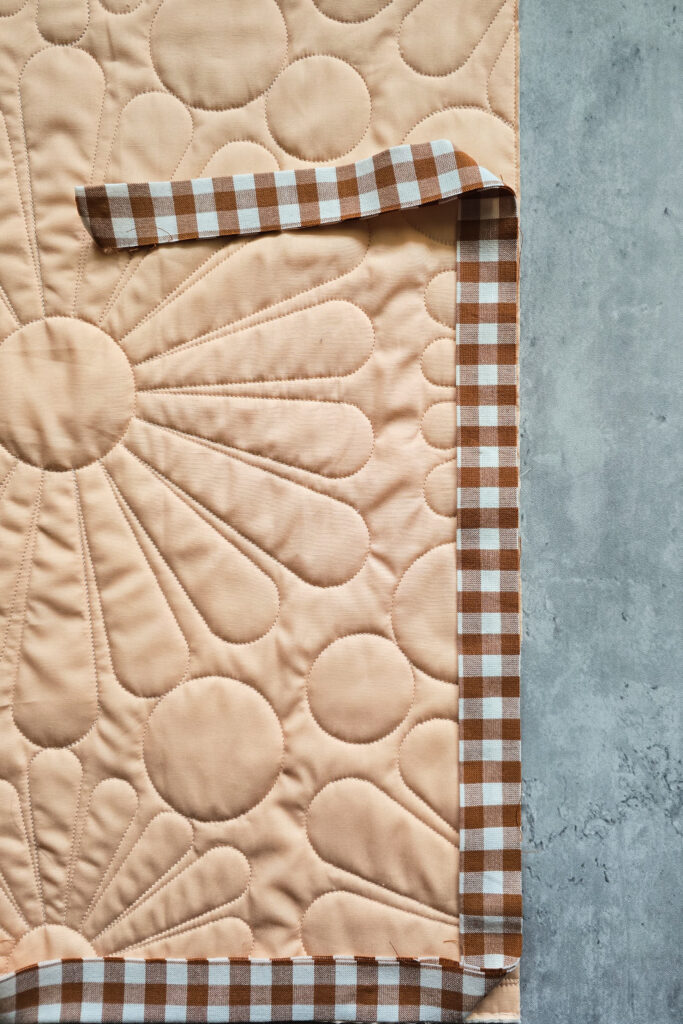
Start along one side of the quilt (not at a corner), leaving an 8–10″ tail of binding unsewn. Align the raw edges of the binding with the raw edge of the quilt and sew using a ¼″ seam allowance.
Continue sewing until you reach ¼″ from the corner, then backstitch and stop.
Miter the Corners (Front Side)
To miter the corner, fold the binding straight up, creating a 45-degree angle. Then fold it back down so the folded edge aligns with the next side of the quilt.
Begin sewing again ¼″ from the edge. Repeat this process at each corner.
Join the Binding Ends
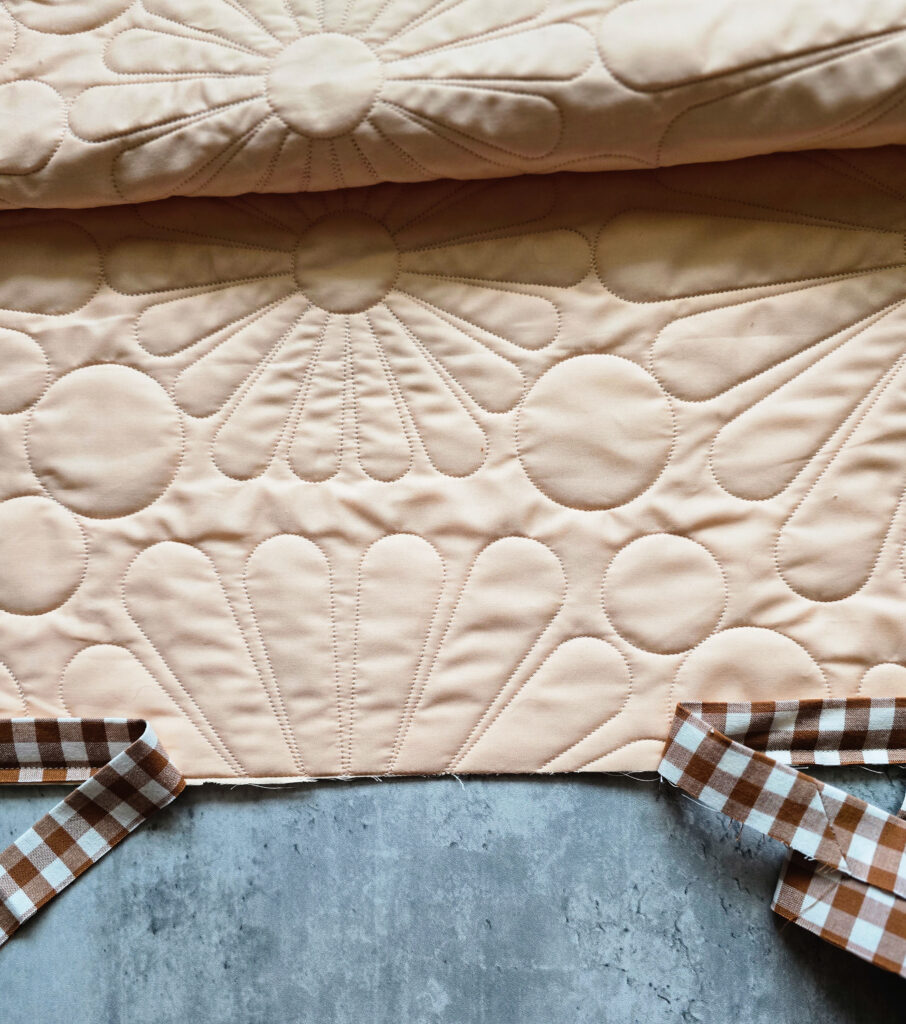
When you reach your starting point, you’ll have two binding tails that need to be joined into one continuous loop.
Stop sewing with 8–10″ left unsewn so you have room to work. Lay the quilt flat and smooth the binding along the edge without stretching it.
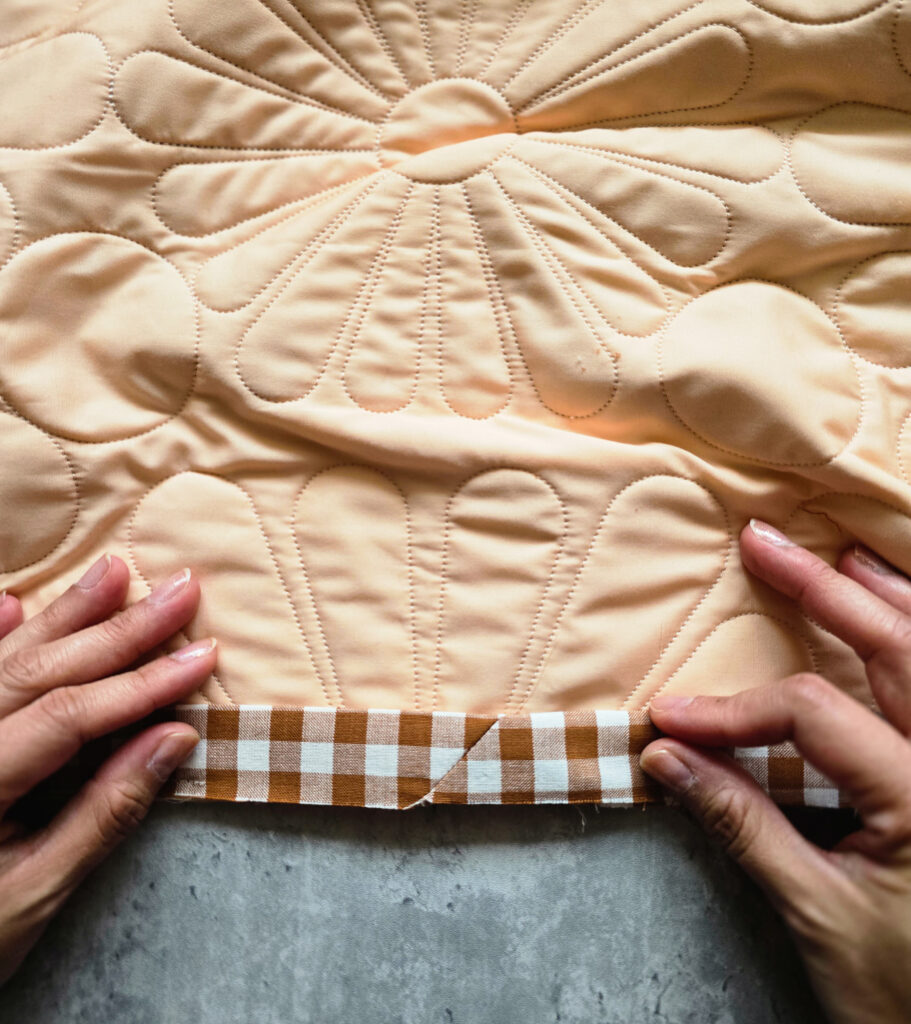
Measure and Mark the Binding Ends
Fold the beginning tail back on itself and finger-press a crease. Fold the ending tail back on itself so there is a ¼″ gap between the two folded edges. Press or finger-crease both folds.
These creases mark exactly where the binding ends will meet, helping the binding fit perfectly without being too tight or too loose.
Sew the Binding Ends Together
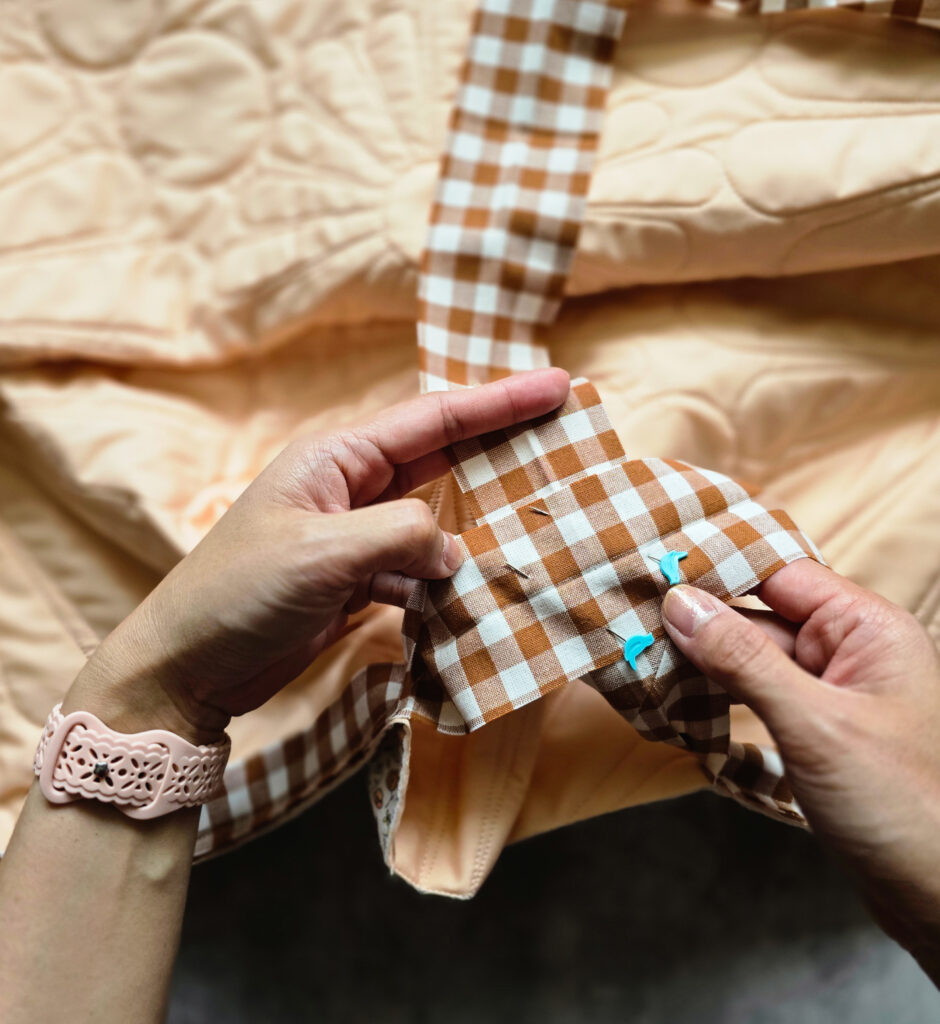
Unfold the ending tail and place it wrong side up. Unfold the beginning tail and place it right side up. Position the two tails perpendicular to each other, forming an L shape, with crease lines aligned.
Pin in place and sew diagonally from corner to corner.
Before trimming, finger-press the seam and check that the binding lays smoothly around the quilt. Trim the seam allowance to ¼″, press the seam open to reduce bulk, then refold the binding wrong sides together.
Lay the binding back along the quilt edge and finish sewing the remaining open section.
Fold the Binding to the Back
Once the binding is sewn to the quilt, fold it over to the back, covering the raw edges.
Fold one side of the binding over first, then fold the adjacent side over, tucking the folded edge underneath to form a clean mitered corner. Adjust as needed so the corner lies flat.
Clip or pin the binding in place, making sure the folded edge covers the stitching line on the back.
Create a Mitered Corner on the Back
As you fold the binding on the back, shape the corner so one fold overlaps the other neatly. Adjust until the corner lies flat and even.
Finish the Binding
Hand stitch the binding in place using a ladder stitch for a nearly invisible finish, or try big stitch binding if you prefer a decorative, hand-sewn look.
Final Thoughts
Attaching binding is the final step that brings everything together. Take your time, especially at the corners and when joining the ends. With practice, binding becomes second nature—and one of the most satisfying parts of quilting.
Your quilt is finished and ready to be used, gifted, or loved for years to come. Happy quilting!
MORE POSTS LIKE THIS
If you enjoyed this blog post tutorial, you’re going to love these other popular tips and tutorials: