How to Make a Quilted Ruana: Easy DIY Quilted Clothing
October 15, 2026

How to Make a Quilted Ruana -Easy DIY Quilted Clothing

Quilted clothing is having a moment, and I’m here for it! But if you’ve admired beautiful quilted jackets and wondered whether you want to tackle the fitting and construction, I have good news: there’s an easier way to make something wearable from your quilts.

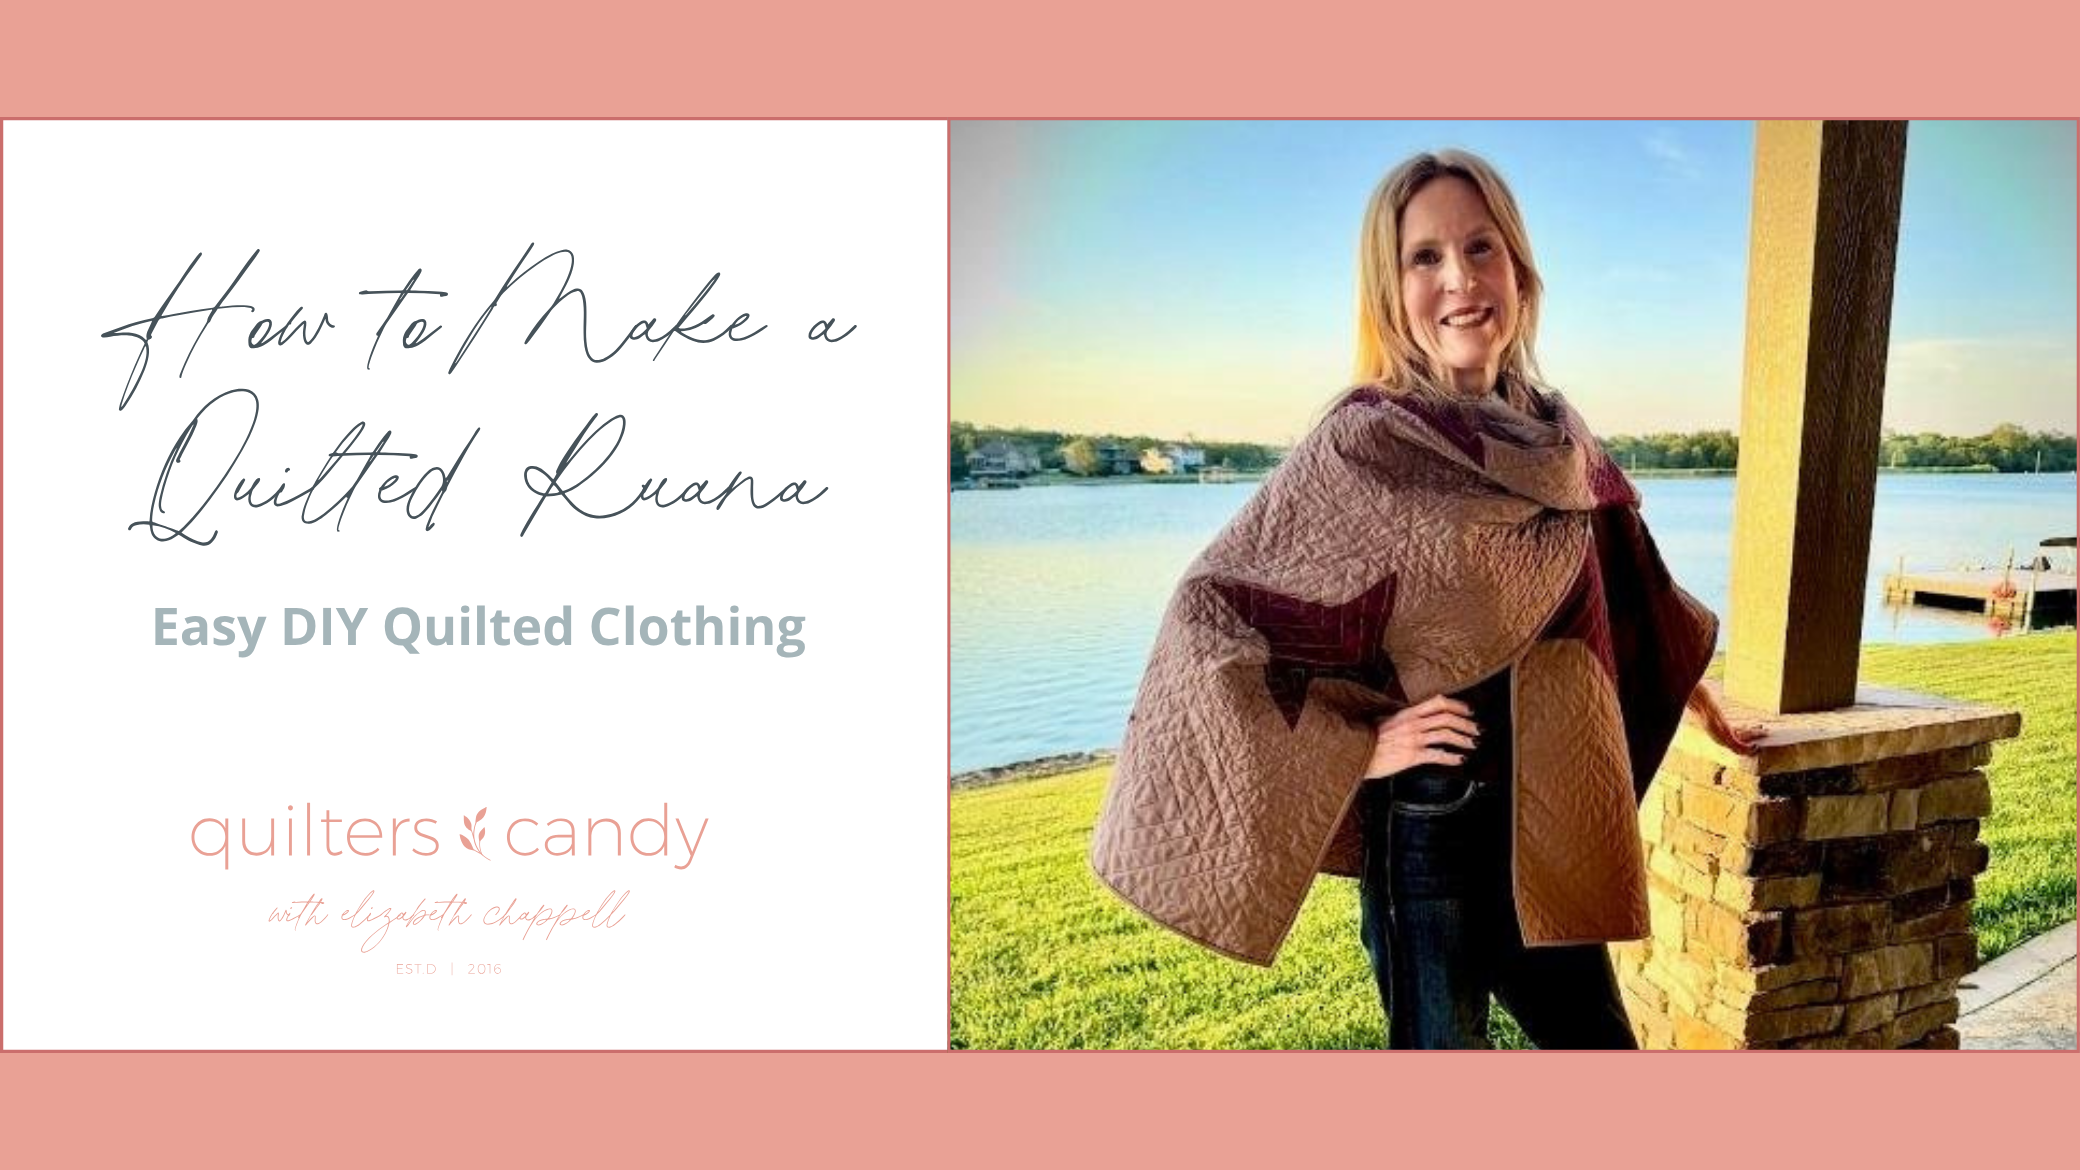
Meet the DIY quilted ruana: a relaxed open-front wrap made from a quilt, with a curved neckline and bias-bound edges. You can upcycle a quilt you already own or make one just for the project. And there’s a free pattern and neckline template to help you get started.

What Is a Quilted Ruana?

A ruana is a loose, open-front garment that drapes over the shoulders, somewhat like a shawl or poncho. Unlike a fitted quilted jacket, this version doesn’t require sleeves, zippers, or complicated garment adjustments. If you can handle a quilt and its binding, you already have many of the skills this project needs.

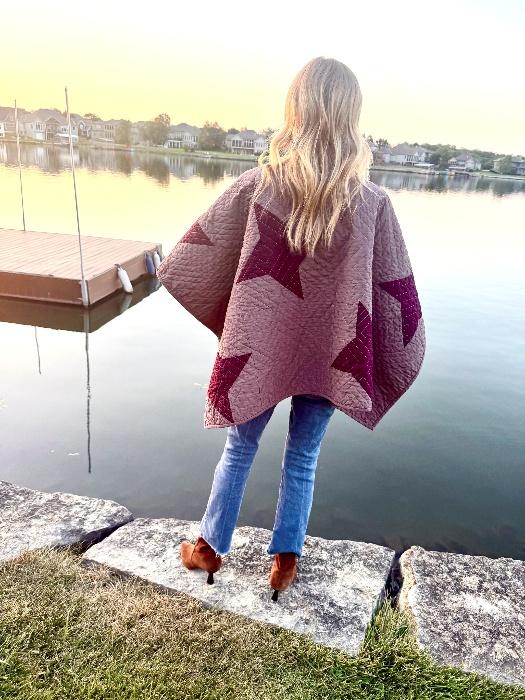
Back view of a handmade quilted ruana with burgundy star blocks and a loose draped fit

Supplies for a DIY Quilted Ruana

  • A finished quilt, approximately 45–50 inches wide by 60–64 inches long
  • The free quilted ruana pattern and neckline template
  • Fabric for bias binding
  • Rotary cutter, cutting mat, ruler, and fabric scissors
  • Measuring tape, pins or clips, sewing machine, thread, and iron
  • Optional hand-sewing needle for finishing binding by hand

Use the free pattern for exact cutting positions and neckline dimensions; the measurements above describe the approximate starting quilt size, not an exact one-size-fits-all cutting diagram.

Step 1: Choose or Make a Soft, Drapeable Quilt

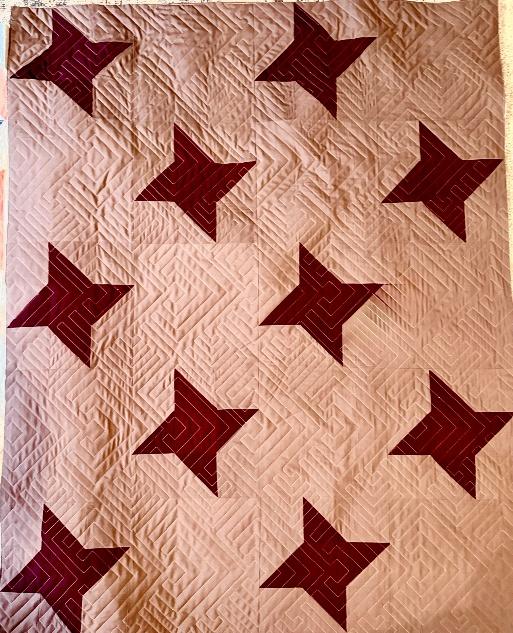
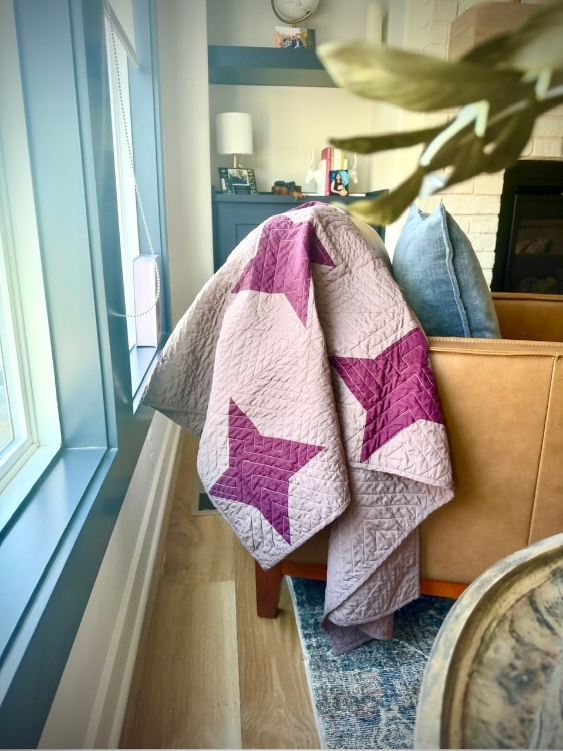
Start with a quilt you’d love to wear. You can repurpose an existing quilt or make one specifically for your ruana. For my first version, I used a simple star quilt made with 12-inch blocks. The mauve background and rich burgundy stars create a beautiful design as a wrap.

A soft hand is important. I prefer bamboo or silk-blend batting for quilts that need to drape gracefully, and less-dense quilting can help keep a garment flexible. If upcycling a vintage or sentimental quilt, make sure you’re comfortable cutting into it.

Mauve and burgundy star quilt with geometric quilting before being made into a ruana

Step 2: Prepare and Position the Quilt

Lay the quilt flat on a large cutting surface and smooth out wrinkles. If needed, carefully resize it with a rotary cutter and ruler, following the approximate dimensions and the free pattern. Before cutting, check the orientation of the quilt blocks and any directional prints. Think about which motifs will appear across the back and front panels.

Tip: If you’re using a pre-bound quilt, follow the free pattern’s guidance for handling existing binding where the new cuts will go.

Step 3: Cut the Neckline

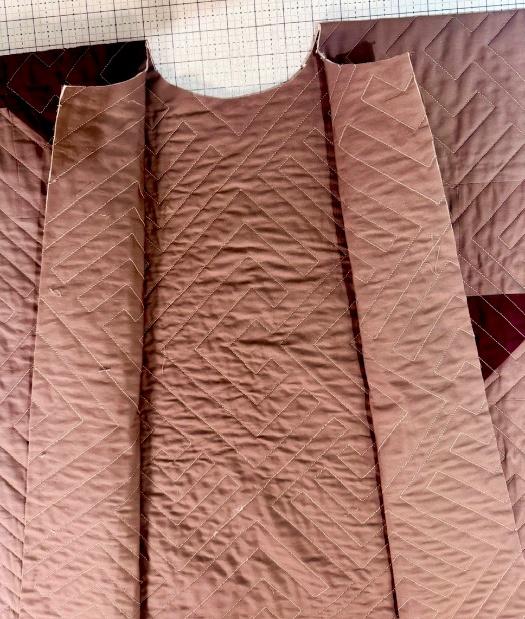
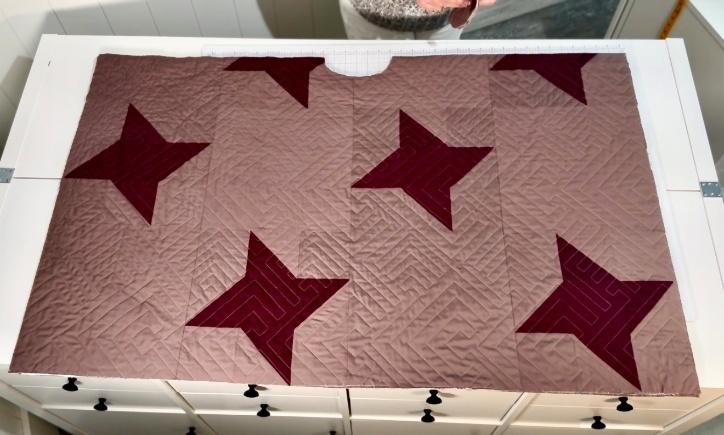
This is the moment to measure twice—or three times! Position the template as directed in the pattern. Confirm the placement before cutting the curved neckline. That cut is what helps the ruana sit comfortably over your shoulders and fall naturally.

Don’t estimate the neckline size from photographs: use the actual printable template and instructions.

Step 4: Create the Front Opening

Follow the pattern to mark and cut the front opening. Keep the quilt flat, verify the cut line, and check both the front panels before you cut. Just like that, the quilt starts to look like a garment rather than a flat quilt!

Back view of a handmade quilted ruana with burgundy star blocks and a loose draped fit
Star quilt laid flat on a cutting table with a curved neckline and front opening

Step 5: Measure for Bias Binding

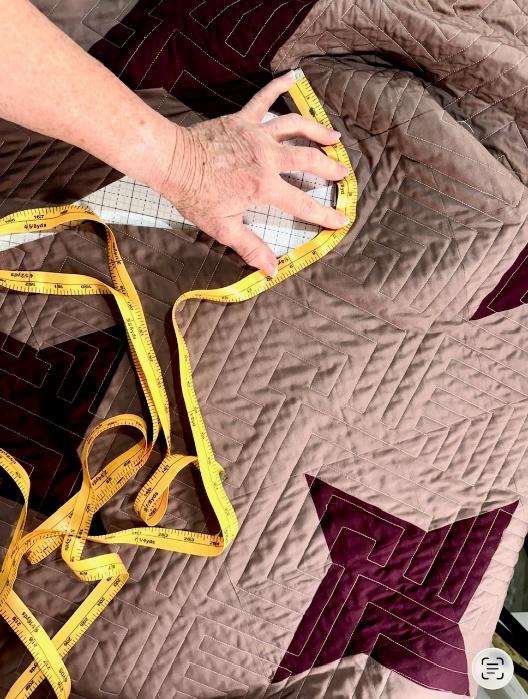
Now it’s time to finish the raw edges. Measure along all the raw edges that require binding, including the curved neckline and front opening. Add those lengths together and allow some extra fabric for joining the binding ends.

Why bias binding? Because it’s cut on the diagonal grain, bias binding has flexibility that lets it travel smoothly around the curved neckline.

Measuring the curved neckline of a quilted ruana with yellow measuring tape

Step 6: Make the Bias Binding

Cut and prepare bias strips using the directions in my video tutorial. If bias binding is new to you, the video shows how to fold the fabric before cutting strips on the bias. Join the strips and press them as needed for your chosen binding method.

Step 7: Sew the Binding to the Ruana

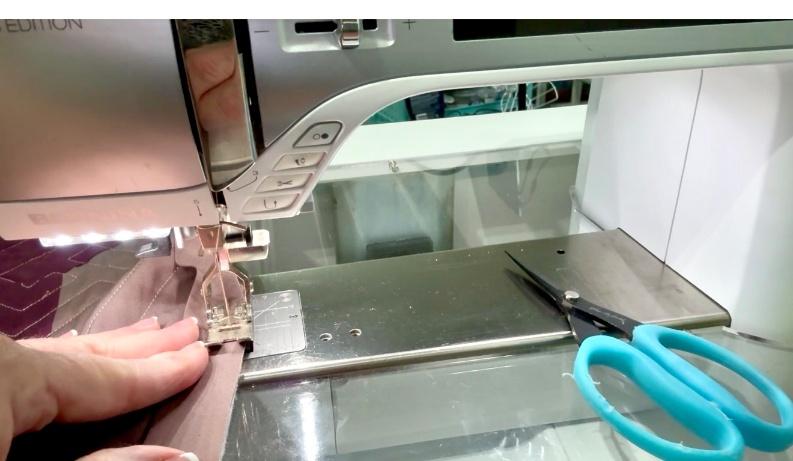
Attach the prepared binding along the raw edges, following the free pattern. I like to begin at the bottom of the back, where the final join won’t be as noticeable. Ease the binding around the neckline without pulling it too tight, so the curved edge stays smooth.

Sewing binding onto the mauve quilted ruana using a sewing machine

Step 8: Finish the Binding by Hand or Machine

Finish the binding on the opposite side either by hand, for a discreet finish, or by machine, if you prefer a faster method. Check that the neckline and front panels lie smoothly and that no raw edges remain exposed.

Step 9: Try On Your Finished Quilted Ruana

And there you have it! You’ve transformed a quilt into a beautiful piece of quilted clothing without complicated garment fitting. Layer your ruana over a favorite shirt or sweater and enjoy your own handmade wearable quilt.

Finished mauve quilted ruana with burgundy stars draped over a chair

Download the Free Quilted Ruana Pattern!

I hope you enjoy making your own quilted ruana! I would love to see your version—share a photo and tag @primetimequiltco on Instagram. Take a look at more patterns and videos on my website, Prime Time Quilt Co.

Happy quilting!

or SEARCH THESE

Popular categories

Craft to Career
Digital Downloads
Patterns
Podcast
Quilt Alongs
Quilt Questions
Tutorials
back to the top

Copyright 2026 Quilters Candy  |  Terms & Conditions