Cut (1) 8 ½” x 11″ piece from your front fabric, backing fabric, and batting for each bunny.
This will render (3) 8 ½” x 11″ pieces total per bunny.
Step 2: Trace & Cut Out the Bunny Shape
Place the bunny template on your front fabric and trace the shape.
Cut out the bunny shape carefully.
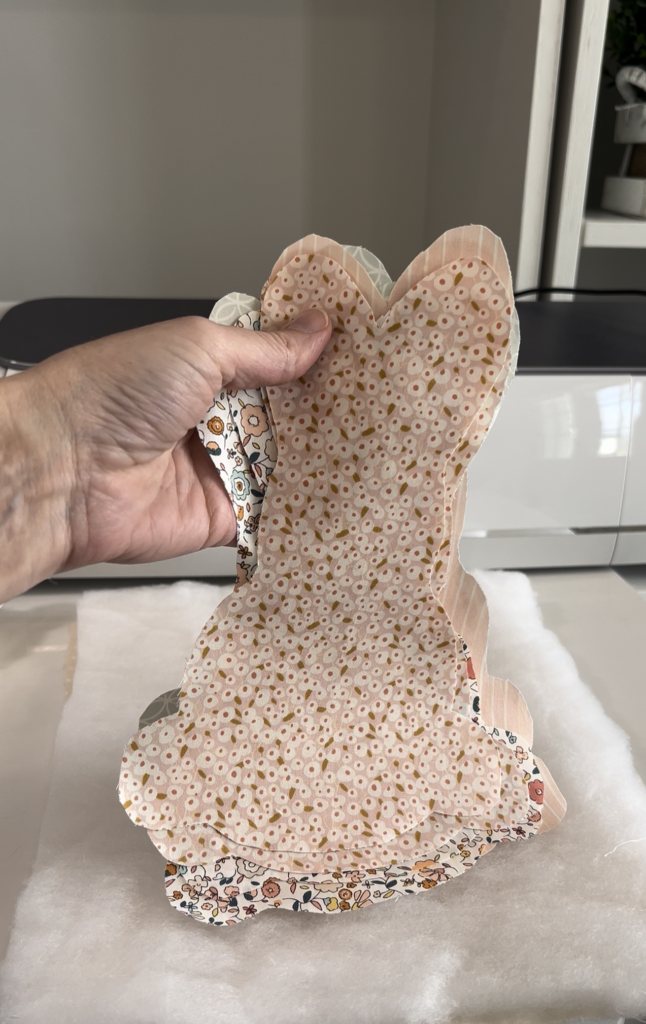
Step 3: Assemble the Layers
Sandwich the layers in this order:
Backing fabric (right side down)
Batting in the middle
Front fabric (right side up)
Pin everything in place.
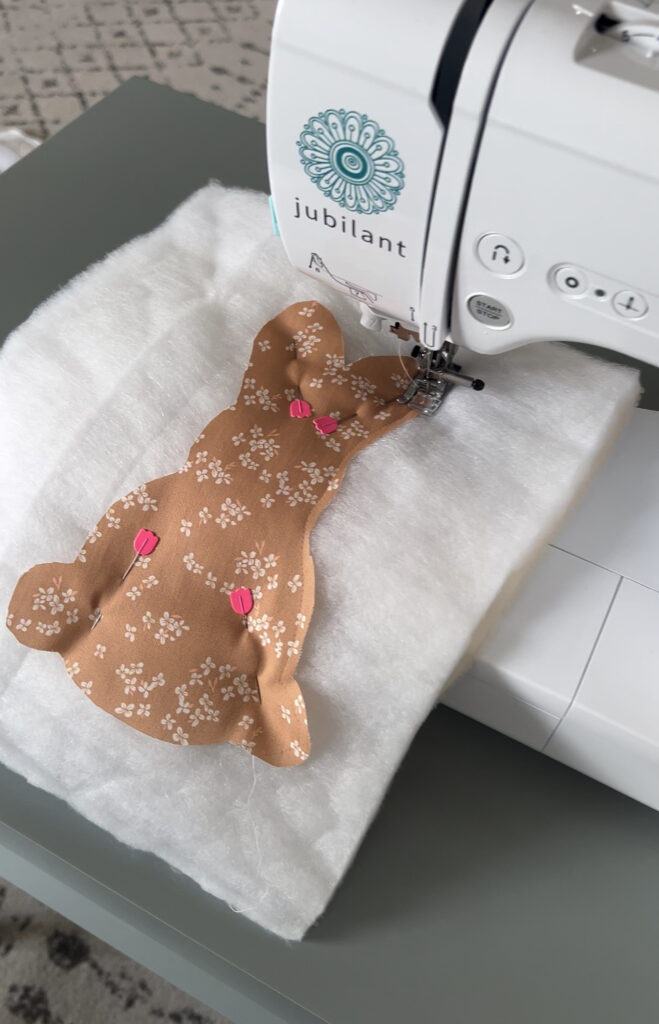
Step 4: Sew the Bunny
Sew around the bunny using a ¼” seam allowance, leaving an opening at the bottom.
Backstitch at the beginning and end to secure your stitches.
Step 5: Trim & Stuff
Trim the excess fabric and batting to match the bunny shape.
Stuff your bunny with Poly-fil, cotton, or any stuffing of your choice to make it a little extra soft and fluffy.
Step 6: Sew It Closed
Return to your sewing machine and sew the opening closed to secure the stuffing inside.
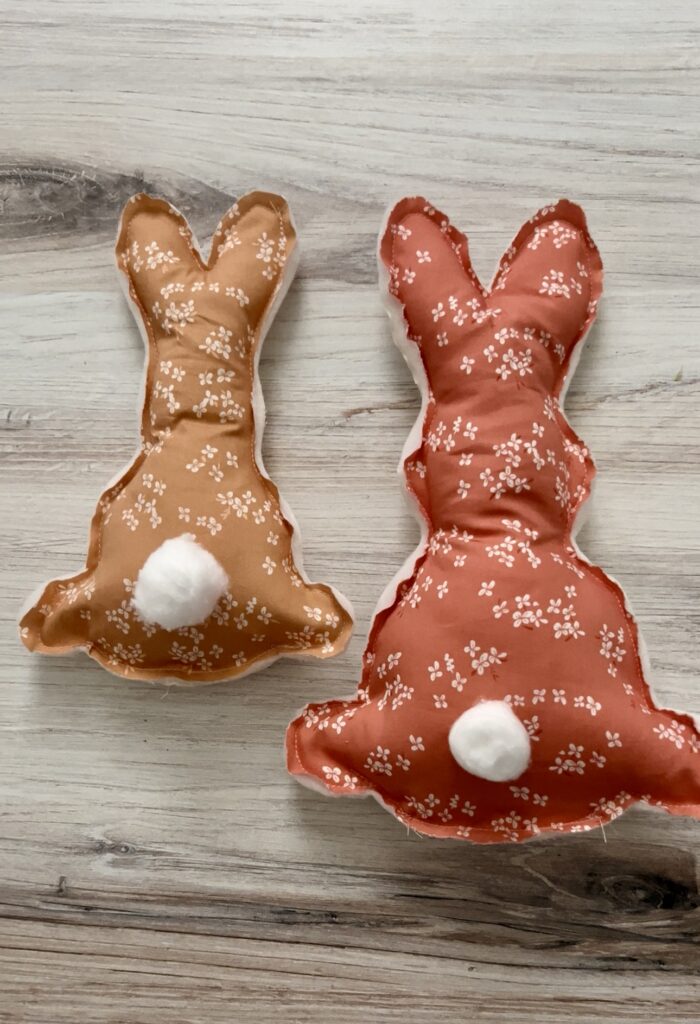
Step 7: Add a Fluffy Tail
Apply Aleene’s Quick Dry Tacky Glue to a cotton ball and press it onto the bunny for a cute, fluffy tail.
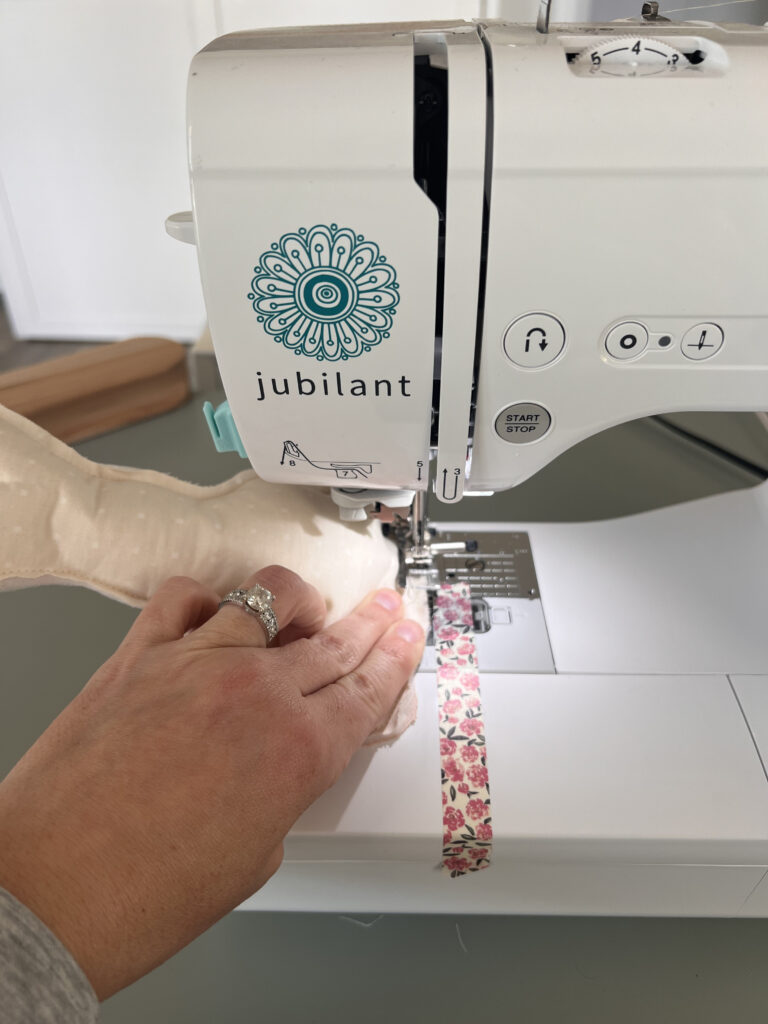
Step 8: String the Bunnies onto Twine
OPTION ONE: Thread a needle and thread through the top of each bunny’s ears and stitch them onto the twine. Stitch in two places to keep each bunny from wobbling.
OPTION TWO: Use your fabric glue and glue the bunnies to your twine.
Step 9: Hang & Enjoy!
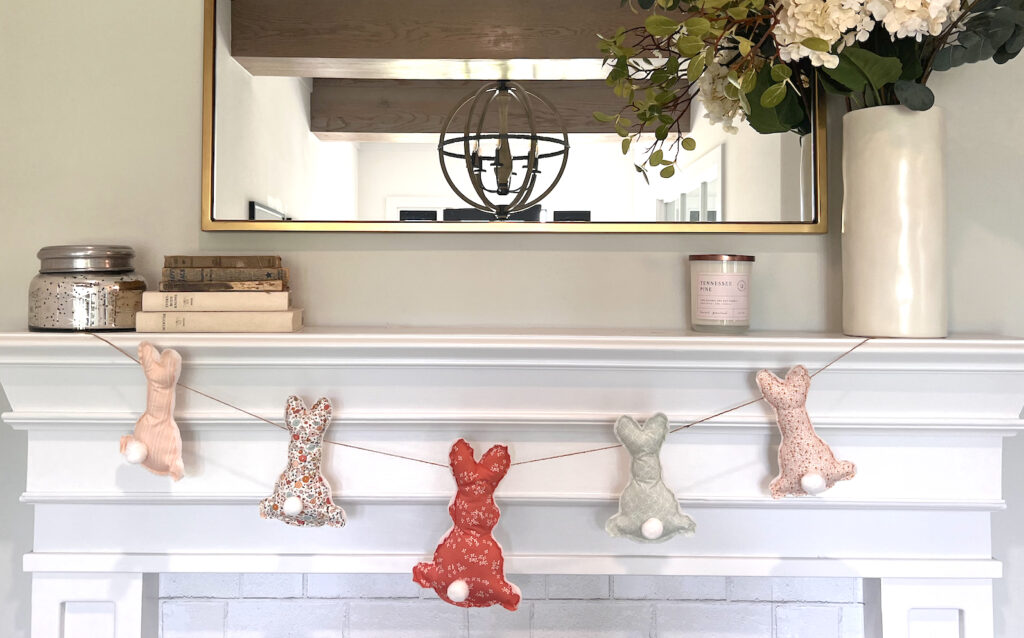
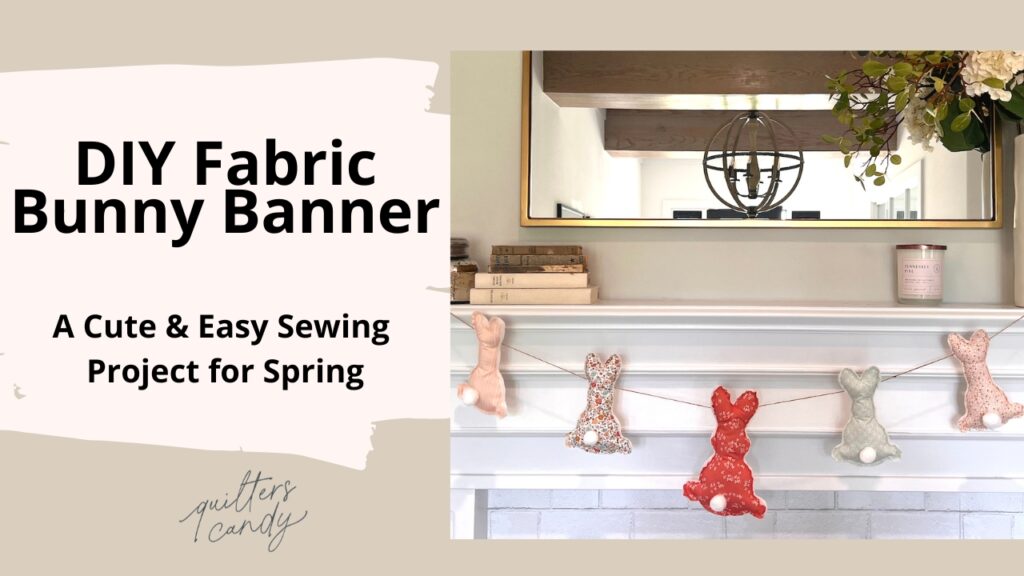
Find the perfect spot to hang your new bunny banner—across a mantle, a doorway, or above a table.
DIY Bunny Bunting Final Thoughts
This DIY Bunny Banner is such a fun and easy project to add a handmade touch to your home décor. Whether you’re making it for Easter, a nursery, or just because, it’s a simple way to bring charm to any space.
Tag me on Instagram if you make this project—I’d love to see your creations!
Happy sewing!
Love this tutorial? Share it with a friend or pin it for later!