welcome to the
quilters Candy
Blog
Welcome to the Quilters Candy Blog! You'll find tutorials, patterns, quilting tips, and of course, tips on how to grow a quilt career. I strive to bring you weekly content that is the BEST quilting tips and tutorials out there. I hope you enjoy all that the Quilters Candy Blog has for you, my quilting friends. Happy quilting!

or SEARCH THESE
Popular categories
the latest
June 26, 2025
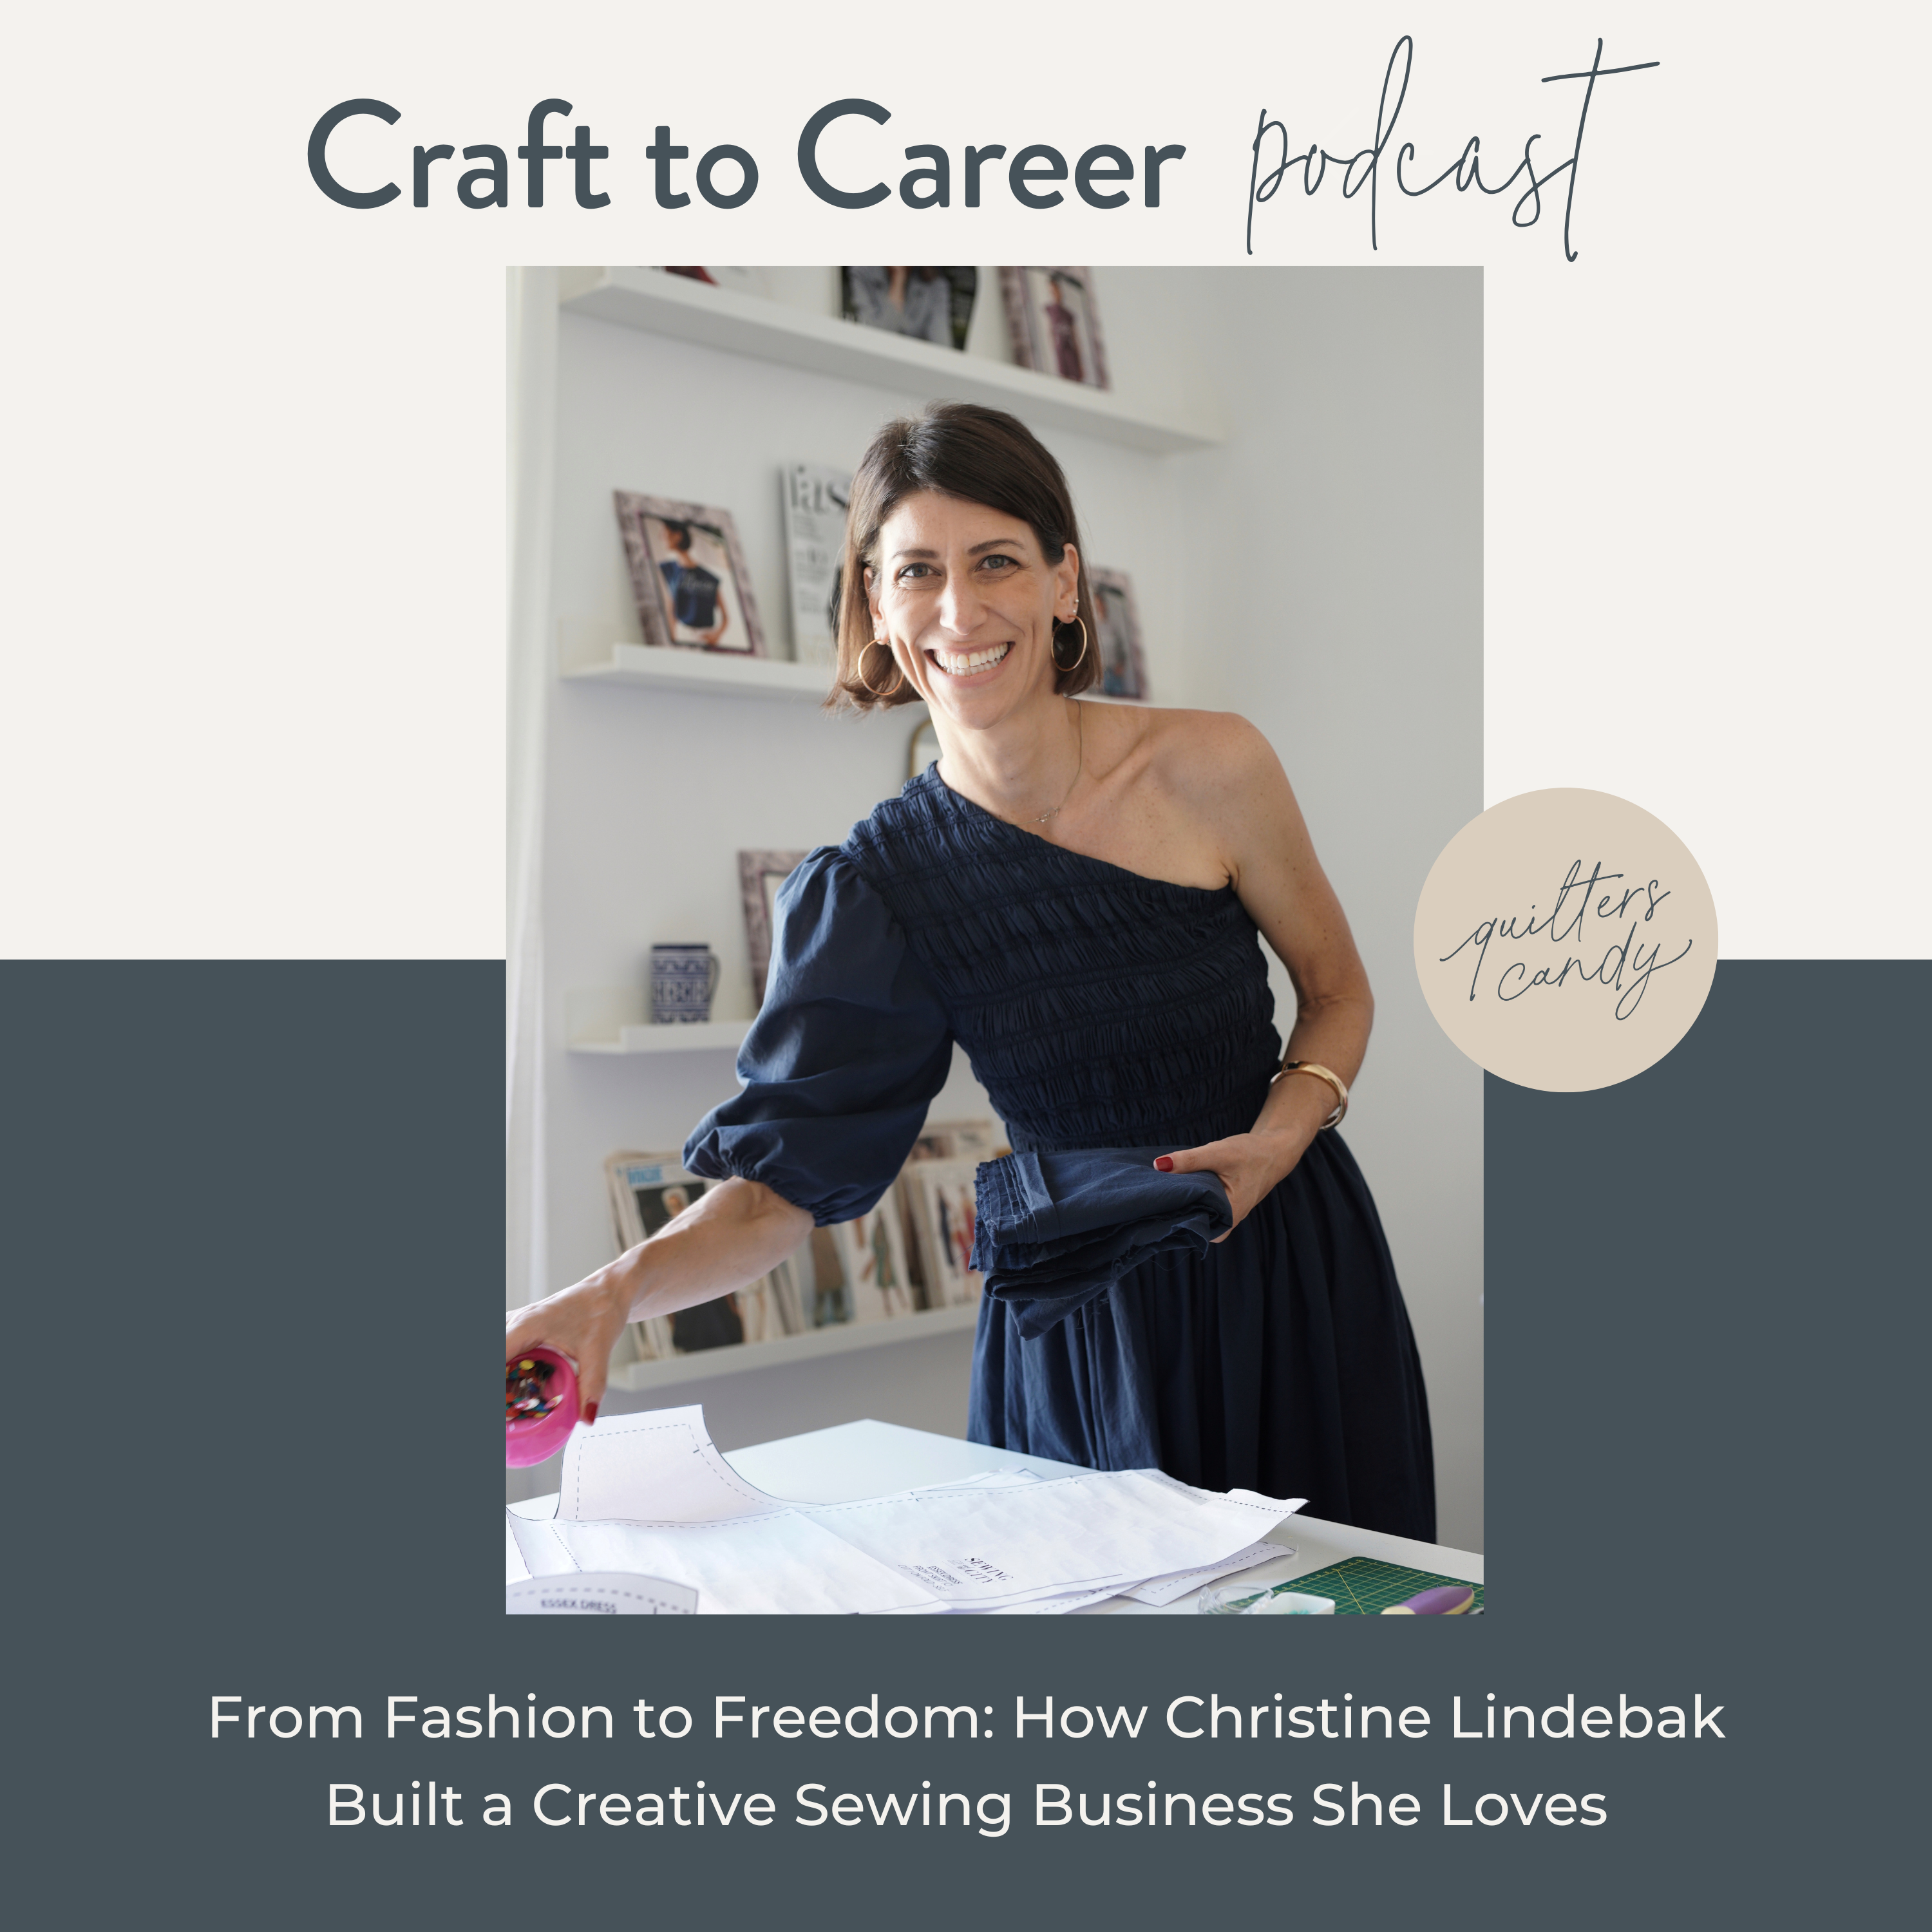
From Fashion to Freedom: How Christine Lindebak Built a Creative Sewing Business She Loves What happens when you leave a high-powered fashion career behind for a slower, more intentional life built around sewing, creativity, and freedom? In this episode of the Craft to Career podcast, I’m joined by Christine Lindebak, an inspiring garment sewist, pattern […]
tune into the
Craft to Career
Podcast
Each week get insights on how to turn your craft into a successful career. With both guest speakers and tips from myself, you get valuable, free education on the Craft to Career podcast!


wherever you are
in your
QUILT JOURNEY
Choose A step-by-step course designed FOR you
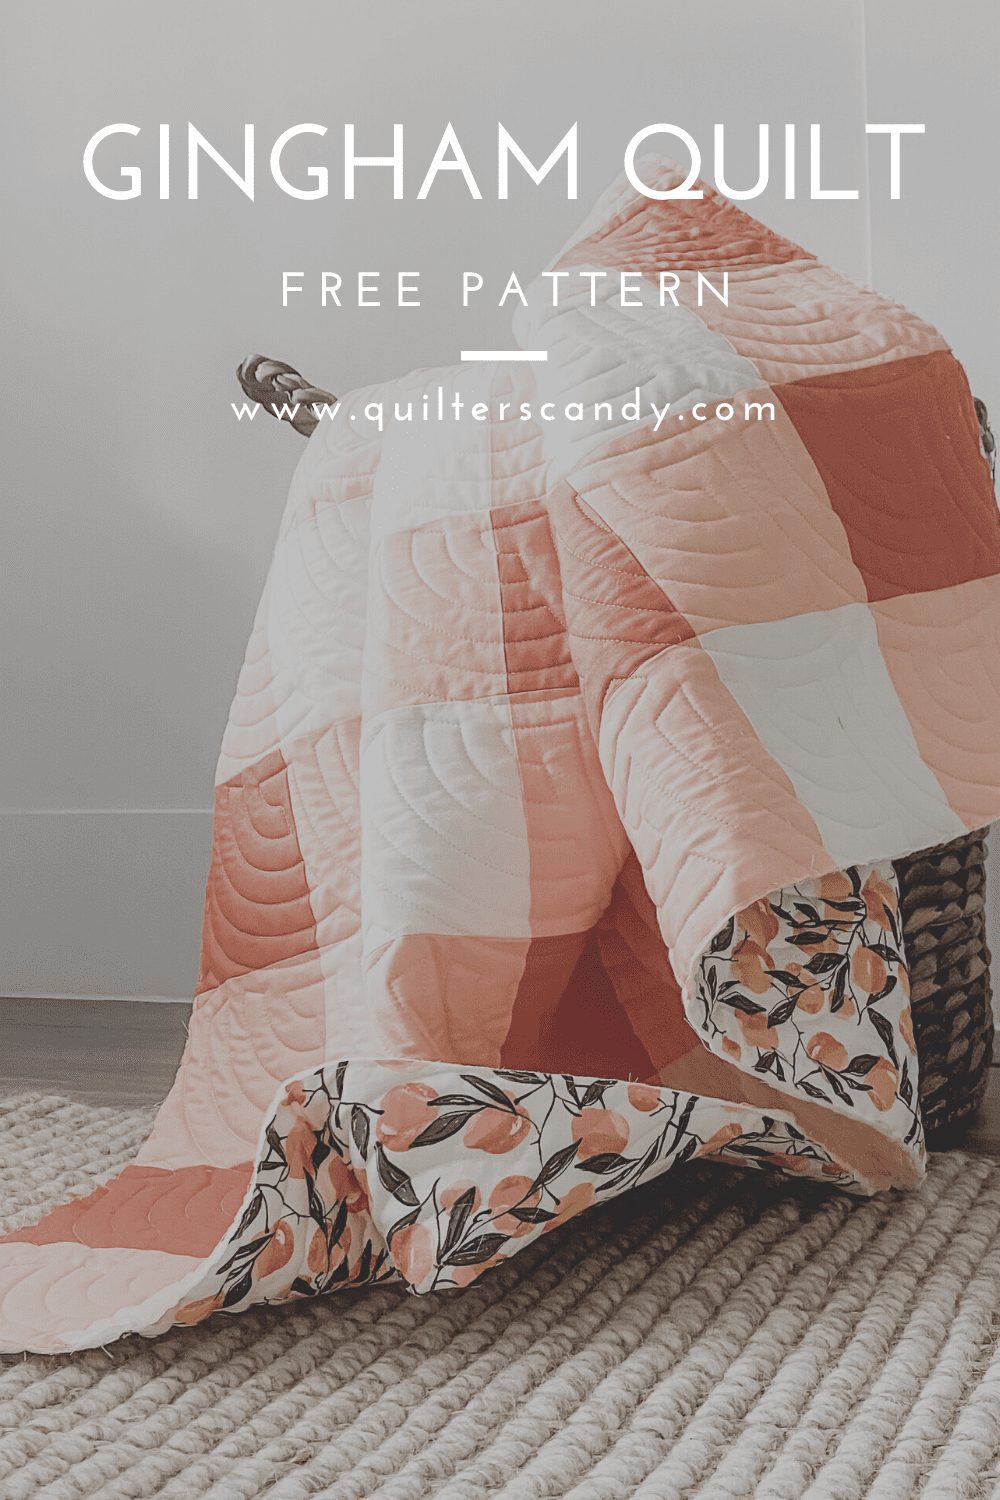
Browse the curated courses below and discover the one that feels just right for you. And as a heartfelt thank you for being here, I’d love to gift you my free Gingham Quilt Pattern—enjoy!


