How to Turn a Wedding Dress into a Quilt: Step-by-Step Memory Quilt Guide
Elizabeth Chappell
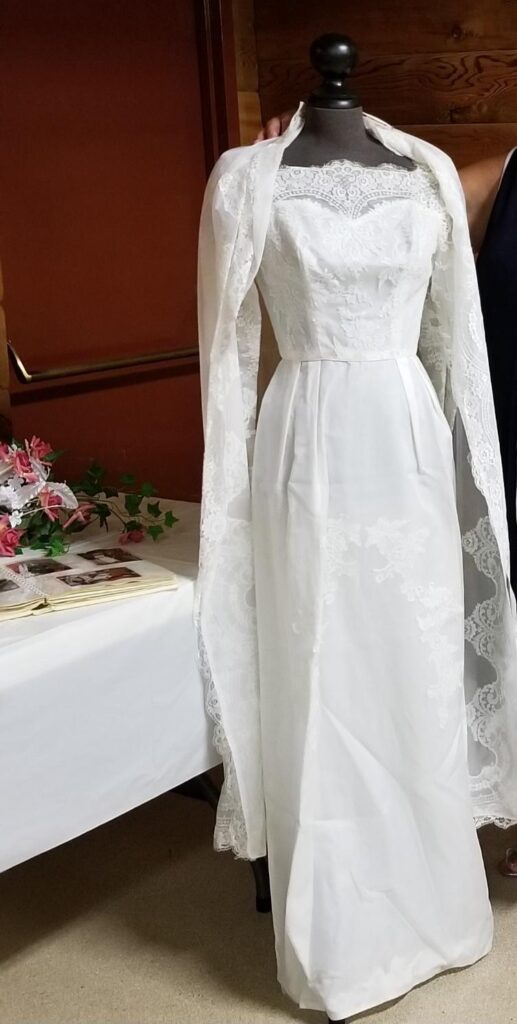
So, you’ve got a wedding dress. Maybe it’s yours, maybe it belonged to someone you love, or maybe you stumbled on a vintage gem and thought, “This deserves a second life.” Either way, you’re now staring at a mountain of lace, satin, and tulle wondering, “How do I turn this into a quilt without losing my mind?”
Good news—I’ve got you covered.
Turning a wedding dress into a quilt is a beautiful way to preserve memories. With the right techniques and a little patience, you can create something truly special (and avoid too many “what was I thinking?” moments).
I was recently asked by a customer to make a Wedding Dress Quilt. I hesitated at first, but then I thought, Why not try?
Step 1: Take a Deep Breath
Before you even touch the scissors, take a moment to honor what this dress represents. Whether it’s yours, your mother’s, or a beloved relative’s, this fabric holds deep sentimental value.
If it’s your own dress, do a quick gut check—are you truly ready to cut into it? If not, consider using just part of it for now, like the train, a sleeve, or some lace overlay. There’s no rule that says you have to use the whole thing!
Pro Tip: I didn’t cut into my customer’s dress right away. I tested everything first on a sample gown to be sure it would work.
Step 2: Fabric 101 – What Are We Working With?
Wedding dresses are not made from your everyday quilting cotton. Here’s what you might encounter and how to work with each:
Satin & Silk – Beautiful but slippery. Stabilize with lightweight fusible interfacing before cutting.
Beaded Lace – Gorgeous, but those beads can damage your machine. Remove them from seam lines before sewing.
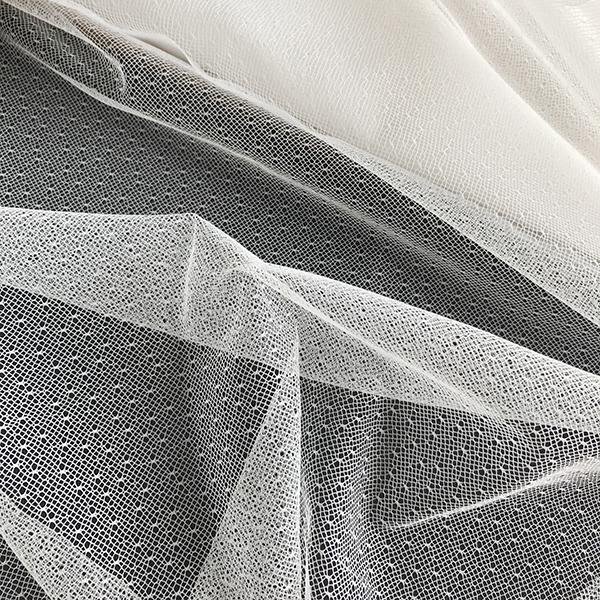
Tulle & Organza – Sheer and delicate. Use for overlays or appliqué.
Lace Appliqués & Embroidery – Add lovely texture. Fuse them onto blocks for extra dimension.
Working with these fabrics takes some trial and error—but don’t be afraid to experiment. I was nervous about using lace, but careful pinning made it manageable.
Step 3: Prep Like a Pro
This step sets you up for success:
Wash Carefully – Check the care tag. Many dresses are dry-clean only. If it’s vintage, stick to gentle spot cleaning.
Deconstruct Gently – Use a seam ripper to maximize usable fabric.
Stabilize Where Needed – Fusible interfacing is your best friend when working with slippery or stretchy fabrics. Fuse before cutting!
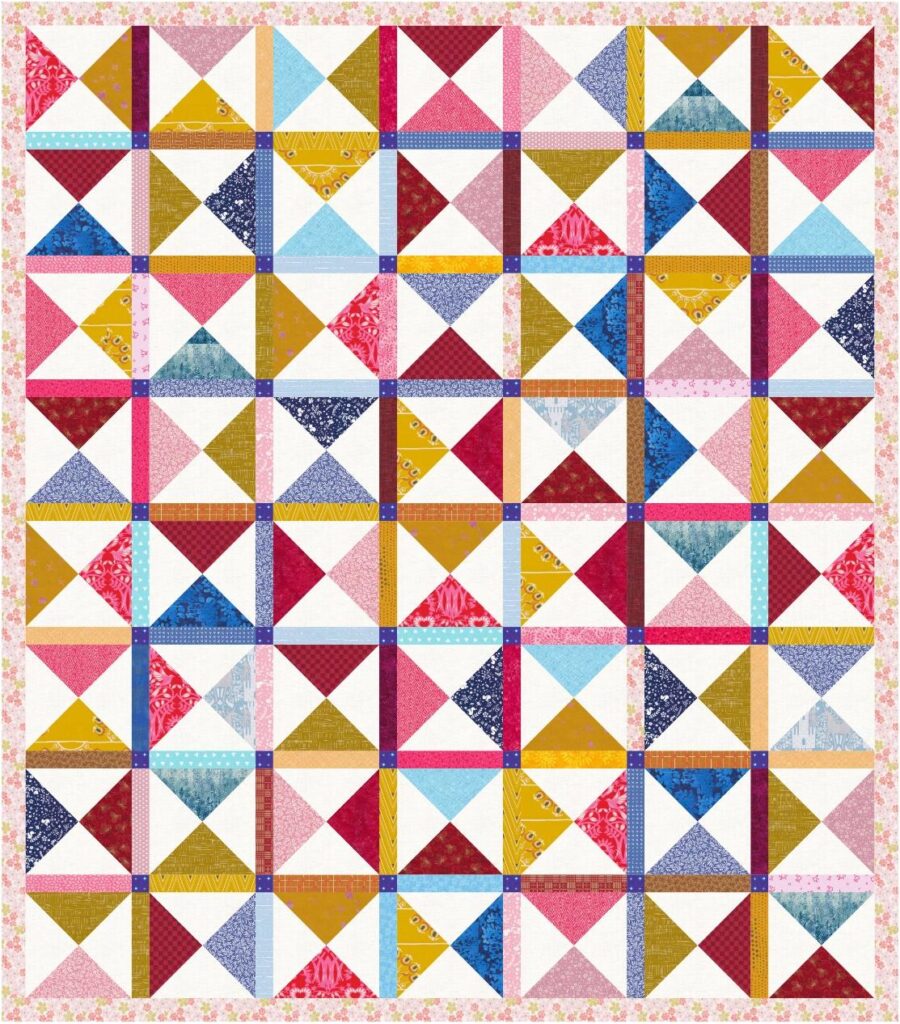
Step 4: Choose Your Quilt Design
Here’s where creativity kicks in:
Memory Quilt – Mix dress fabric with other keepsakes, like groom’s shirts or bridesmaid dresses.
Modern Minimalist – Let the fabric textures shine with large blocks or strips.
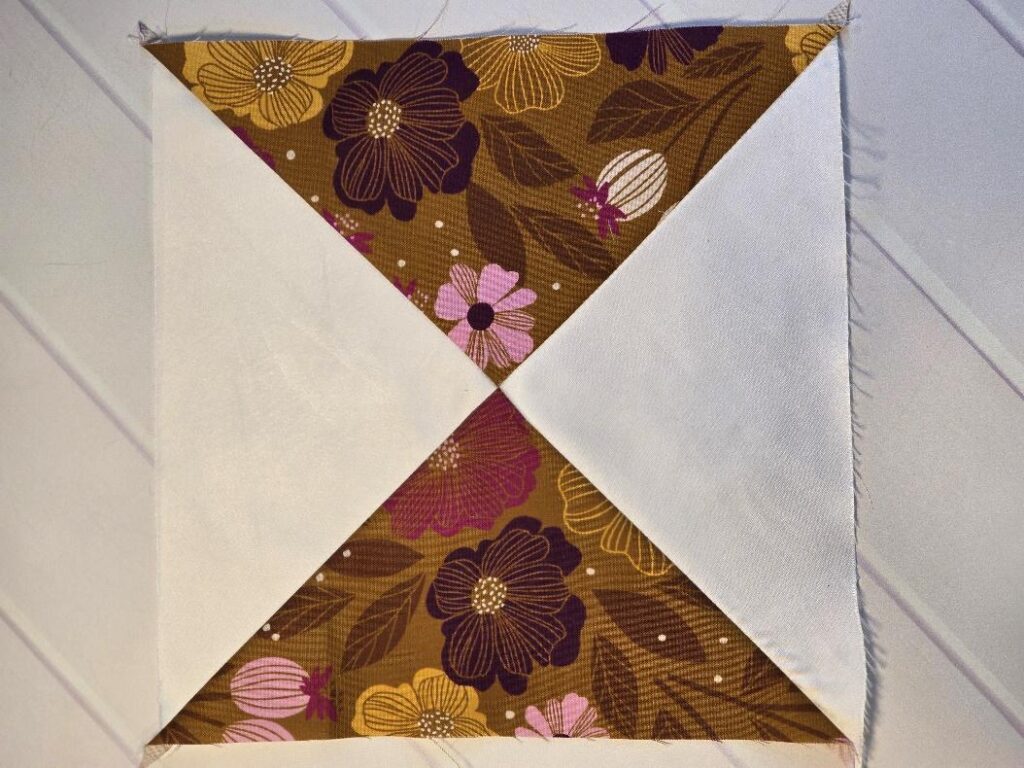
Traditional with a Twist – Use classic quilt blocks like log cabins or flying geese with non-traditional fabrics.
Framed Art Quilt – Highlight lace, embroidery, or even stitched vows in a wall hanging.
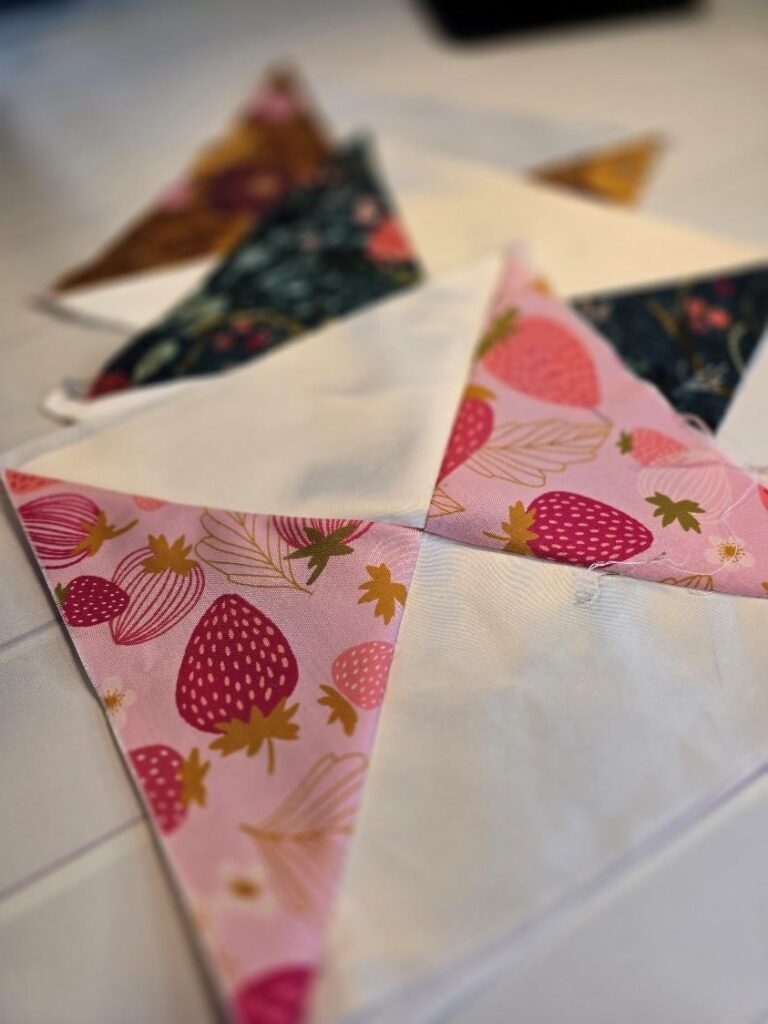
Tip: Delicate fabrics = simple shapes. Avoid tiny piecing. Rectangles and squares work best!
I kept things simple with block-based construction, but added sashing and cornerstones for extra charm.
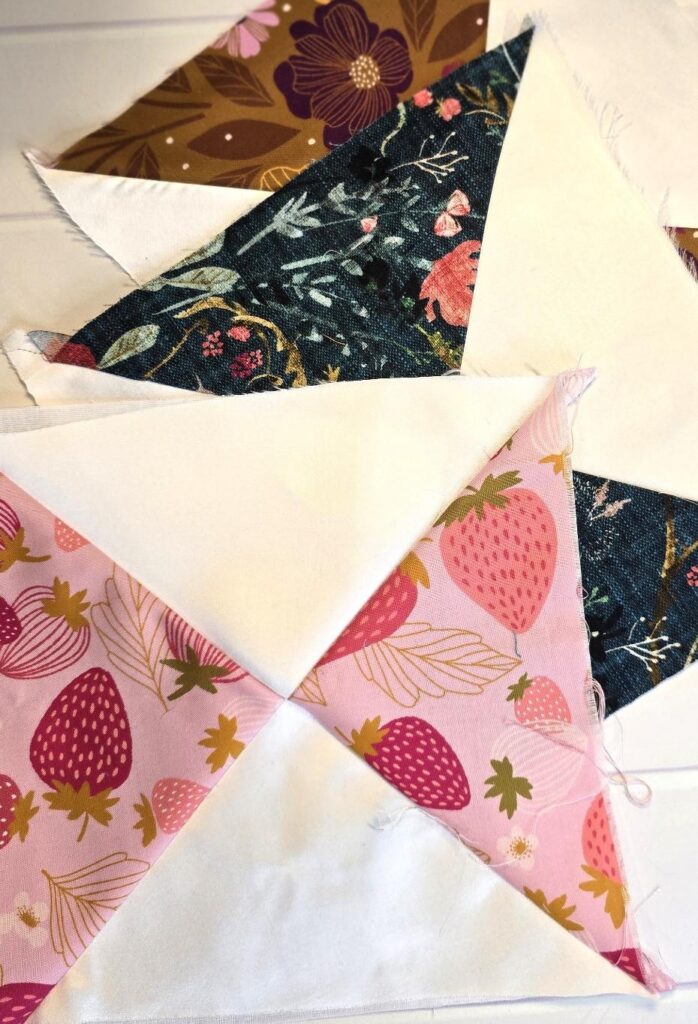
Step 5: Sewing Without the Stress
Slippery fabrics are no joke. Here’s how to manage them:
Use a Walking Foot – Helps layers feed evenly.
Pin Like Crazy – Or use clips to keep things in place.
Test First – Always stitch on scraps to check tension and stitch length.
Slow Down – There’s no rush. Enjoy the process!
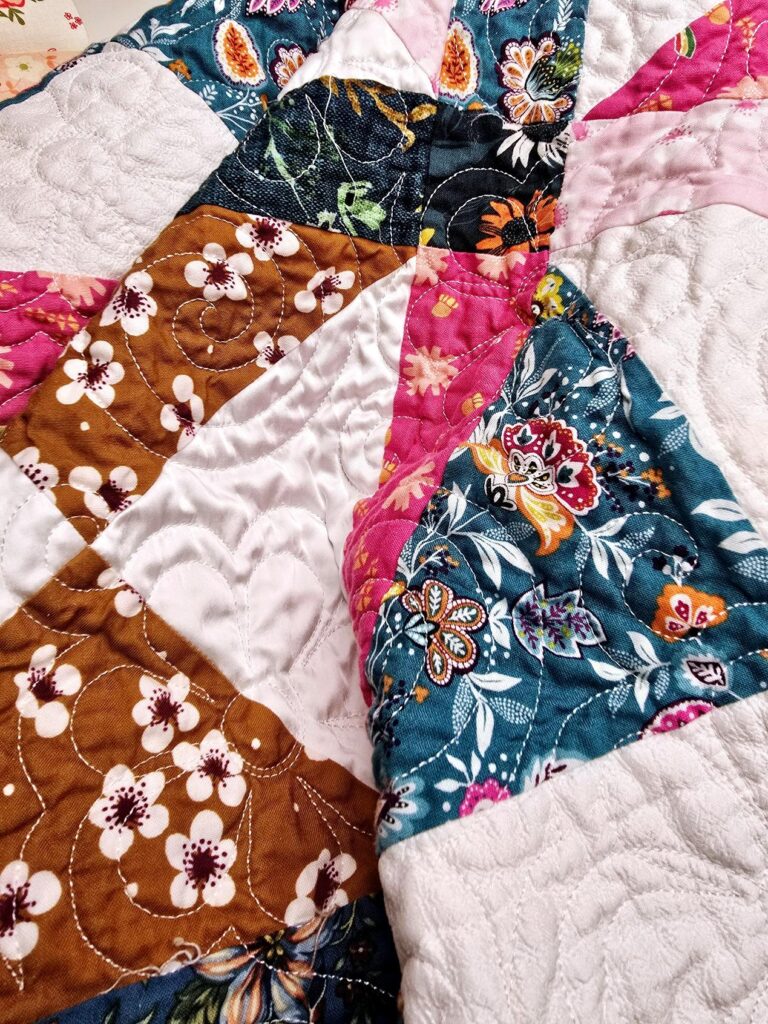
The payoff? That contrast between soft cotton and sleek satin is absolutely stunning.
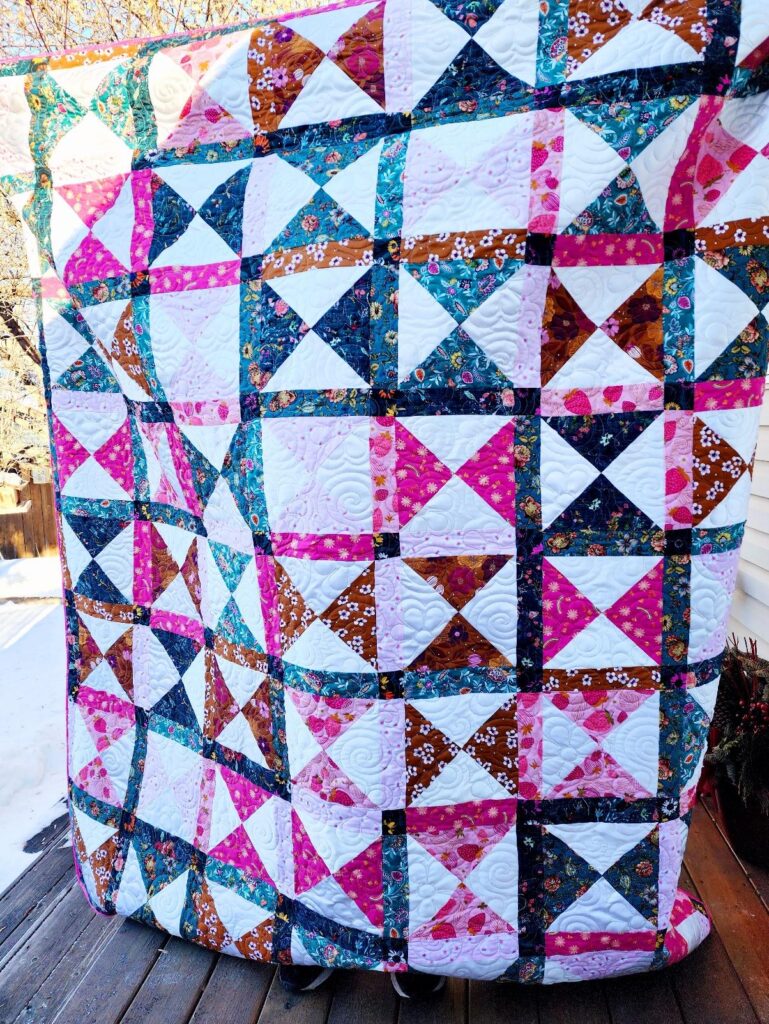
Step 6: Quilting & Finishing Touches
You’ve got a quilt top—now what?
Quilting: Keep it simple. Gentle curves or stitch-in-the-ditch work best on delicate fabrics. Too much quilting = puckers.
Backing: Choose soft, stable fabrics like cotton or flannel.
Binding: Satin looks luxurious, but stabilize it first. You can also use the dress fabric if prepped properly.
I used a floral pantograph for quilting. It added texture without overwhelming the fabric.
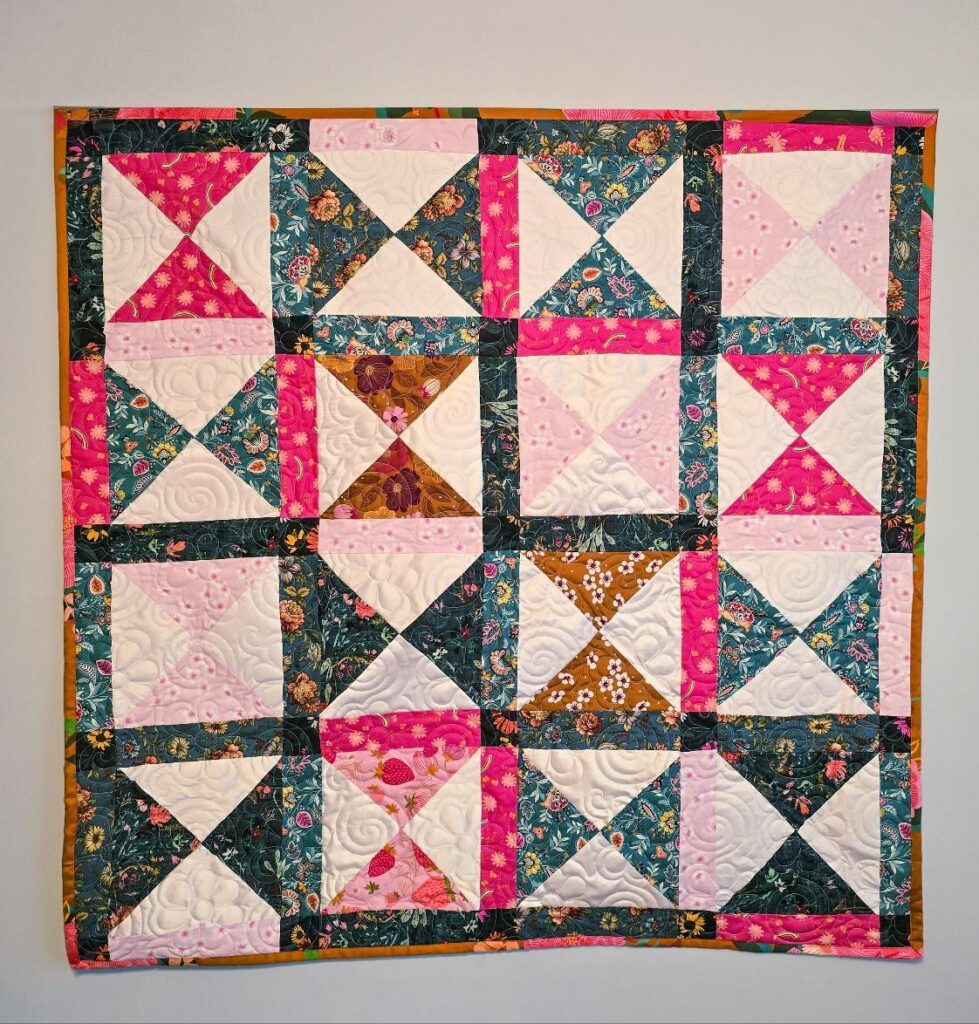
Step 7: Admire It (and Show It Off!)
Congratulations—you’ve just turned a dress full of memories into an heirloom quilt. Whether it’s a gift, a keepsake, or art for your wall, this is something to treasure.
I made a large throw-size quilt for my customer, but not before creating a mini version to test everything.
Step 8: Can You Wash It?
Yes! I washed my sample quilt on a cold, gentle cycle and dried it on cool. It turned out beautifully. The cotton crinkled and the satin puckered just right.
Final Thought
Still have scraps left over? Don’t toss them! Consider making:
Quilted pillows
Christmas ornaments
A framed mini-block
A fabric-covered photo album
Now go make yourself a cup of tea (or champagne—no judgment), wrap up in your quilt, and soak in the joy of creating something meaningful.