Cotton webbing or twill tape (for hanging, optional)
🧵 Steps:
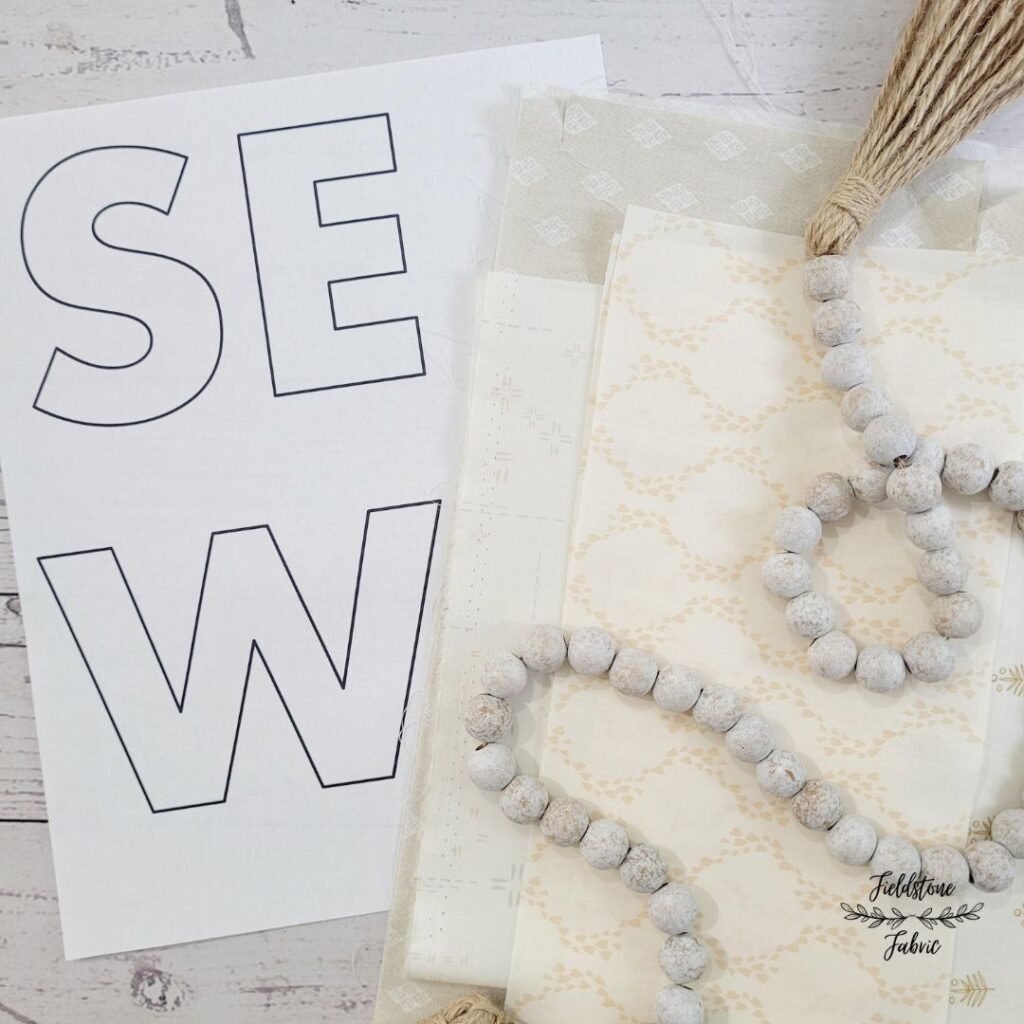
1. Print Your Letters
Choose your phrase—your child’s name, “Happy Birthday,” or go all out with the full alphabet!
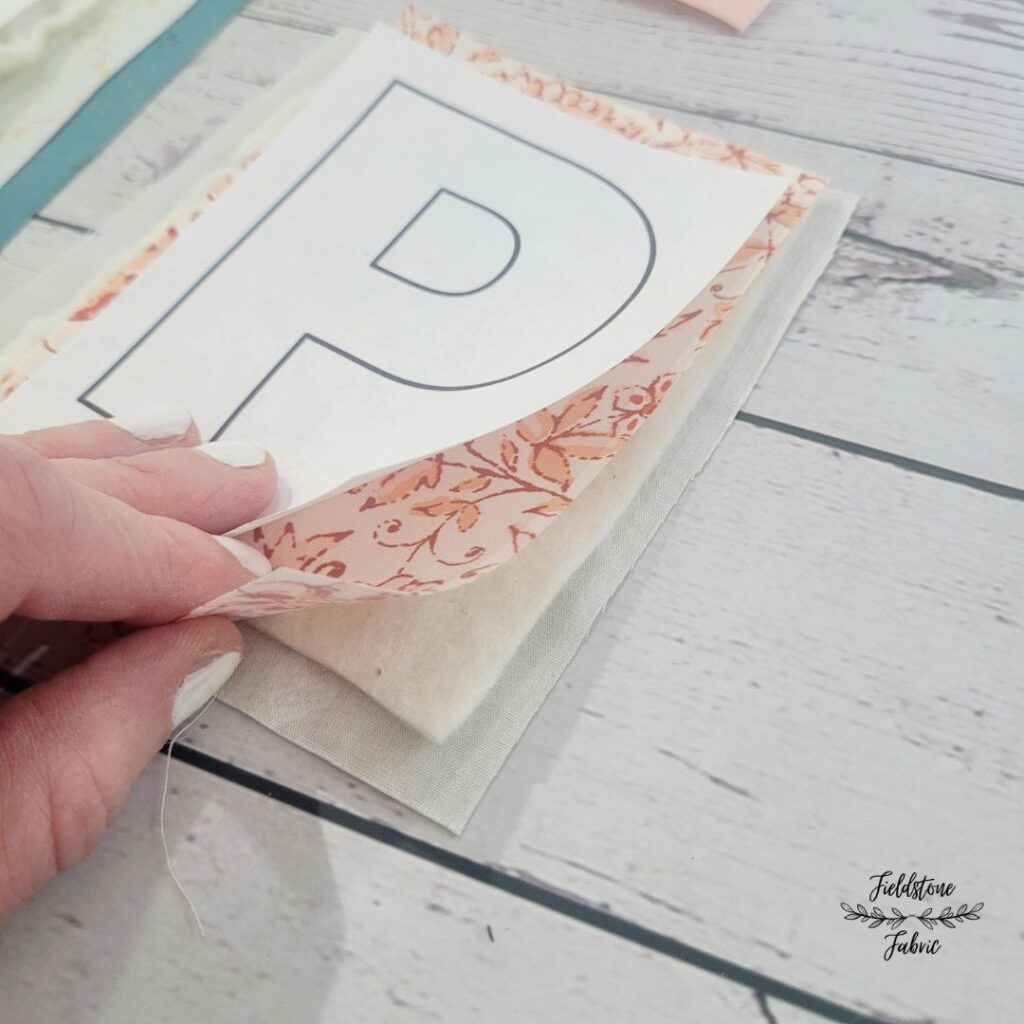
2. Make Mini Quilt Sandwiches
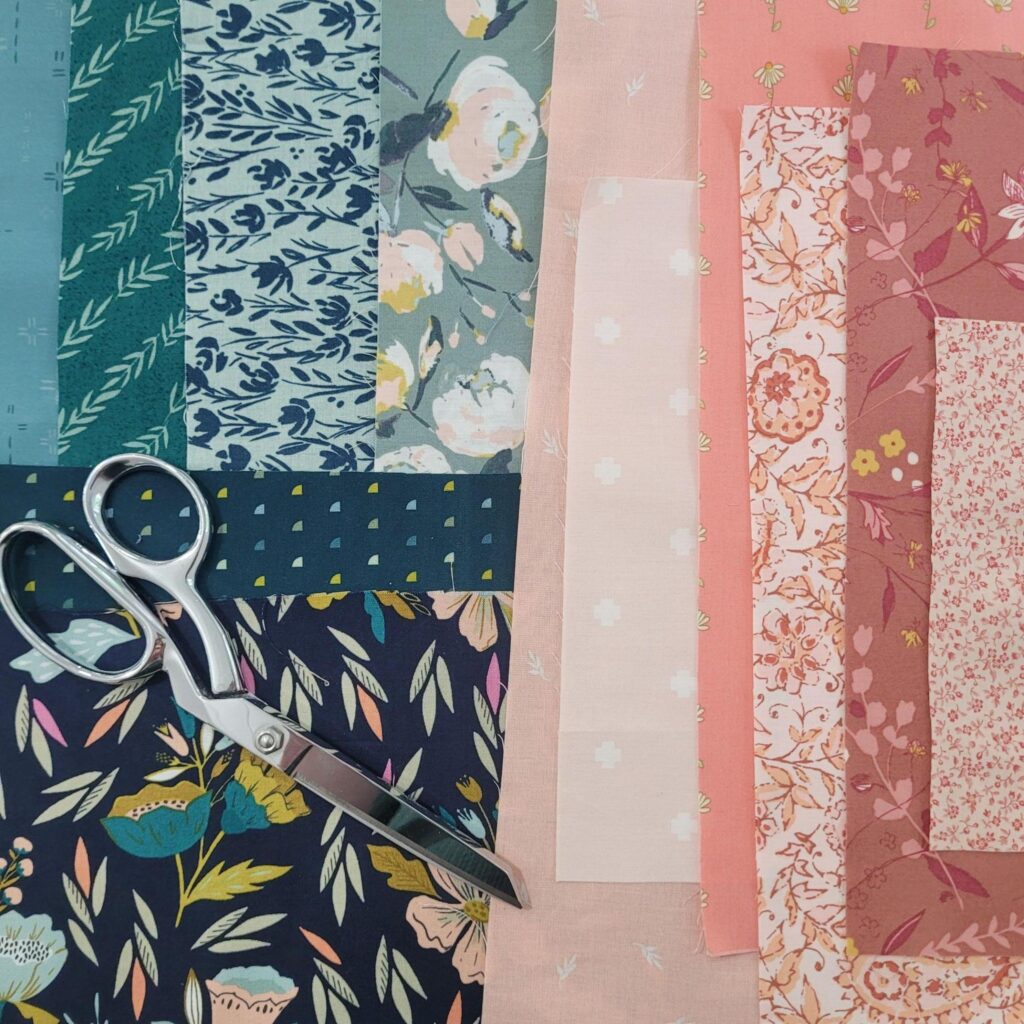
For each letter, cut fabric scraps slightly larger than your printed letter. Then layer the pieces like this:
Backing fabric (right side down)
Batting
Top fabric (right side up)
Paper letter (on top)
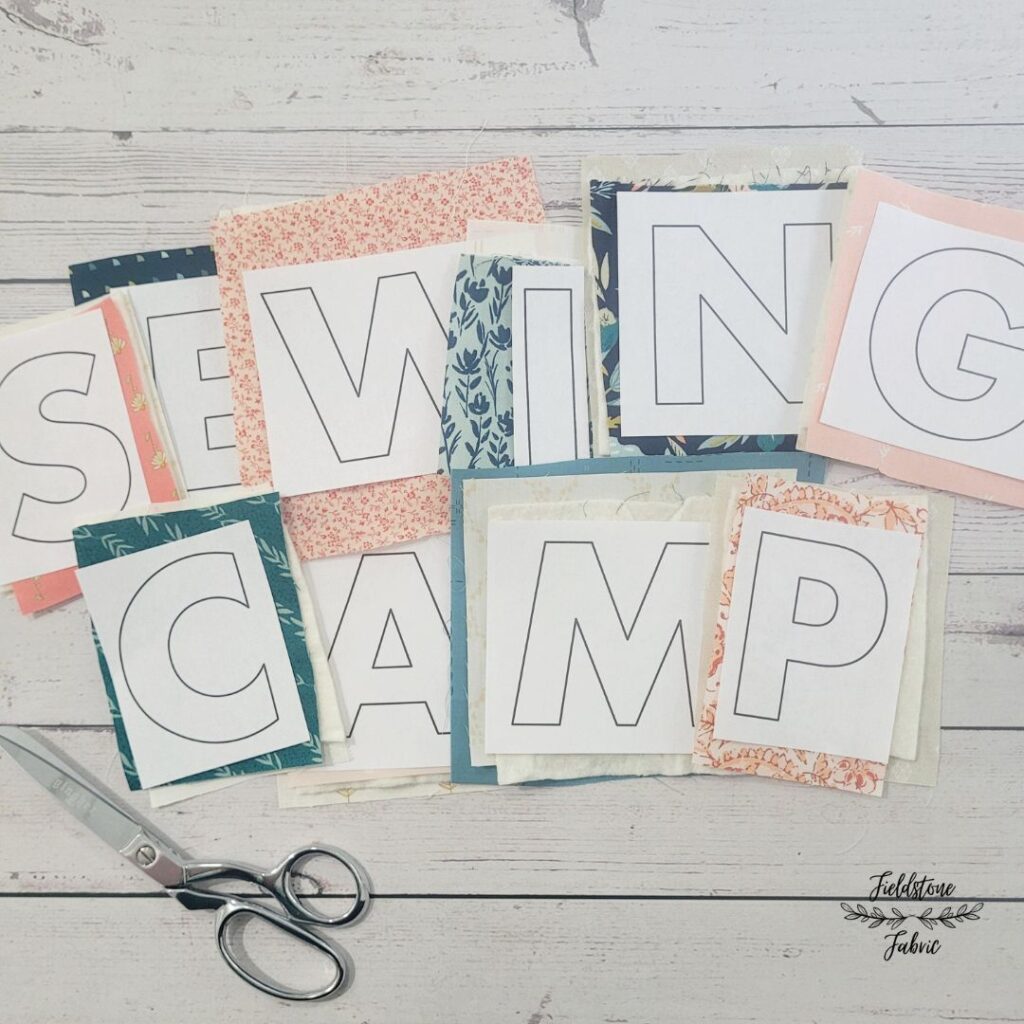
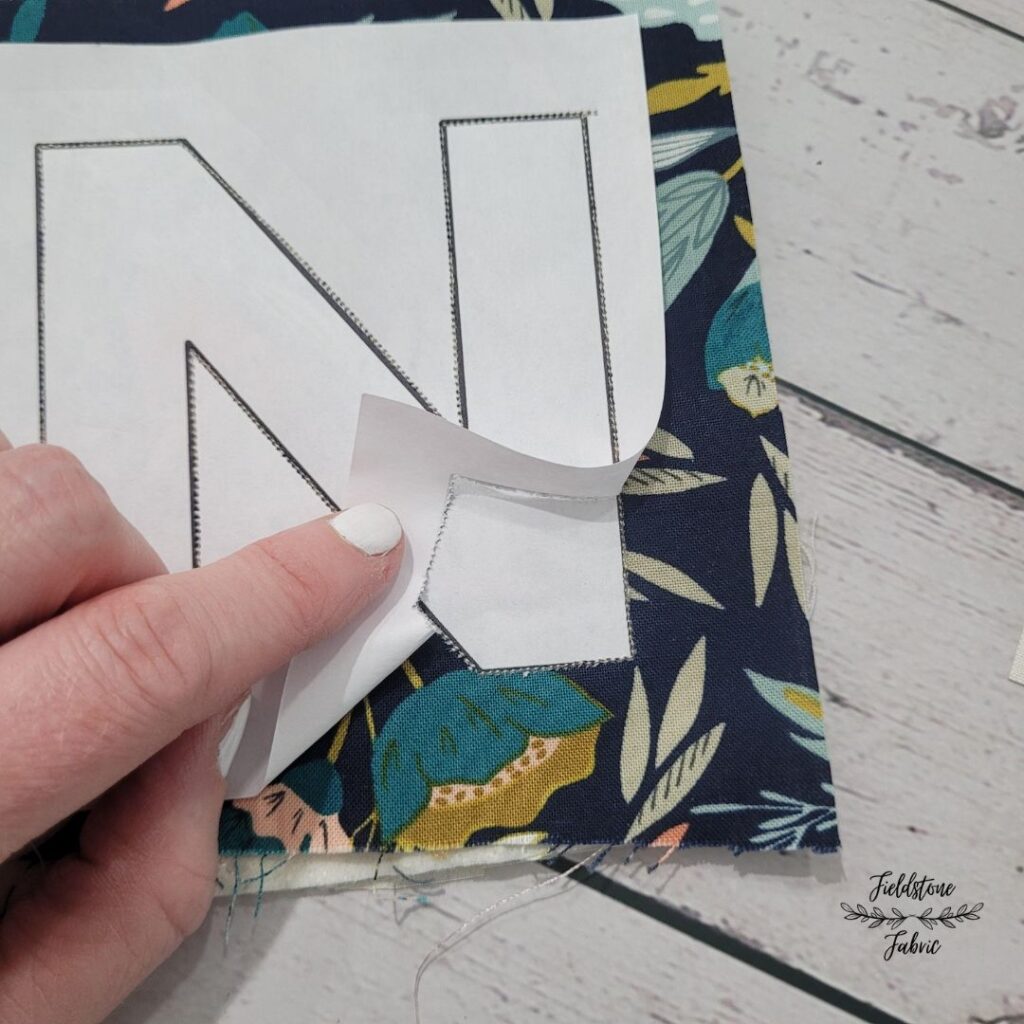
3. Sew Around Each Letter
Shorten your stitch length to make removing the paper easier. Sew directly on the letter outline, tracing it with your machine.
4. Remove Paper + Trim
Gently tear away the paper. Then use pinking shears to trim around each letter—about ¼” from the stitching line—to give it a fun, finished edge.
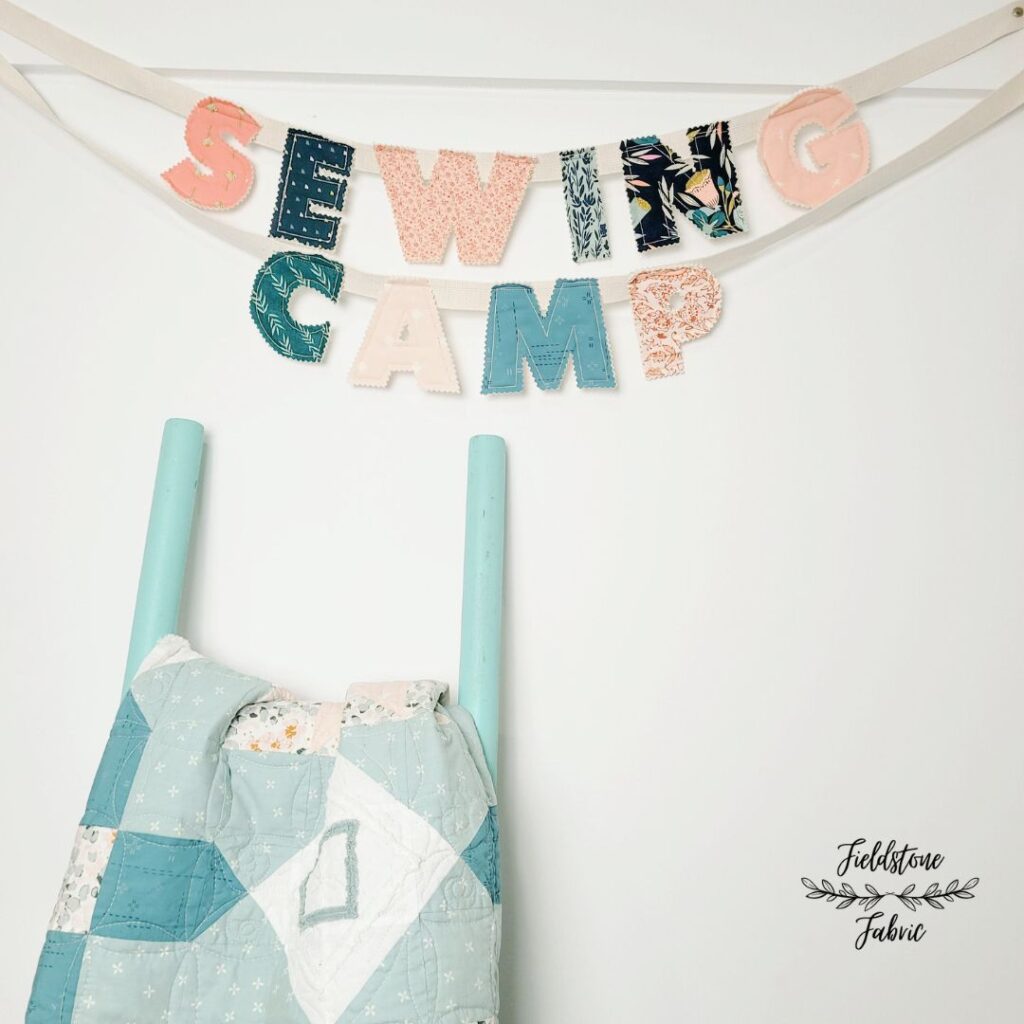
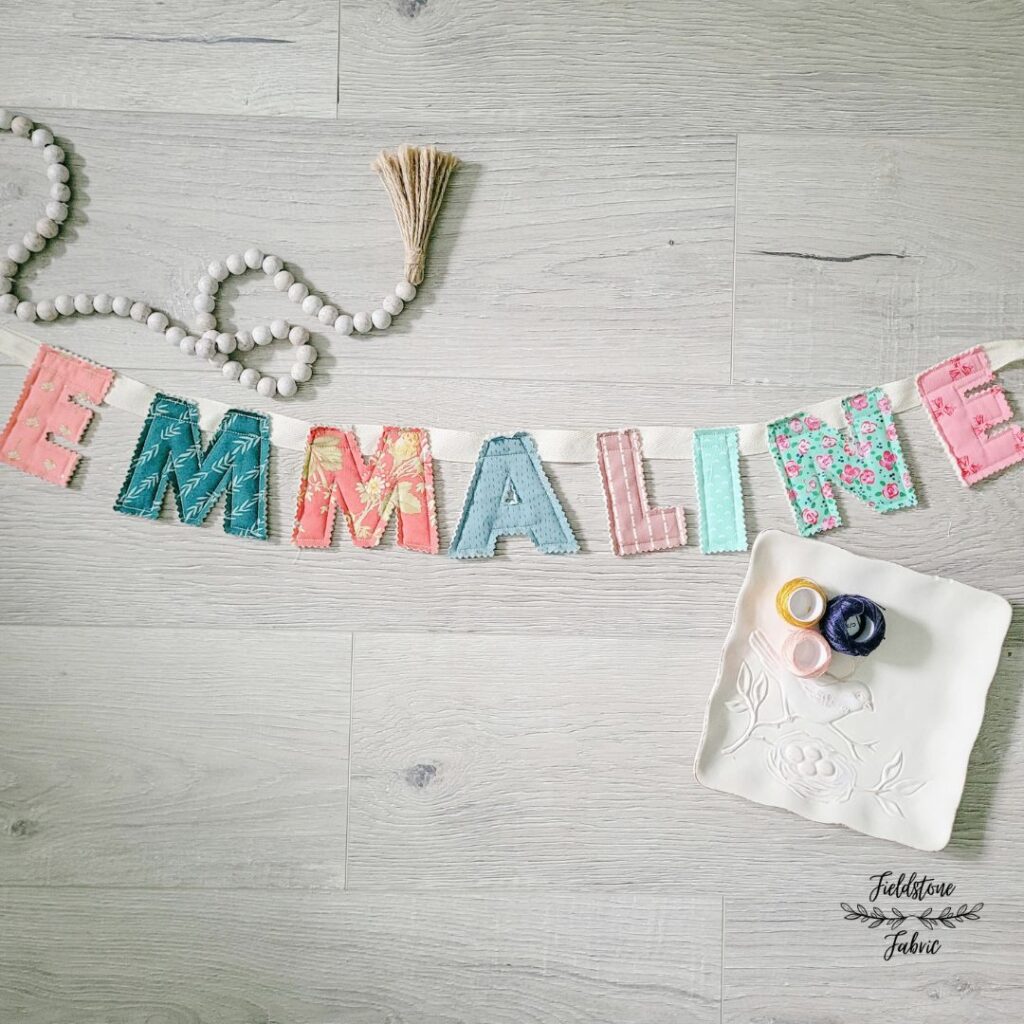
5. Make It a Banner (Optional)
Want to hang the letters? Lay them out evenly along a length of cotton webbing or twill tape. Align the tops of the letters and sew across each one to attach. Or, leave the letters loose so kids can mix and match, spell their names, or play with the alphabet!
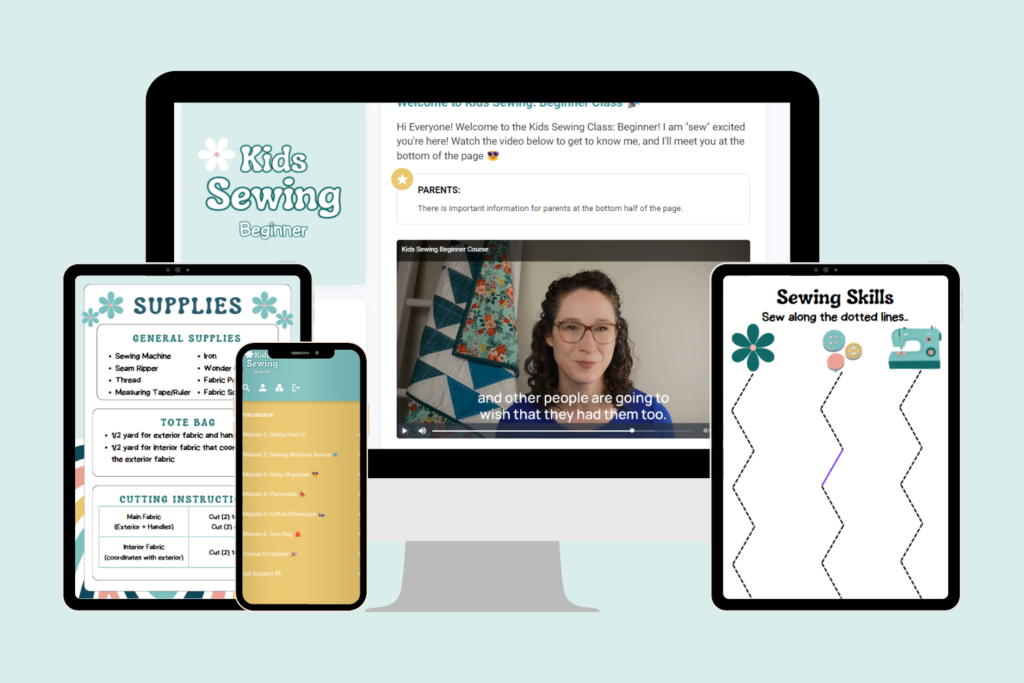
👩👧 Want to Start Sewing with Your Child?
I created a 6-module digital sewing course just for kids—packed with:
Step-by-step video tutorials
Printable patterns
4 fun, beginner-friendly projects
Encouragement and support every step of the way
Perfect for ages 8+, and even better if you want to learn together!