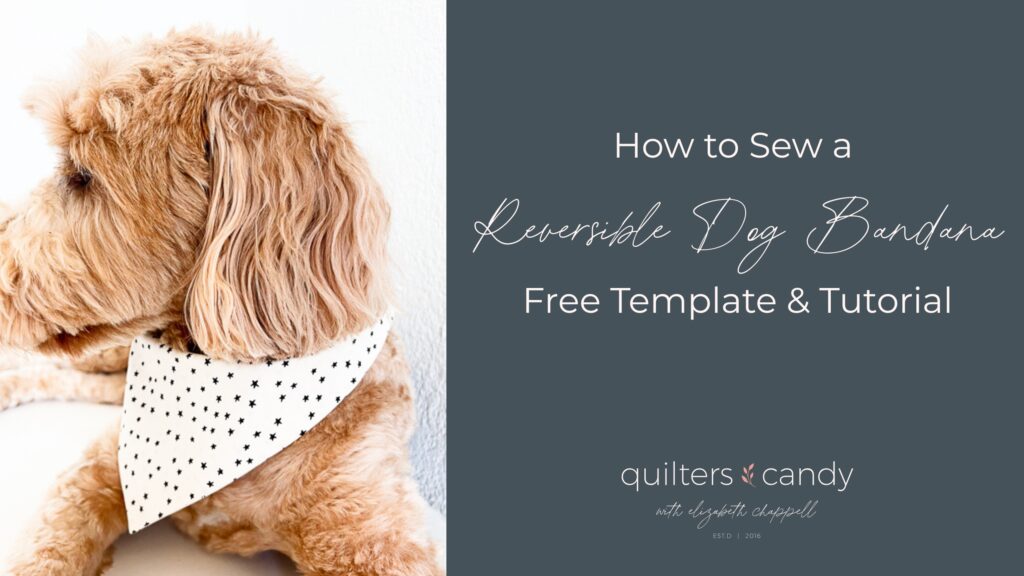
How to Sew a Reversible Dog Bandana – Free Template & Tutorial
Elizabeth Chappell
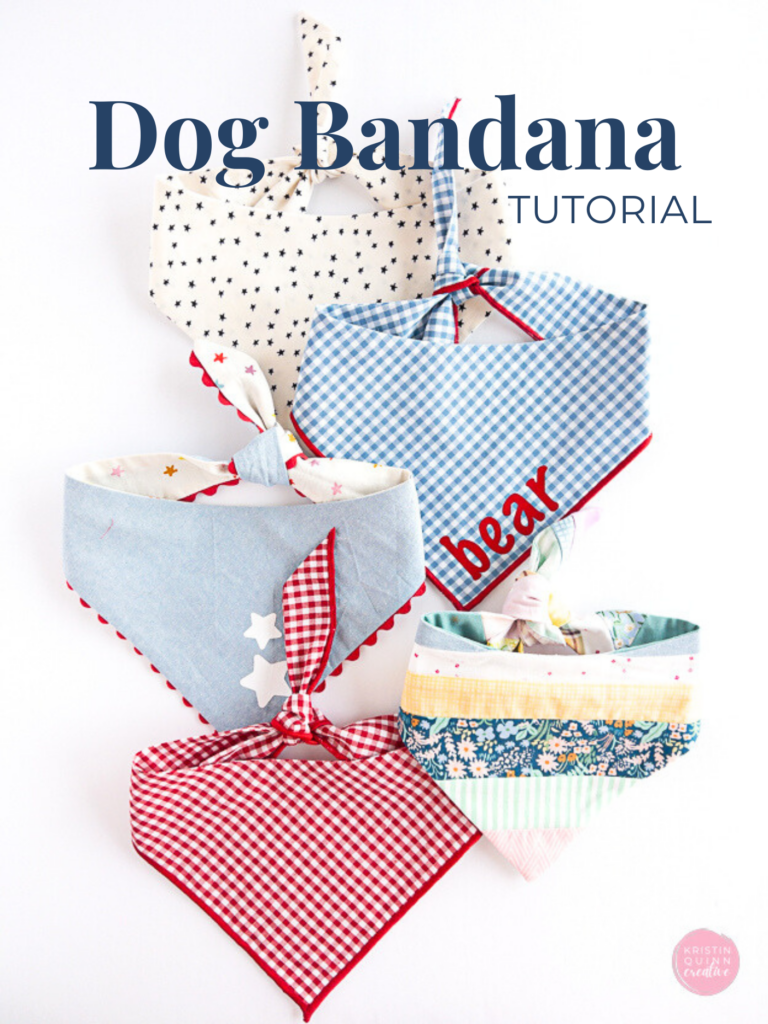
Hello Quilter’s Candy readers! I’m Kristin from Kristin Quinn Creative, hello@kristinquinncreative.com, where I run an online fabric store, offer quilt patterns, and sell a few handmade goodies. Like many of you, I love diving into a long quilt project—but sometimes, I just want a quick, satisfying finish. One of my go-to makes in between quilts? Dog bandanas!
These bandanas are not only adorable—they’re functional, customizable, and sew up in no time. They make the perfect gift, craft fair item, or seasonal accessory for your pup. And today, I’m sharing my go-to method for making these reversible, tie-on dog bandanas, plus fun variations to personalize them even more.
There are a lot of dog bandana tutorials out there, but this one is my favorite for a few key reasons:
Curved Neckline: Less bulky and more comfortable for your pet.
Fully Finished on Both Sides: No wrong side = reversible style!
Adjustable Tie-On Fit: Great for growing pups or long-haired dogs.
Let’s jump into the tutorial!
✂️ Materials You’ll Need
Free bandana templates (linked above)
Printer + paper
Scissors and tape
12″–24″ square of fabric (check your template for exact size)
Fabric scissors or rotary cutter
Sewing machine and thread
Blunt tool for turning (like a chopstick or pencil)
Iron and ironing board
🐾 How to Make a Reversible Dog Bandana
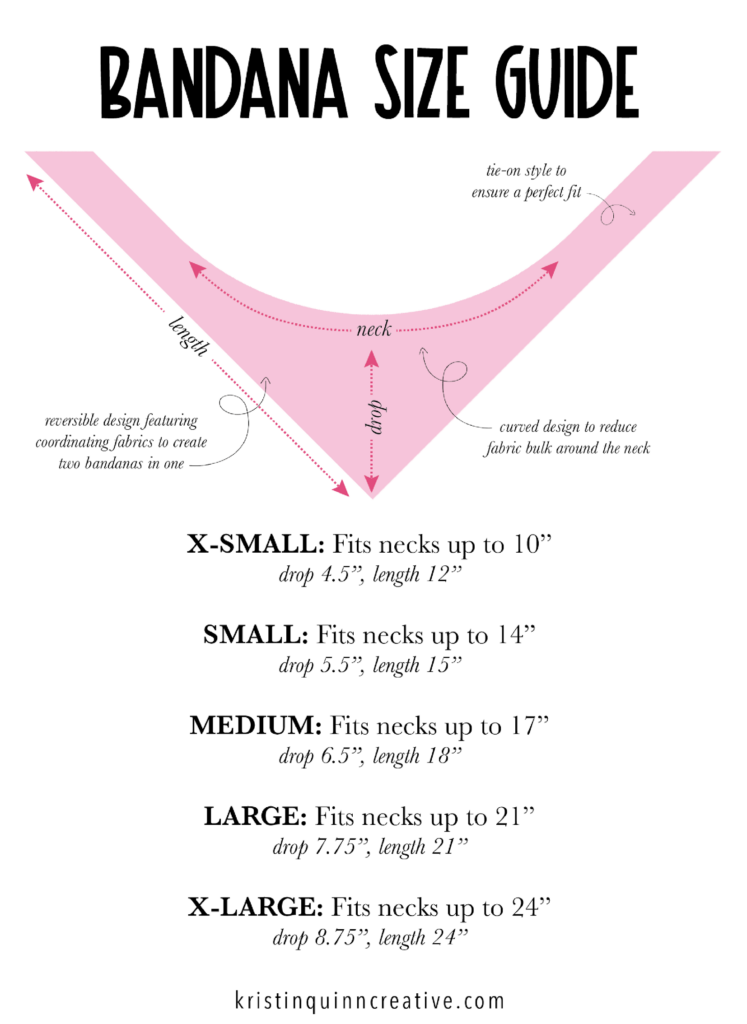
1. Measure Your Pet’s Neck
Use a soft tape measure (or string + ruler). It should fit snugly but comfortably—make sure you can slide two fingers underneath.
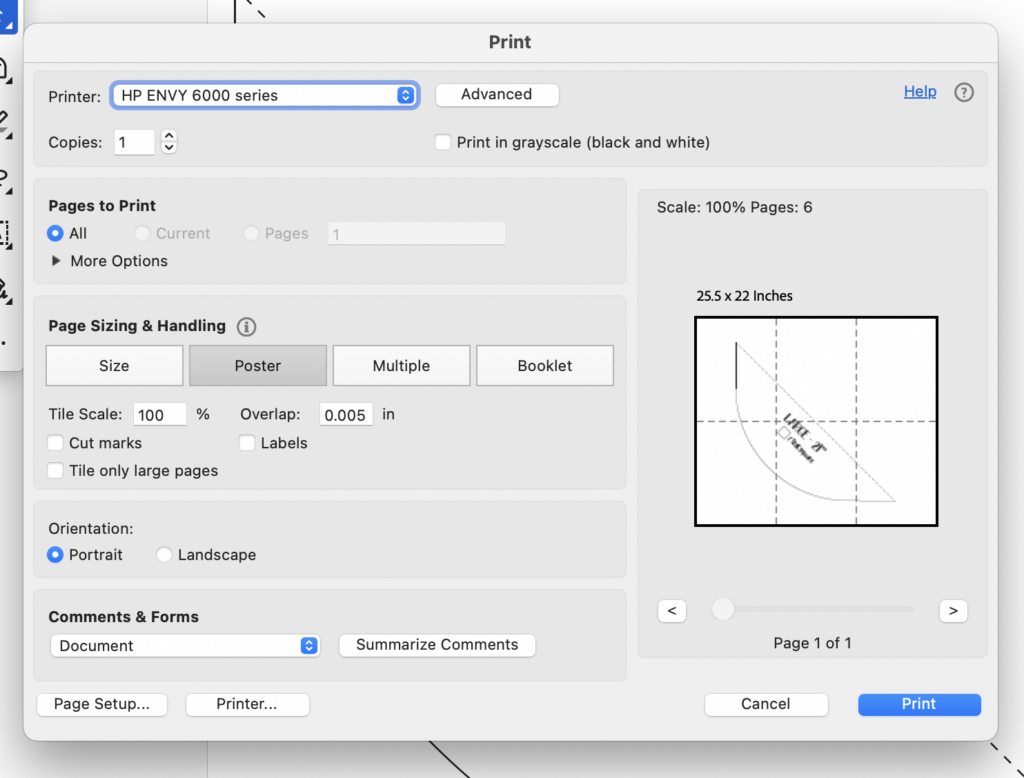
2. Print and Assemble Your Template
Select “Poster” under “Paper Sizing and Handling.”
Print at 100% with a ½” overlap.
Tape the pages together and cut out your template.
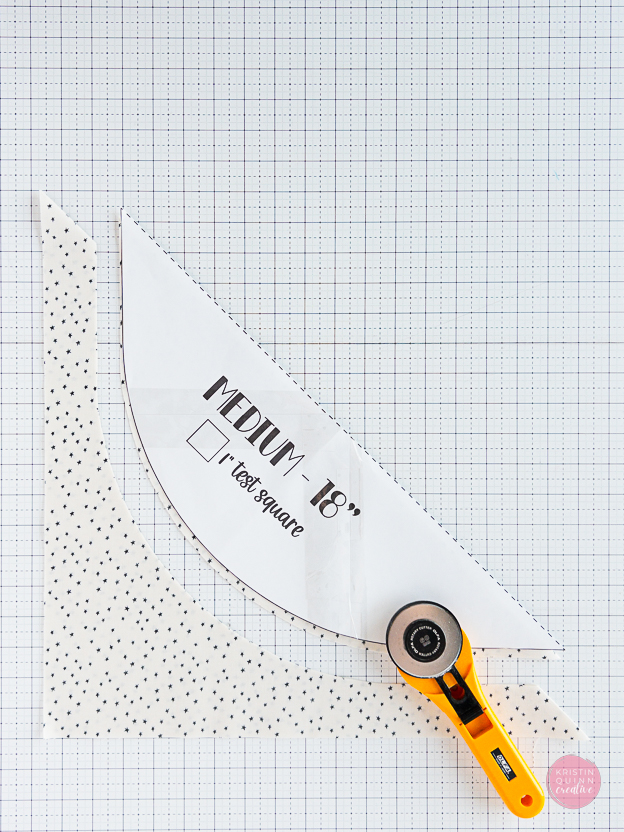
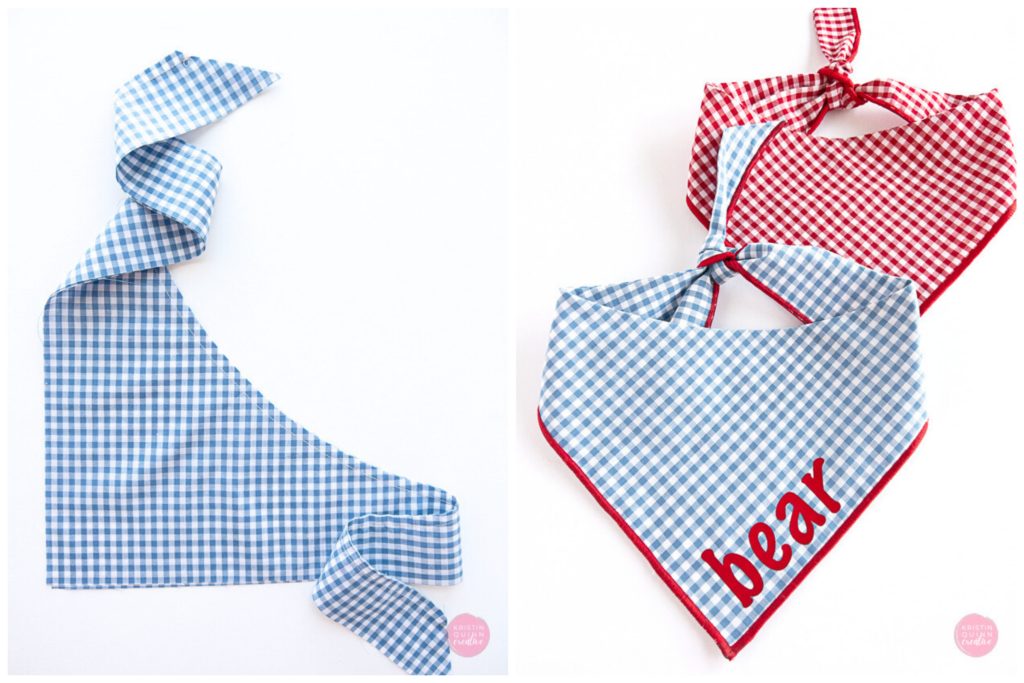
3. Cut Your Fabric
Cut your fabric square to the size indicated on your template. For example, a medium bandana calls for an 18” square.
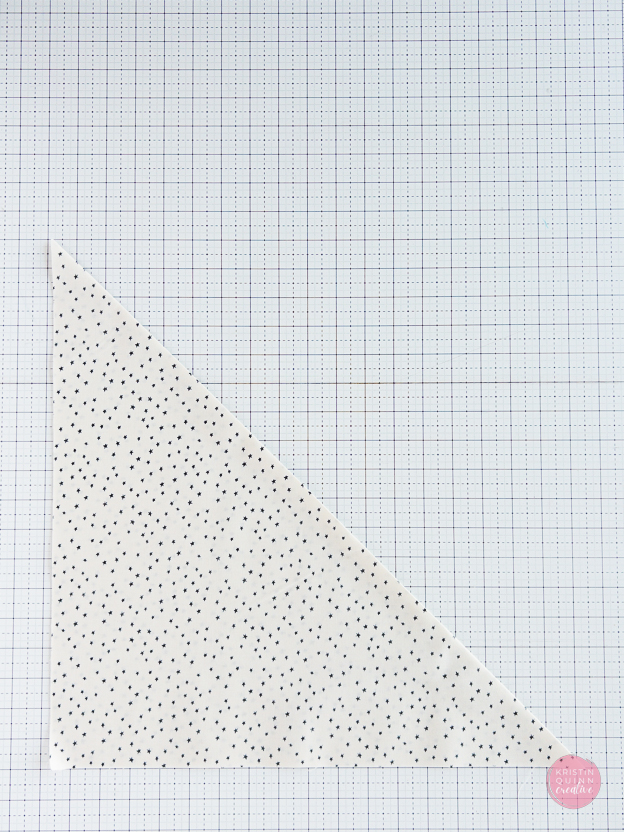
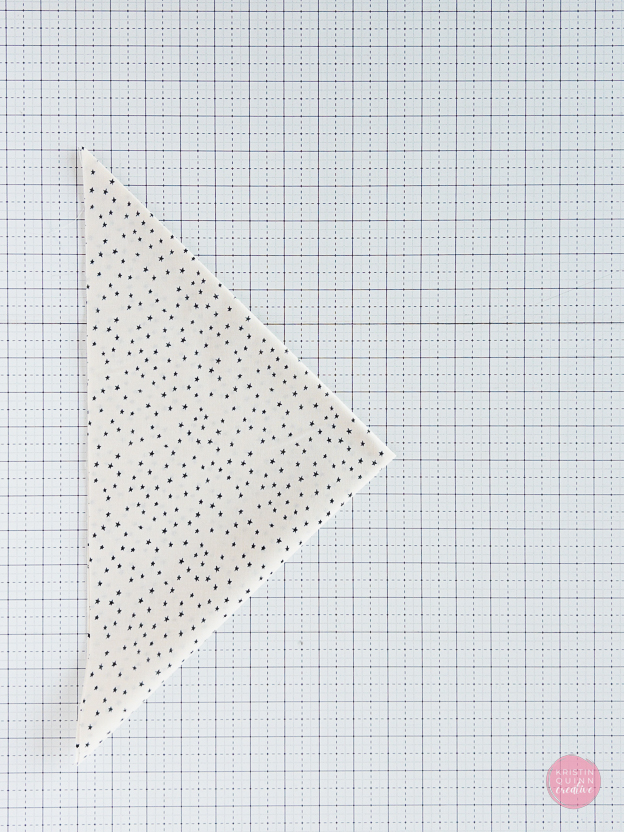
4. Prep Your Fabric
Fold the square diagonally (right sides together) and press.
Fold again to find the center of the diagonal and finger press.
5. Trace and Cut
Line up the straight edge of the template along the diagonal fold, matching the creases. Trace and cut the curved shape. Set aside the curved scrap for your scrap bin.
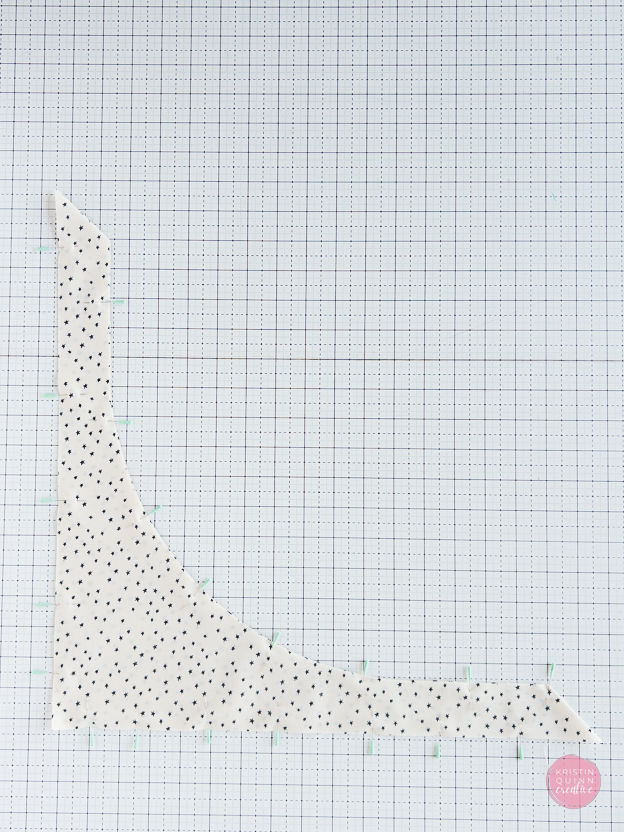
6. Pin and Sew
Pin the curved and straight edges.
Sew with a ¼” seam allowance, leaving a 3” gap for turning.
Backstitch at the beginning and end.
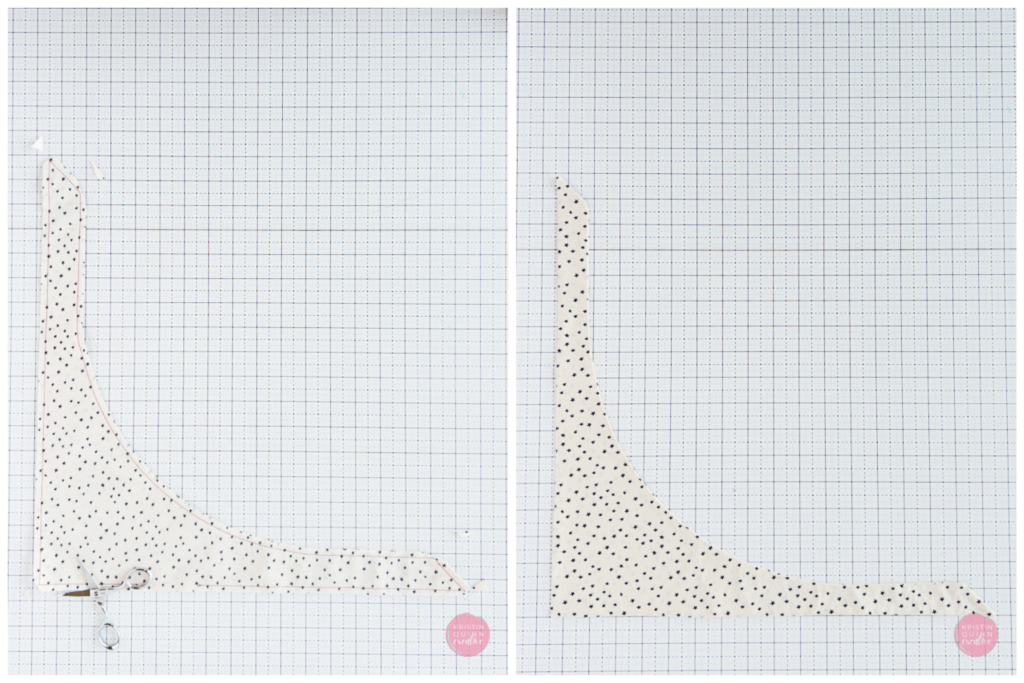
7. Turn and Press
Trim corners and turn right side out.
Use a blunt object to push out the corners.
Press well, folding in the gap.
8. Finish the Bandana
Topstitch around the edge with an ⅛” seam allowance, or hand-stitch the gap closed if you prefer no topstitching.
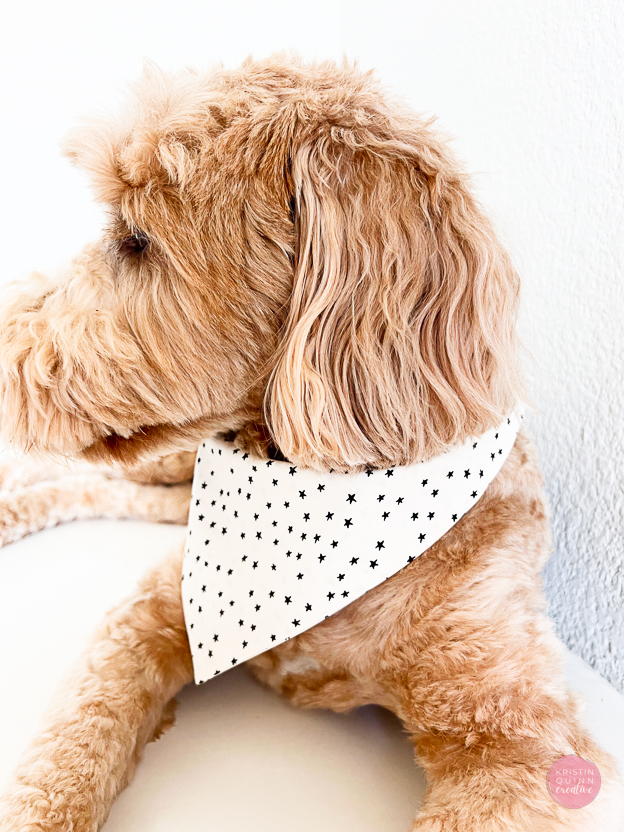
Now it’s ready to tie on your furry friend!
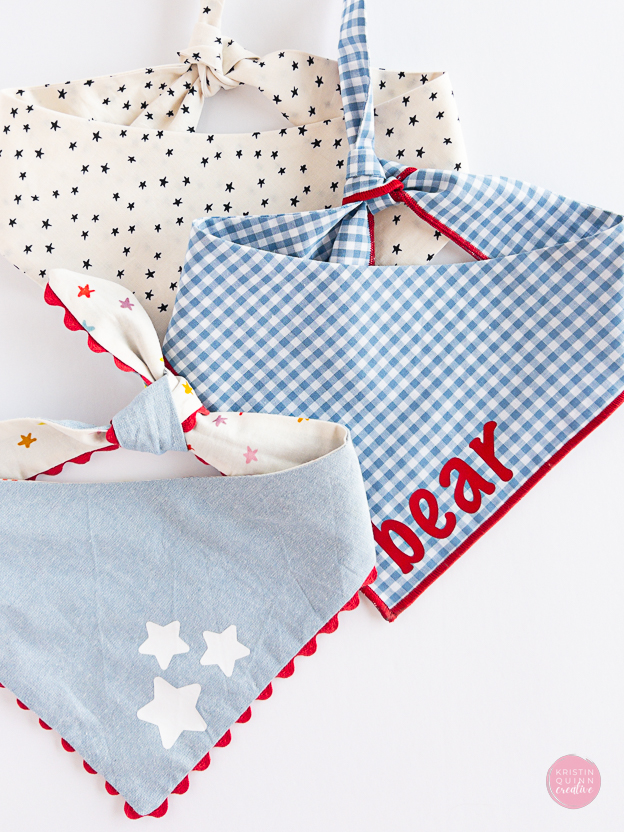
🎨 Fun Bandana Variations
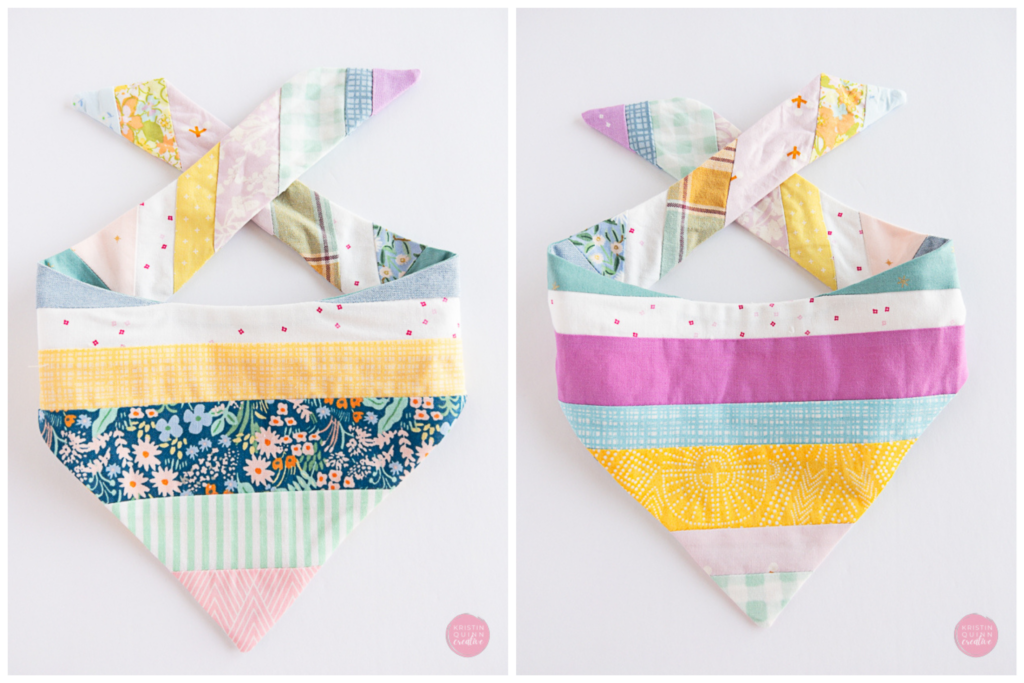
🧵 Use a Quilt Block
Turn a lonely quilt block into a stylish pet accessory! Just make sure it finishes at the right size for your template.
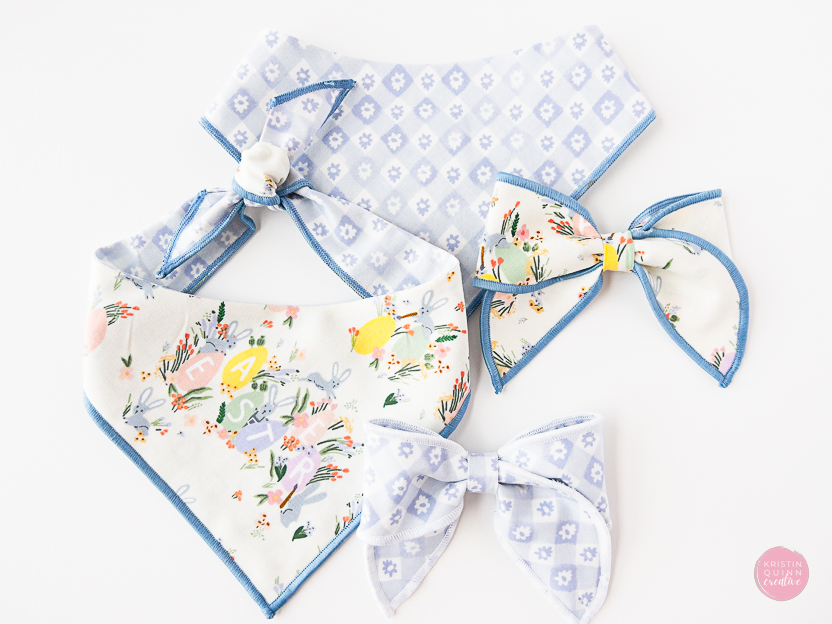
🔄 Reversible Mix-and-Match
Use two coordinating fabrics and cut each on the diagonal. Mix and match the two halves before sewing them back together for a reversible look.
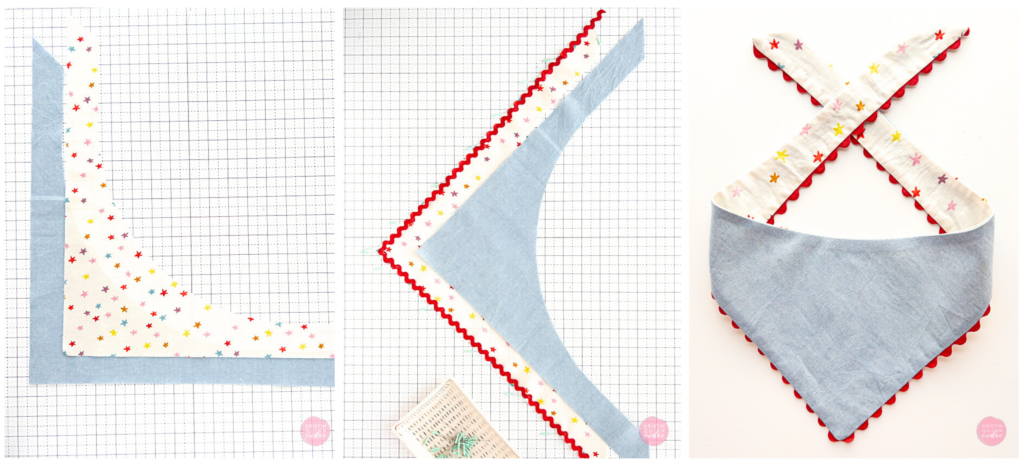
🌼 Add Ric Rac
Before sewing right sides together, pin Ric Rac along the bottom fabric’s edge, placing it just inside the seam line. You’ll see a cute pop once it’s turned out!
✨ Rolled Hem with a Serger
Sew the curved edge only, turn right side out, and finish the straight edges with a rolled hem on your serger. It adds flair and function!
These DIY dog bandanas are quick, addictive, and so easy to personalize. I’d love to see what you create! Tag me on Instagram @kristinquinncreative so I can admire your cute pups in their new accessories.