Make a Fabric Hot Pad! Looking for a fun and functional sewing project? This DIY fabric hot pad is perfect for protecting your countertops and adding a handmade touch to your kitchen. Featuring a classic log cabin quilt block design, this 8.5” x 8.5” hot pad is beginner-friendly and a great way to use up fabric scraps. Plus, we’ll add a fabric tab for easy hanging!
Let’s dive into the step-by-step tutorial.
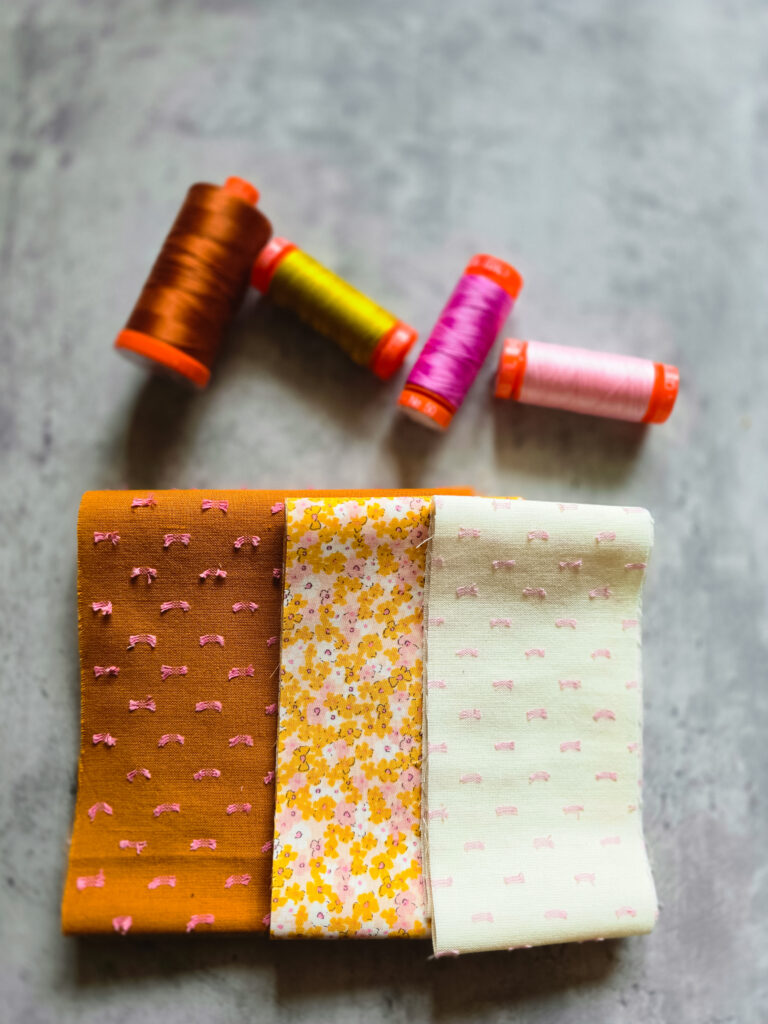
Materials Needed
To make one 8.5” x 8.5” fabric hot pad, gather the following materials:
Cotton fabric scraps (for the log cabin block)
1 piece of backing fabric (8” x 8”)
1 piece of batting (8” x 8”) – cotton or Insul-Bright for extra heat protection
1 extra piece of insul-bright or an extra batting layer (optional for heat resistance)
Fabric for the binding (2.5” x 36” strip)
1 small fabric strip (2” x 5”) for the hanging tab
The log cabin quilt block is built around a central square, with strips added in a circular pattern.
Cut your fabrics:
Center square: 2.5” x 2.5”
First round of strips: Two 2.5” x 1.5” and two 4” x 1.5”
Second round of strips: Two 4” x 1.5” and two 6” x 1.5”
Final round of strips: Two 6” x 1.5” and two 7” x 1.5”
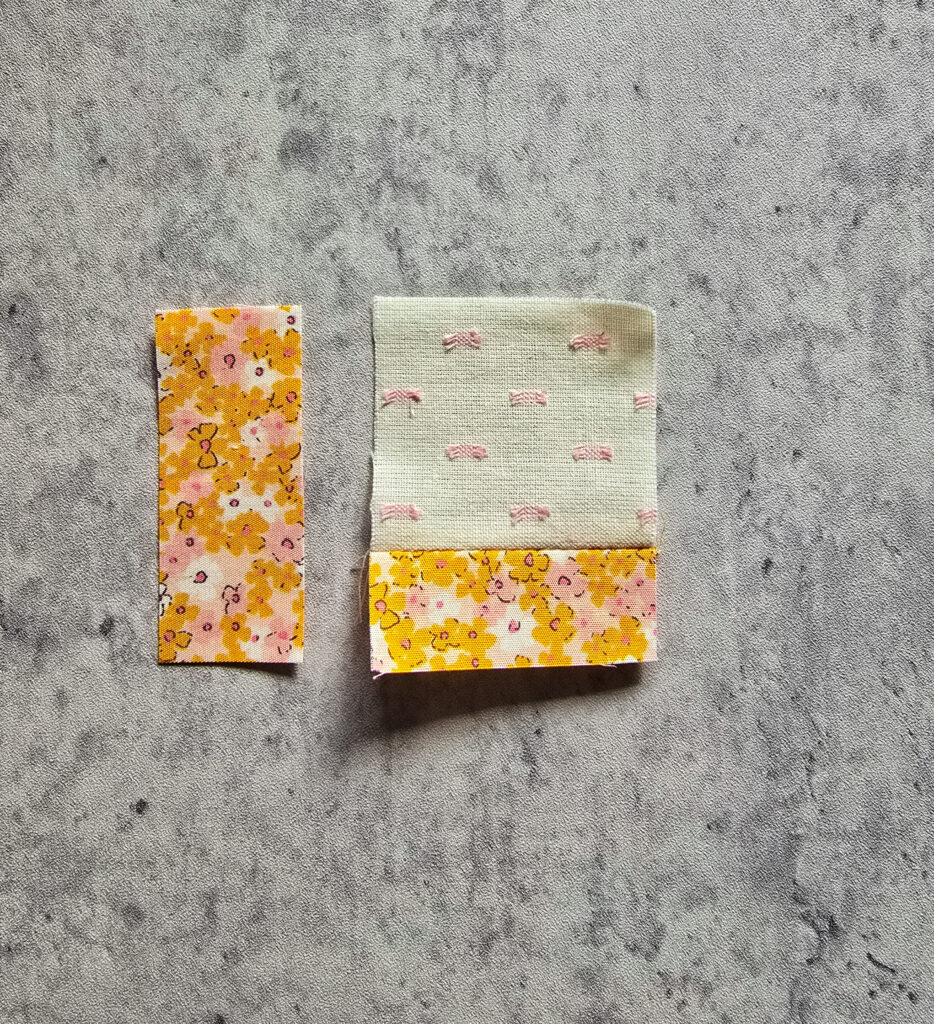
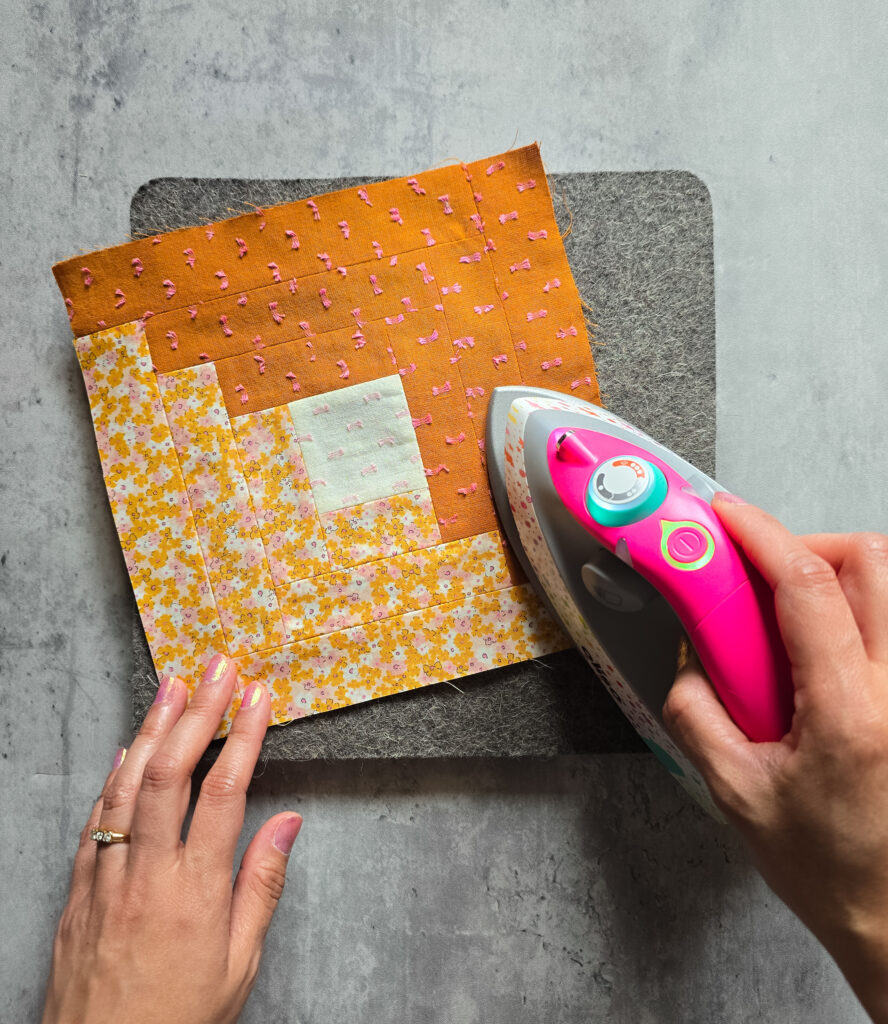
Sew the block together:
Start by attaching the first 2.5” x 1.5” strip to one side of the center square.
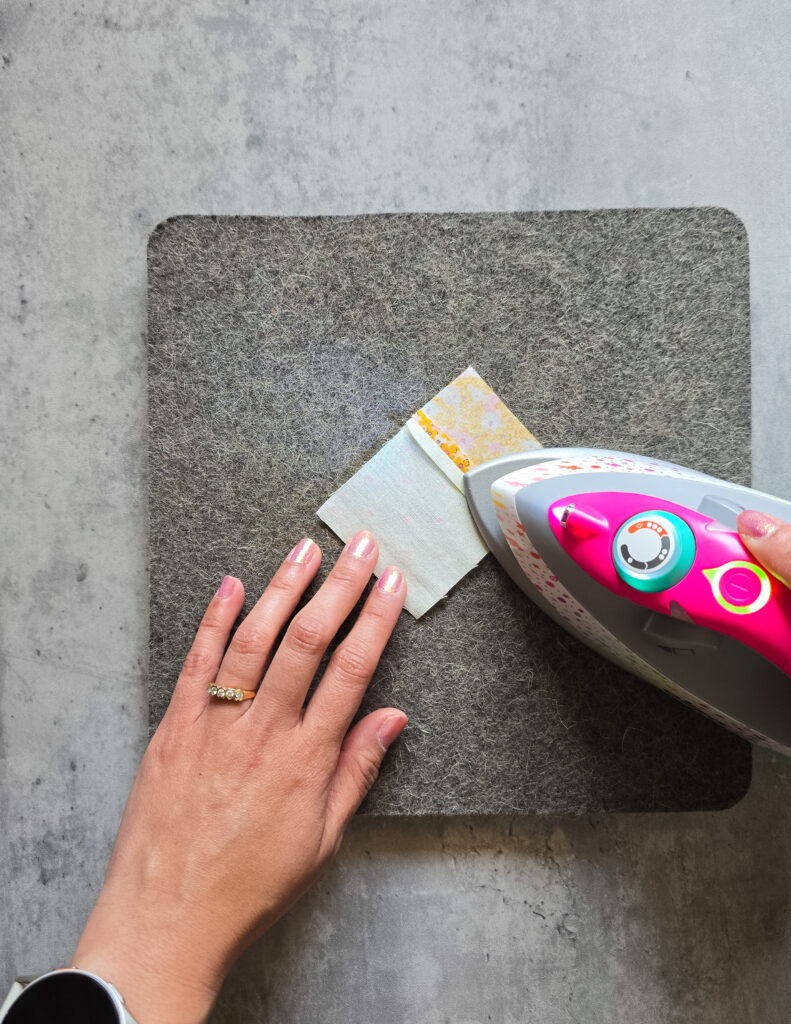
Press the seam open, then add the second 2.5” x 1.5” strip.
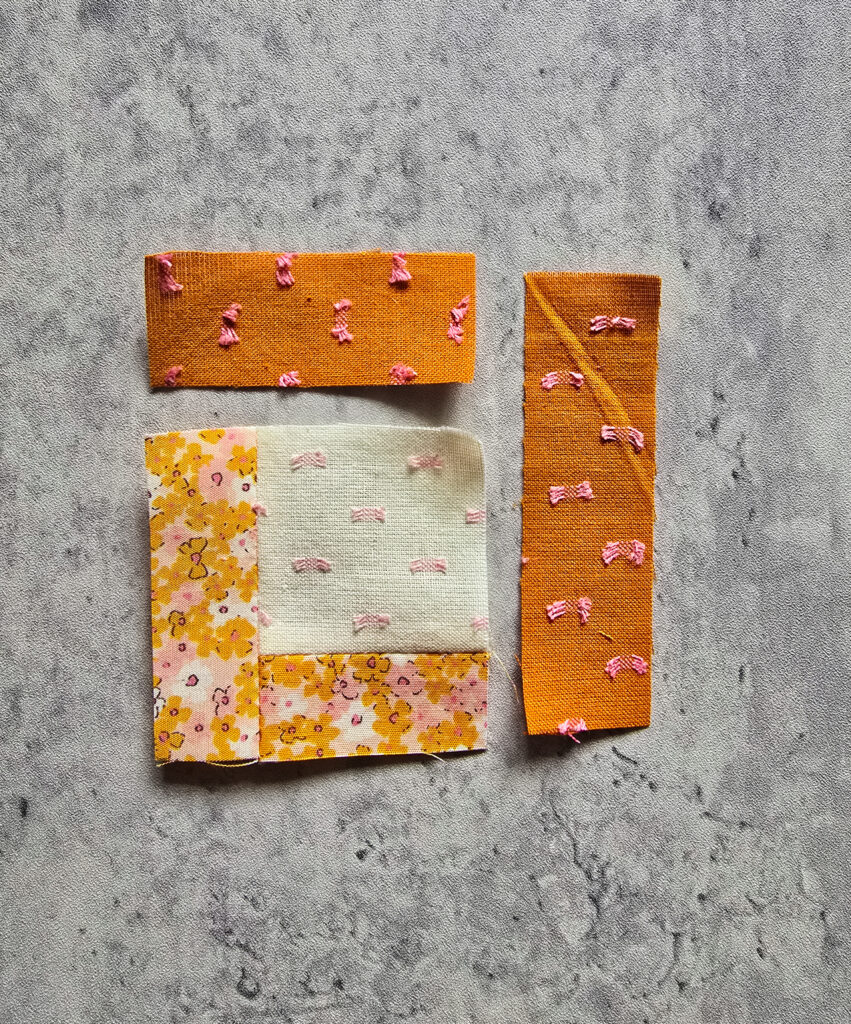
Continue adding strips in the log cabin pattern, pressing seams after each addition.
Trim your block to 8” x 8”.
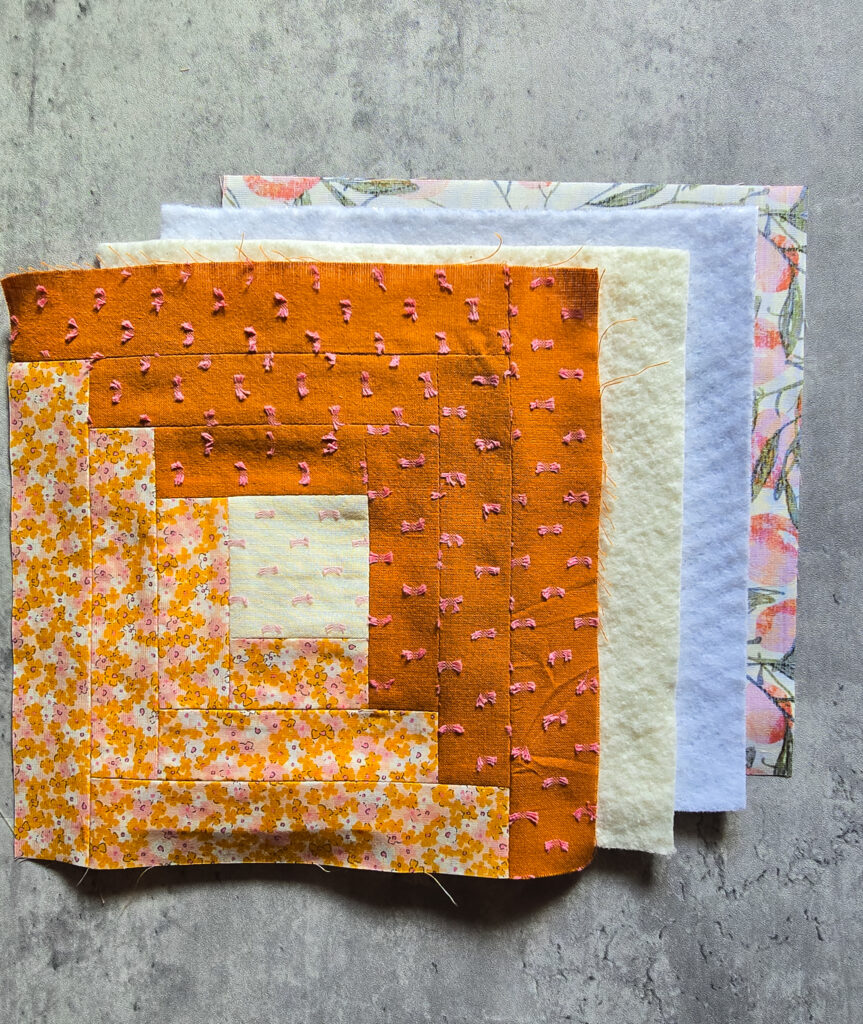
Step 2: Assemble the Hot Pad
Layer the pieces:
Place the backing fabric right side down.
Add the batting (and optional Insul-Bright) on top.
Place the log cabin block right side up.
Pin or clip everything in place.
Quilt the layers together:
Quilt as desired—straight-line quilting or stitch-in-the-ditch along the log cabin seams works well.
Trim the quilted piece to exactly 8” x 8”.
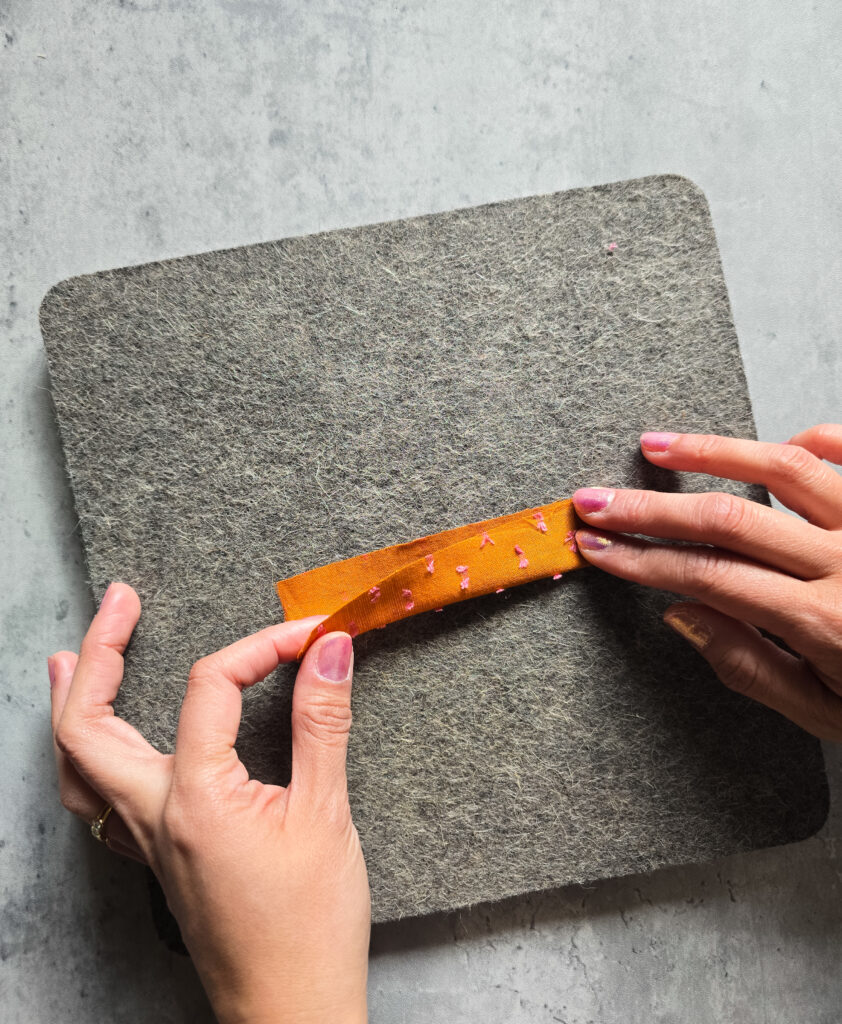
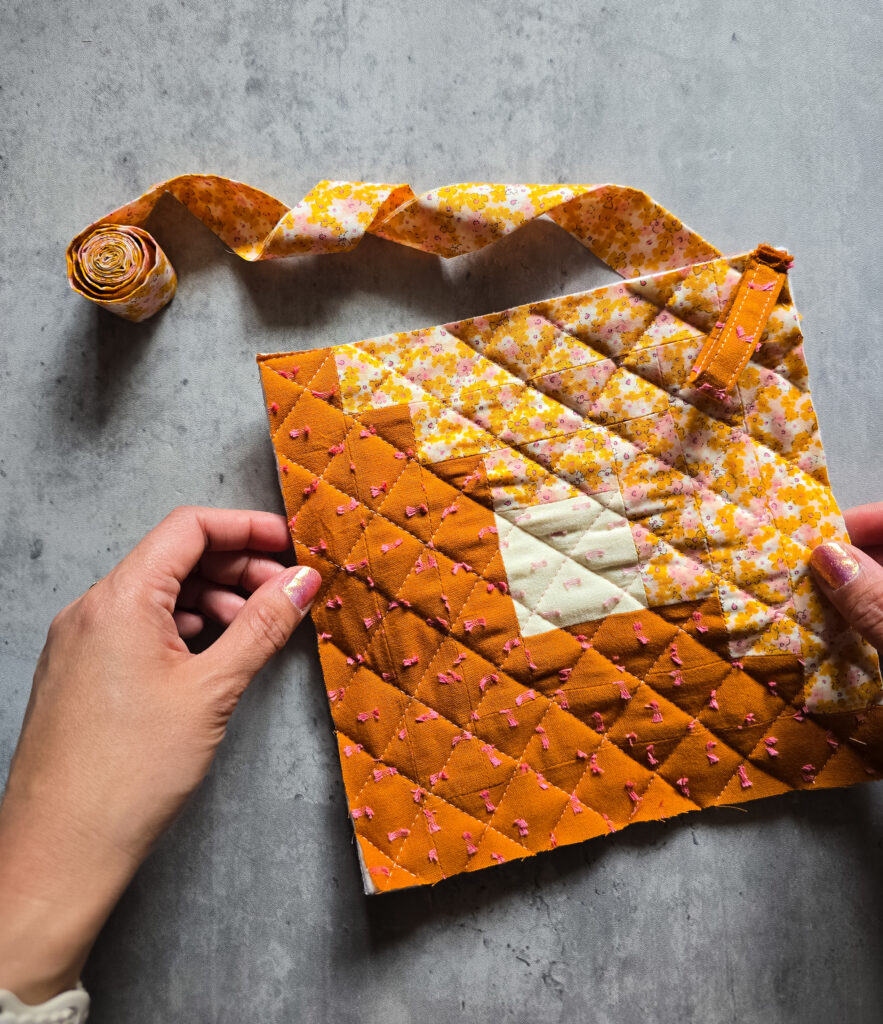
Step 3: Add the Hanging Tab
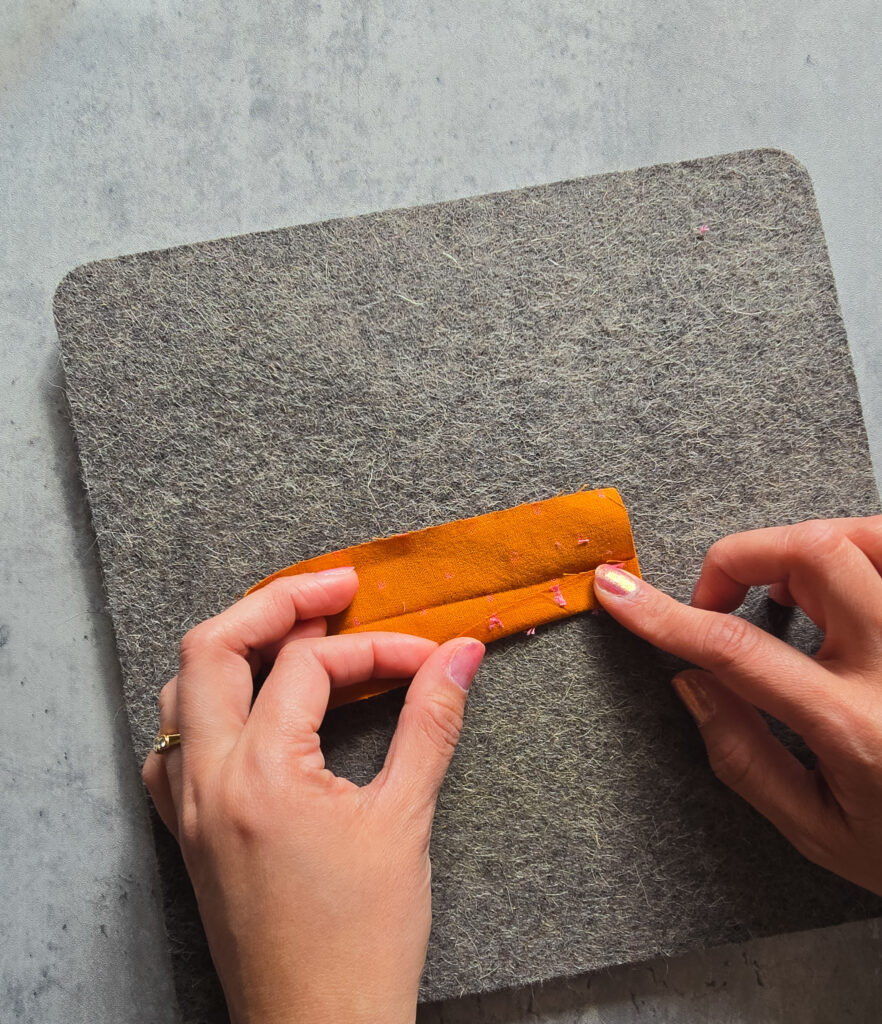
Prepare the tab:
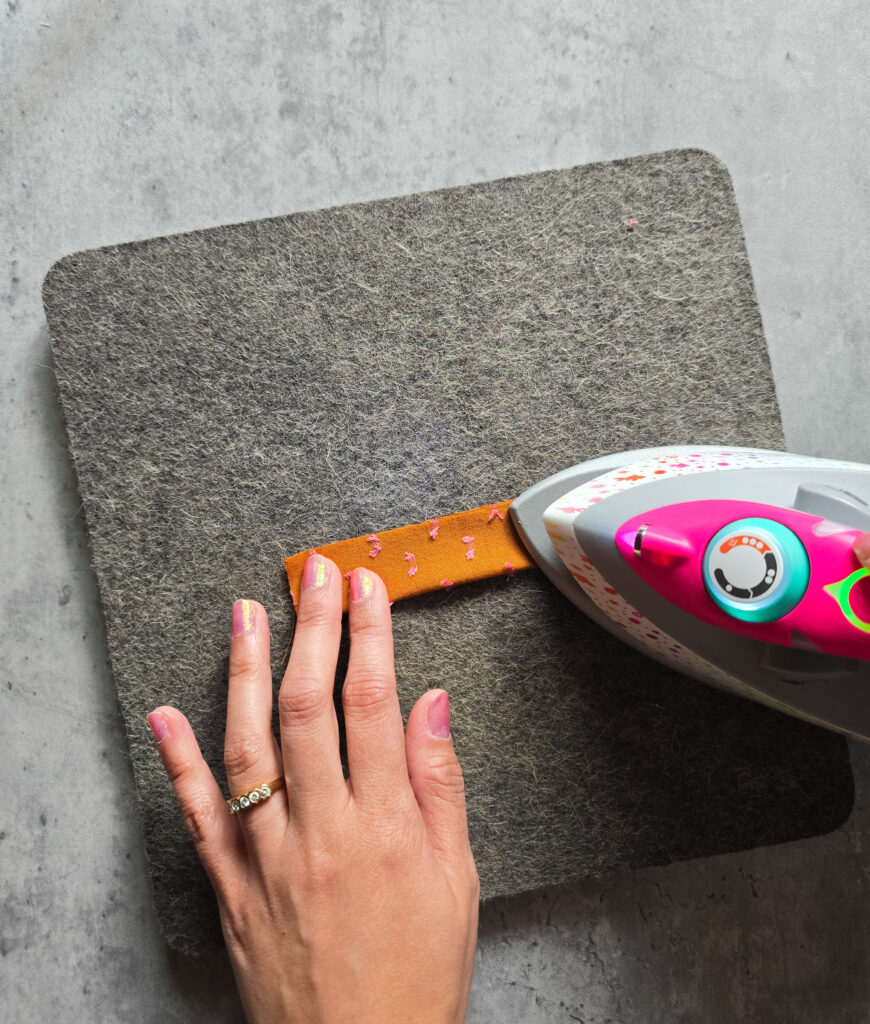
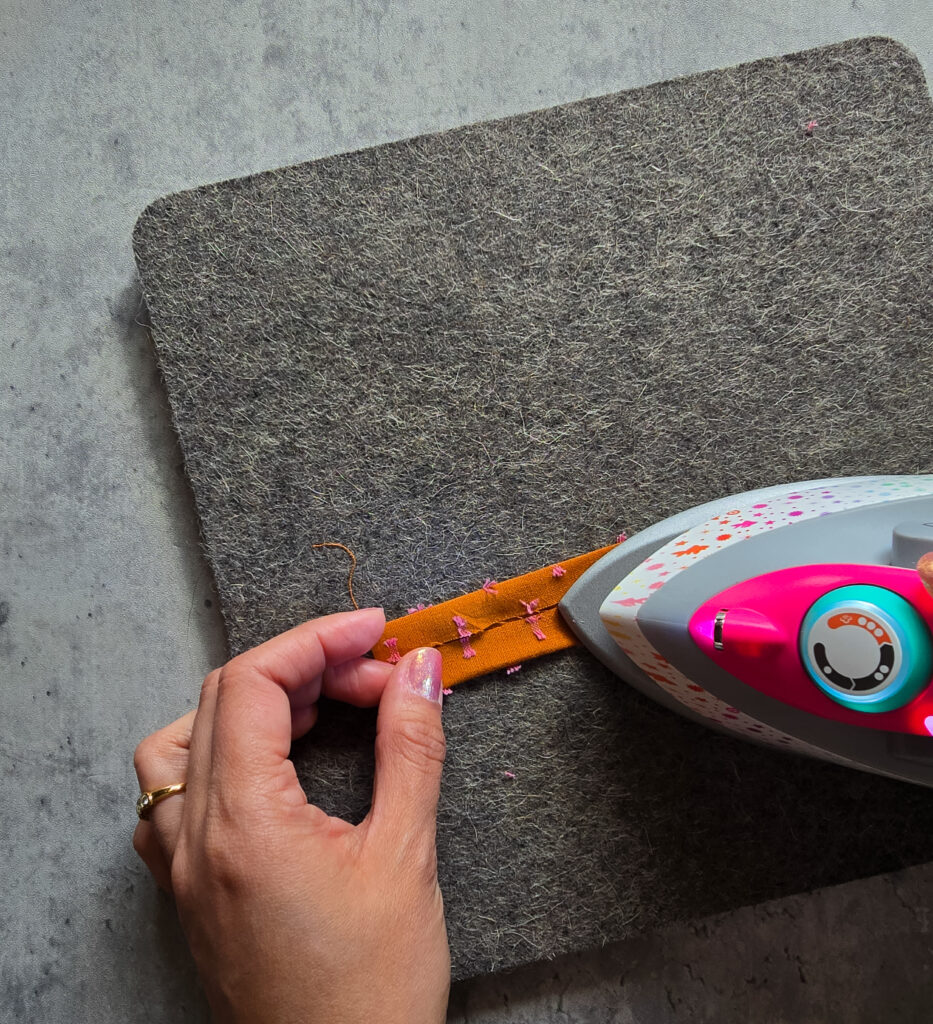
Fold the 2” x 5” fabric strip in half lengthwise and press.
Open it up, fold the long edges toward the center, and press again.
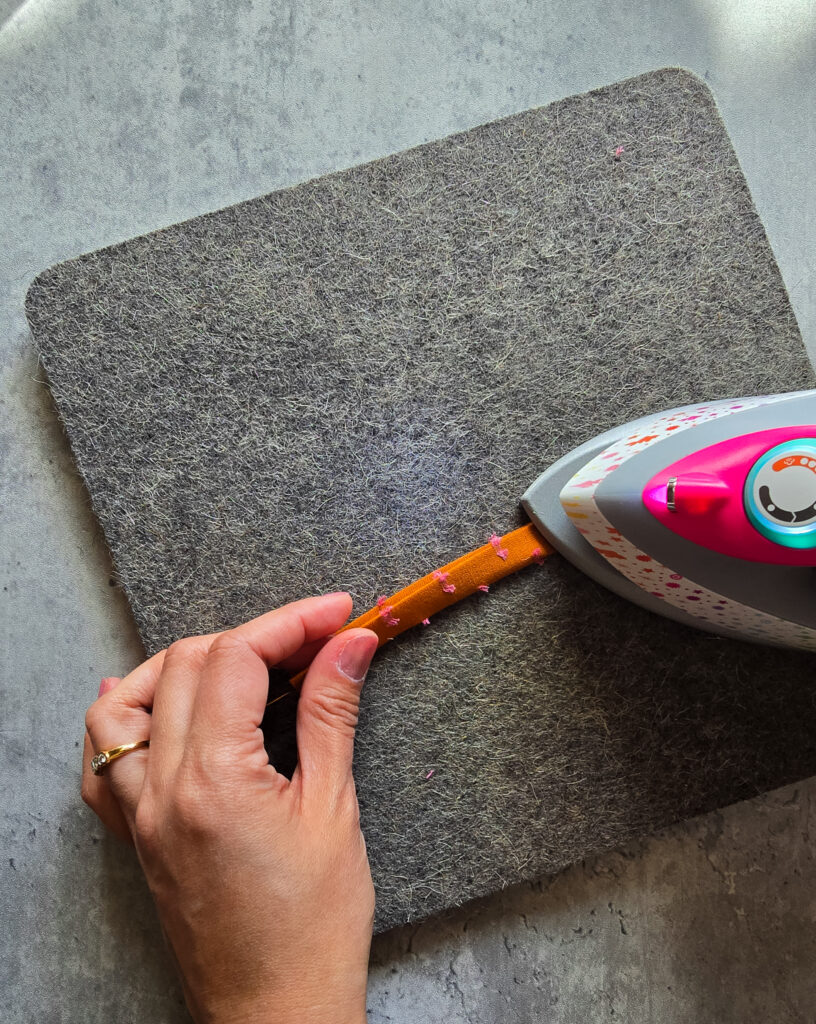
Fold it in half, enclosing the raw edges, and stitch along the edge.
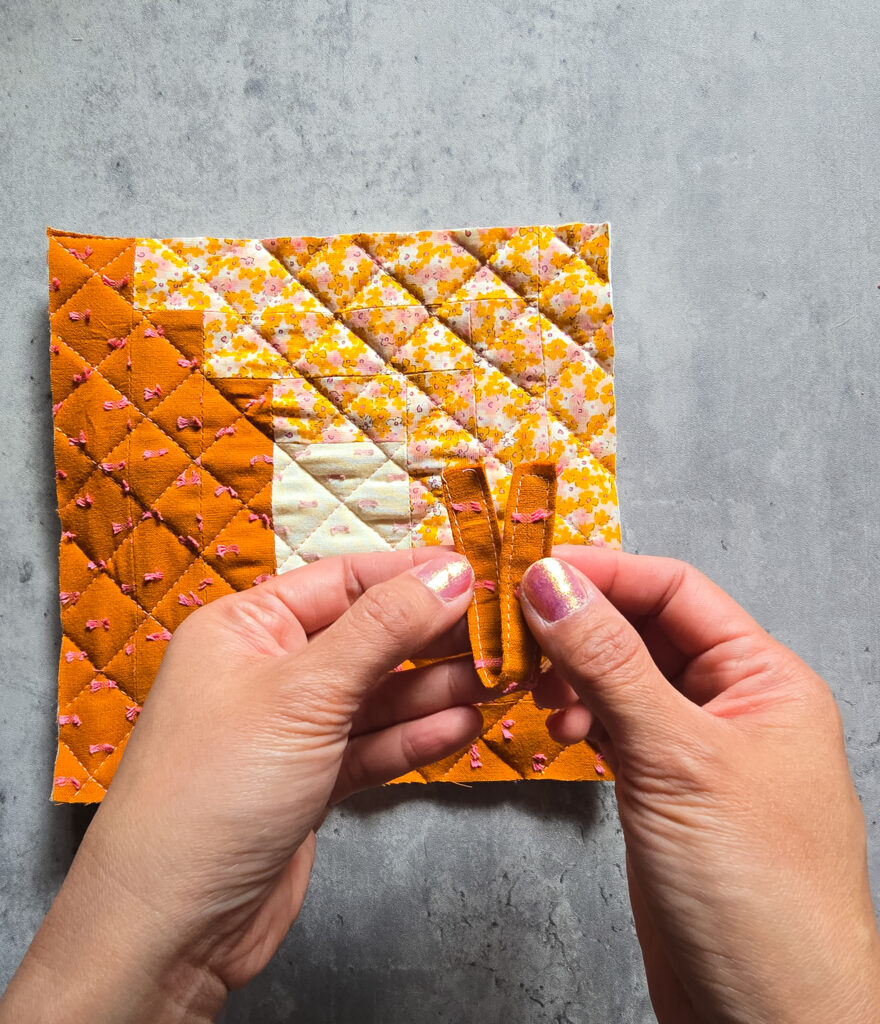
Attach the tab:
Fold the strip in half to make a loop.
Place it at one corner of the hot pad, aligning raw edges.
Baste it in place.
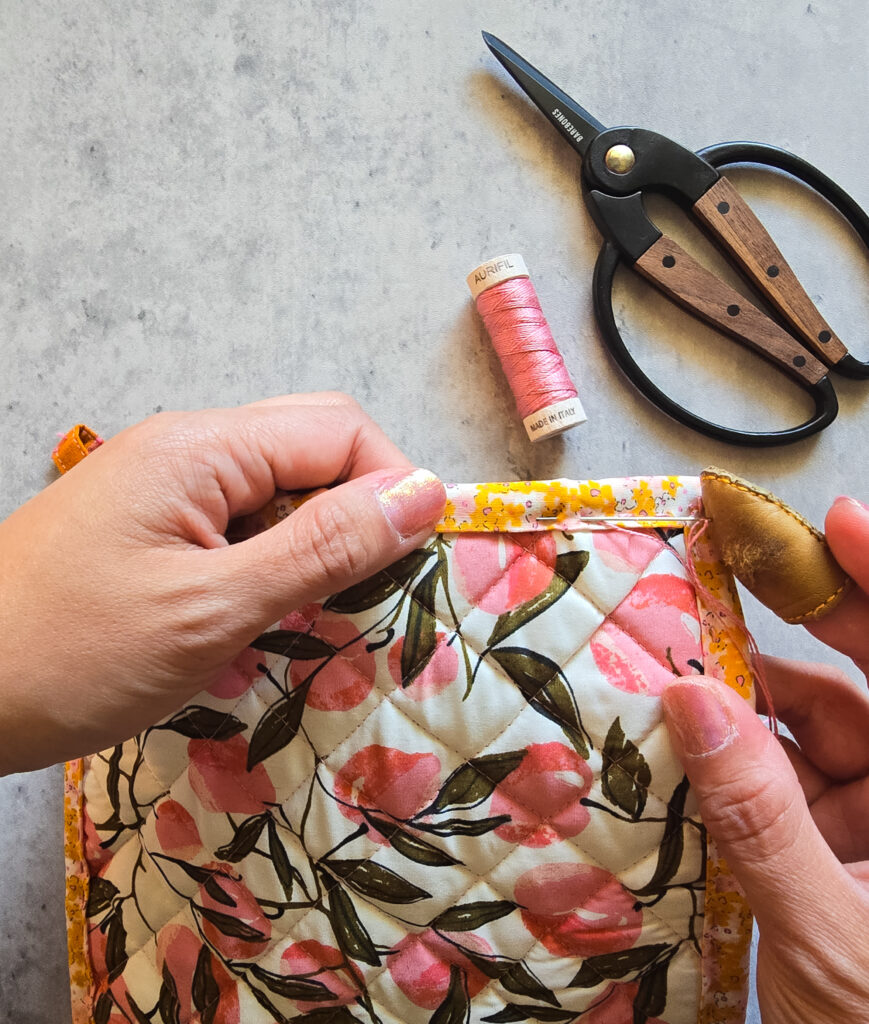
Step 4: Bind the Hot Pad
Attach the binding:
Fold the 2.5” wide binding strip in half lengthwise and press.
Sew the binding to the front, aligning raw edges, and mitering the corners.
Wrap it around to the back and hand-stitch or machine-stitch it in place.
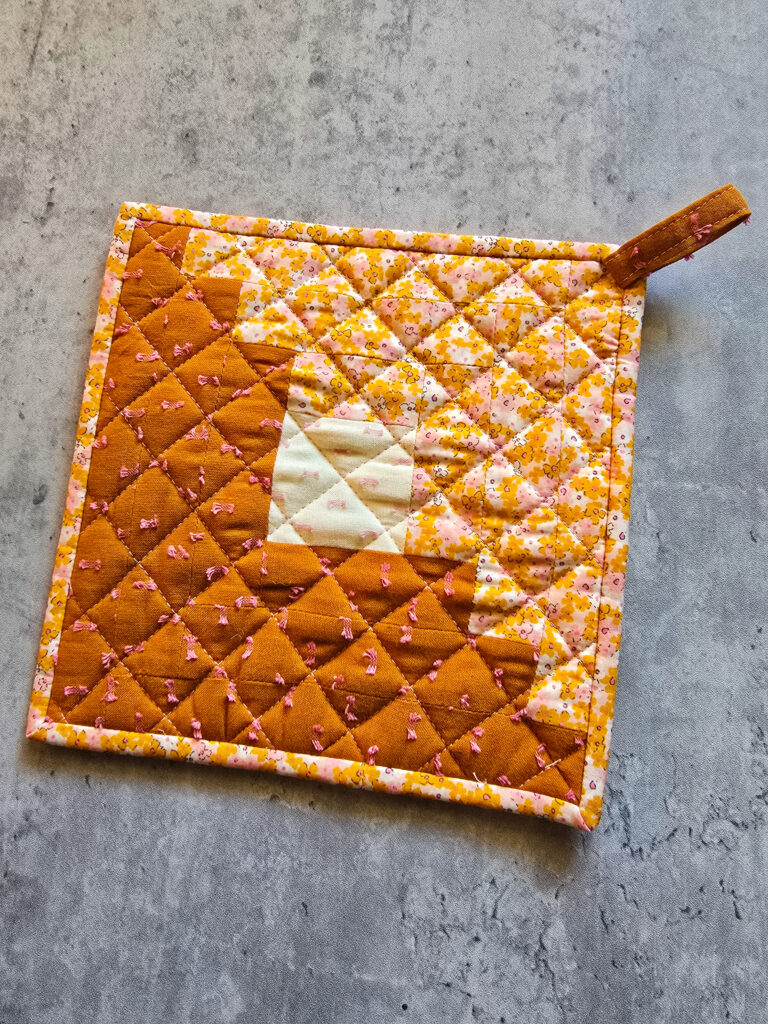
Finish up:
Give your hot pad a final press, and it’s ready to use!
Final Thoughts
This DIY log cabin hot pad is a quick and satisfying sewing project that’s perfect for gifts, craft fairs, or adding a handmade touch to your kitchen. Experiment with different fabric combinations to make it uniquely yours!
Ready to give it a try? Let me know in the comments if you made one!
MORE BLOG POSTS LIKE THIS
If you enjoyed this blog post, you will love these tutorials!