
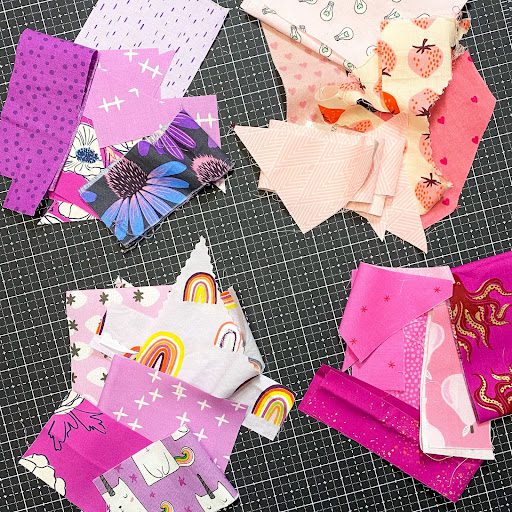
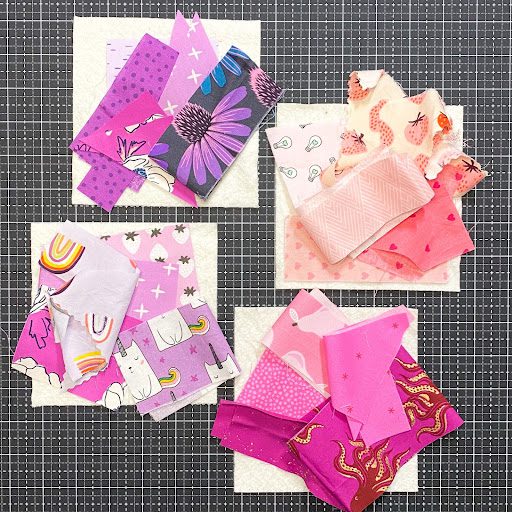
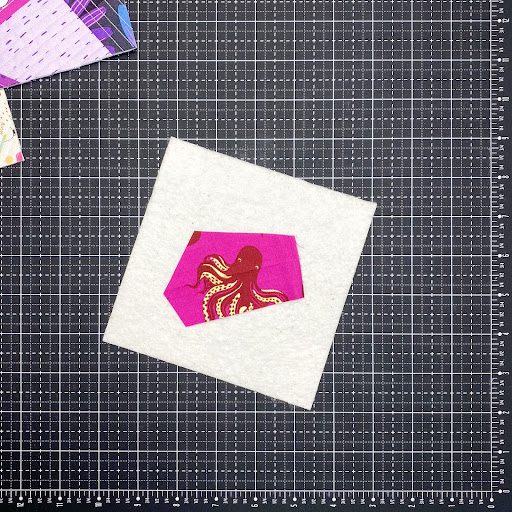
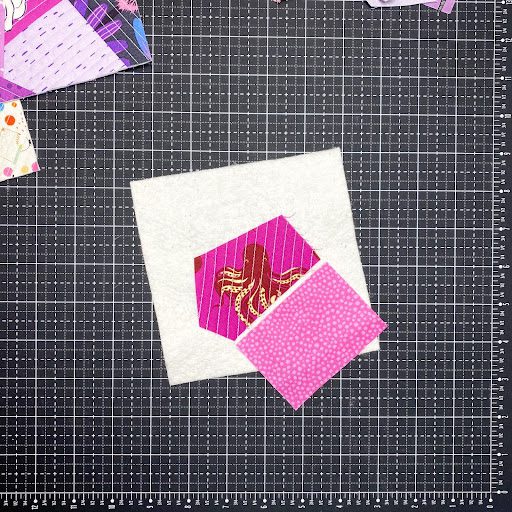
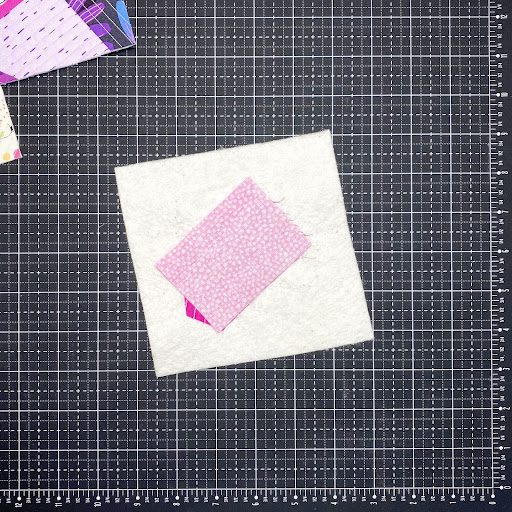
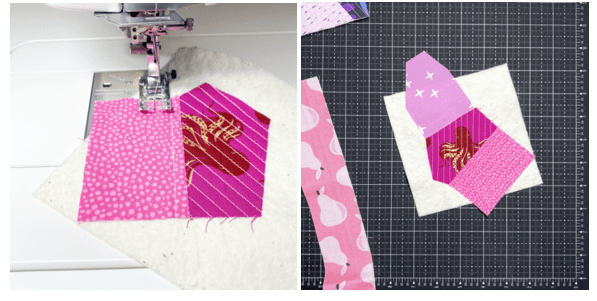
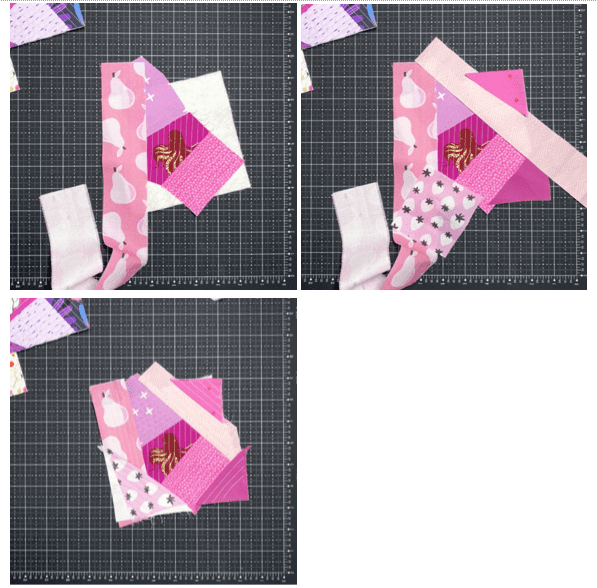
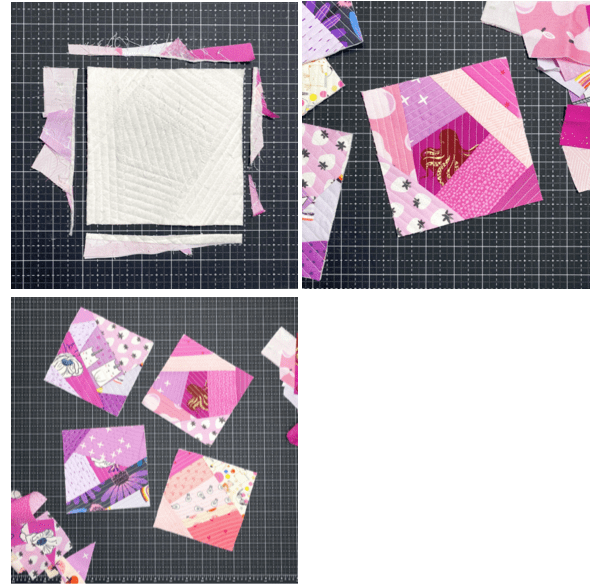
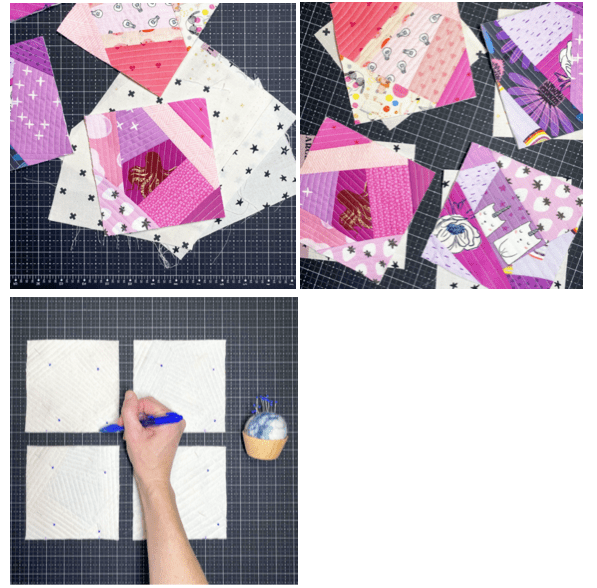
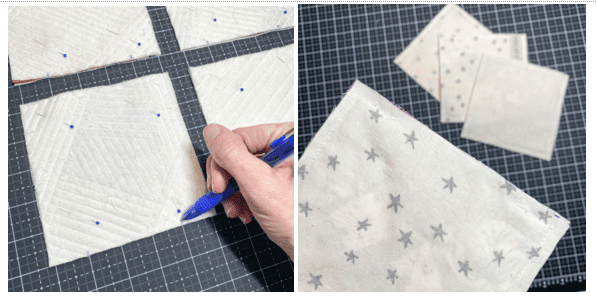
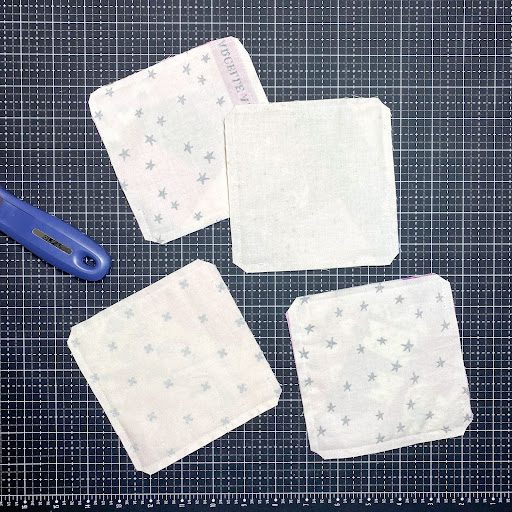
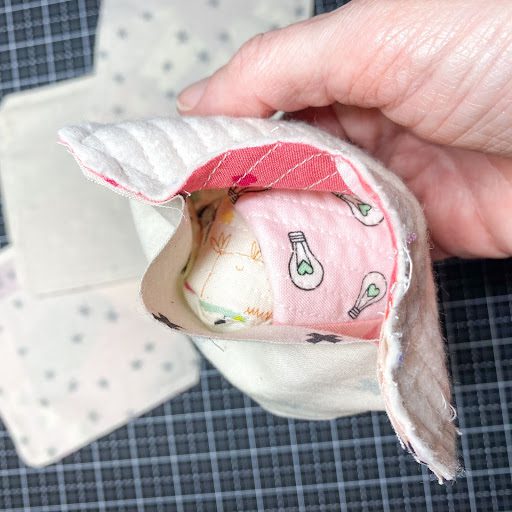
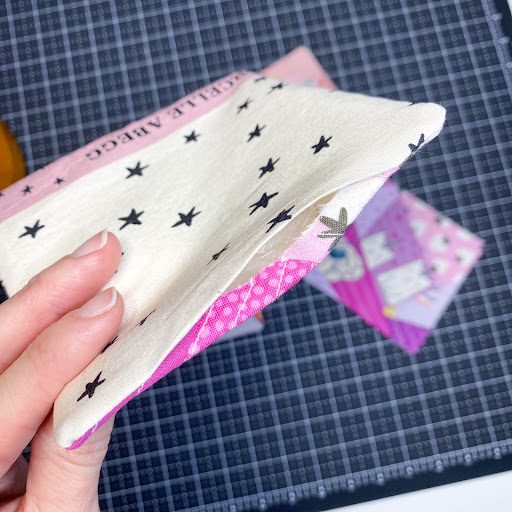
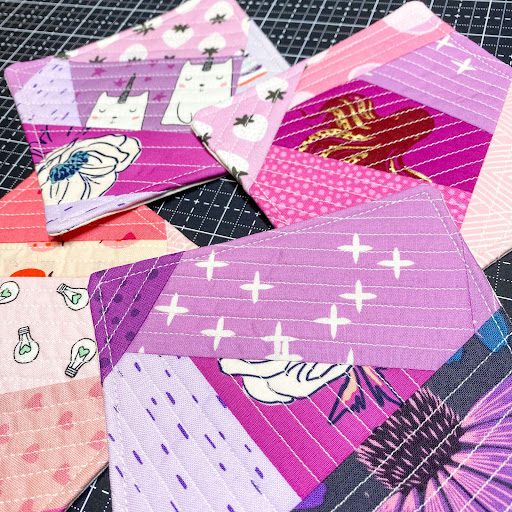
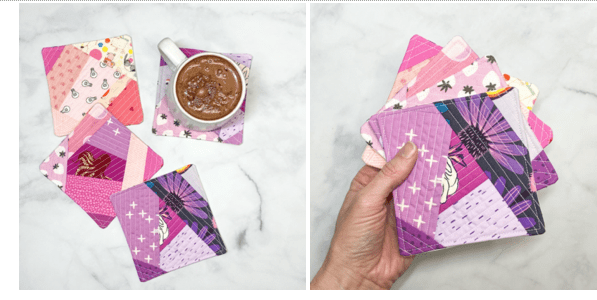
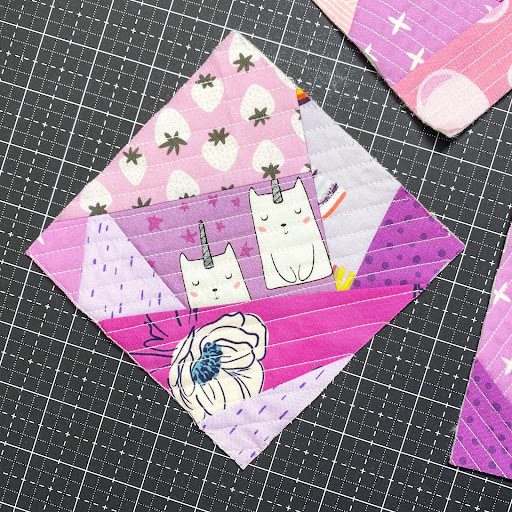
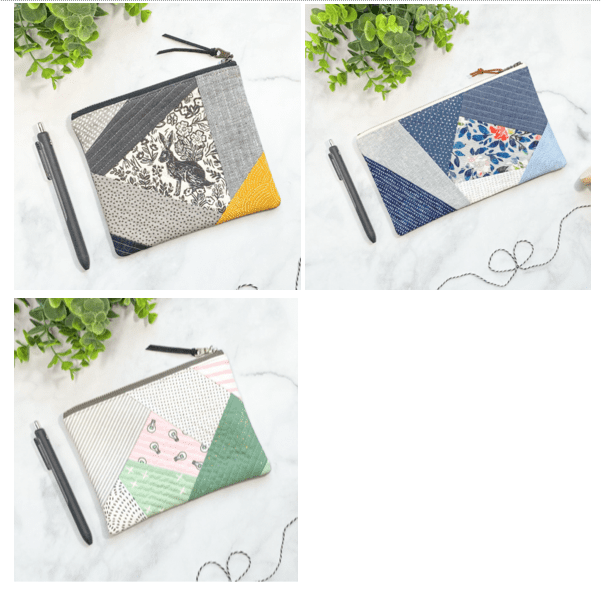
SCRAPPY AND COLORFUL QUILT-AS-YOU-GO COASTERS


SEE THE MOST
RECENT BLOG entries
SCRAPPY AND COLORFUL QUILT-AS-YOU-GO COASTERS

SCRAPPY AND COLORFUL QUILT-AS-YOU-GO COASTERS
SCRAPPY AND COLORFUL QUILT-AS-YOU-GO COASTERS
SCRAPPY AND COLORFUL QUILT-AS-YOU-GO COASTERS
SCRAPPY AND COLORFUL QUILT-AS-YOU-GO COASTERS
SCRAPPY AND COLORFUL QUILT-AS-YOU-GO COASTERS
the latest
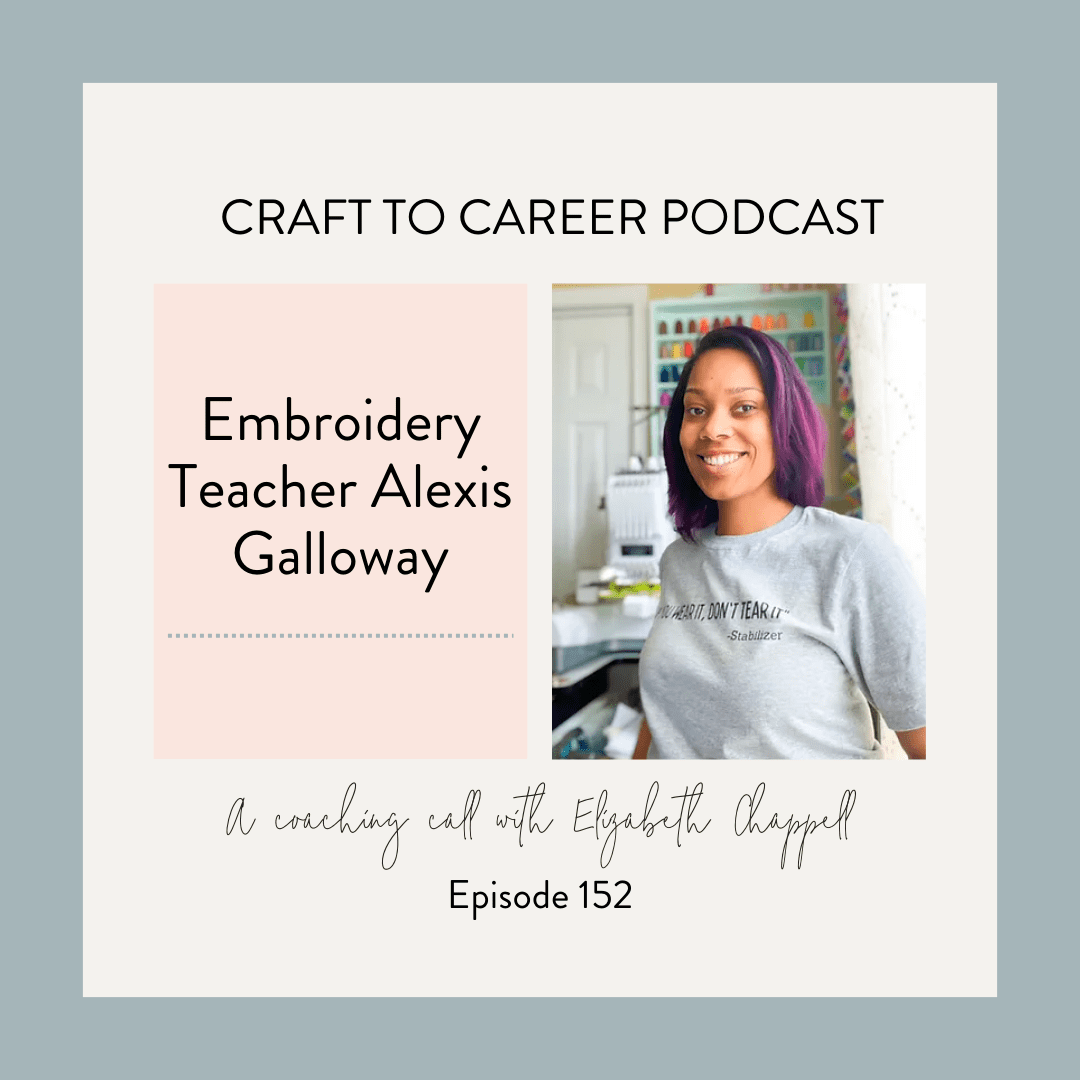
April 19, 2024
Embroidery Teacher Alexis Galloway Join the coaching call with Alexis as we talk about how to add a new course to what she offers. Alexis has been a succssful business woman for years, but is ready to uplevel her business. Alexis teaches people how ot start a business as an embroiderer. She has studied business […]
tune in
tune into the
Craft to Career
Podcast
Each week get insights on how to turn your craft into a successful career. With both guest speakers and tips from myself, you get valuable, free education on the Craft to Career podcast!
or SEARCH THESE
Popular categories
Craft to Career
Digital Downloads
Patterns
Podcast
Quilt Alongs
Quilt Questions
Tutorials


