How to Make a Quilted Tea Cozy with Matching Coasters – Free Template Included!
Elizabeth Chappell
A Cozy, Giftable Project with Scandinavian Charm
Hi! I’m Helene Moe Slinning from Scandiquilts — a Norwegian quilt pattern designer with a soft spot for cute fabrics, ocean views, and vintage Scandinavian tableware. I love creating modern patterns inspired by Norway’s natural beauty and rich craft traditions.
Today, I’m sharing a cheerful quilted tea cozy tutorial that’s as practical as it is adorable. It makes a lovely gift — especially when paired with a set of matching fussy-cut coasters.
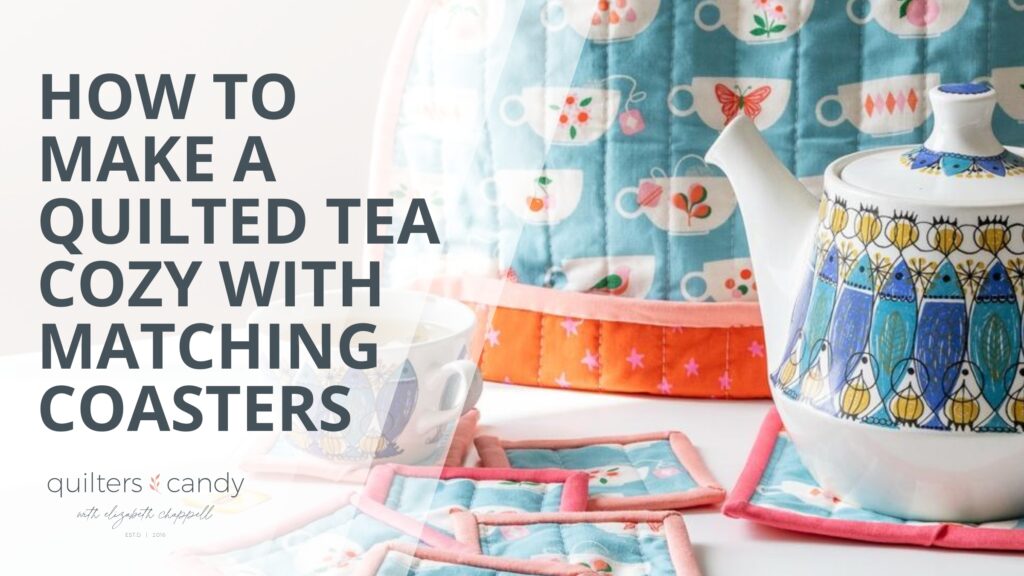
I used the Camellia collection by Ruby Star Society, which gives it a retro-modern vibe, but this is also a perfect project for using up scraps in a patchwork version.
No need to measure your teapot — I’ve made a printable template to make things easy!
Batting or old towels – 2 fat quarter-sized pieces
Binding scraps (or approx. 6 strips, 2½” x WOF)
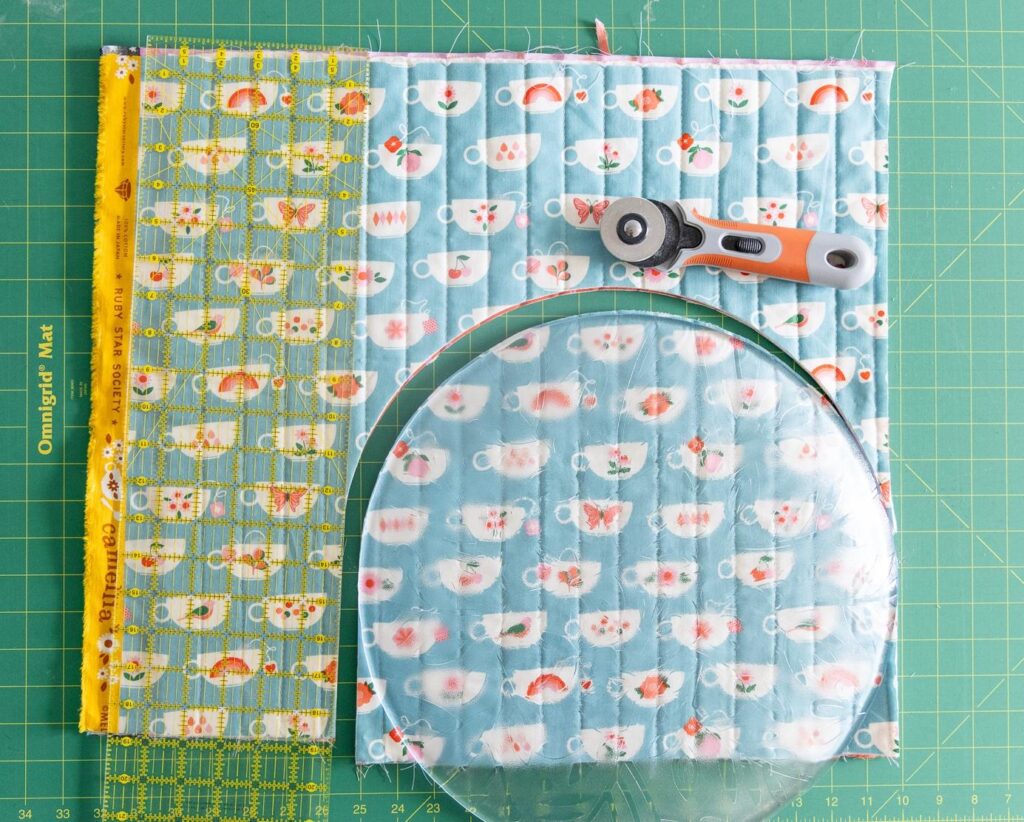
Rotary cutter + cutting mat
Large round platter or printable template
Let’s Sew!
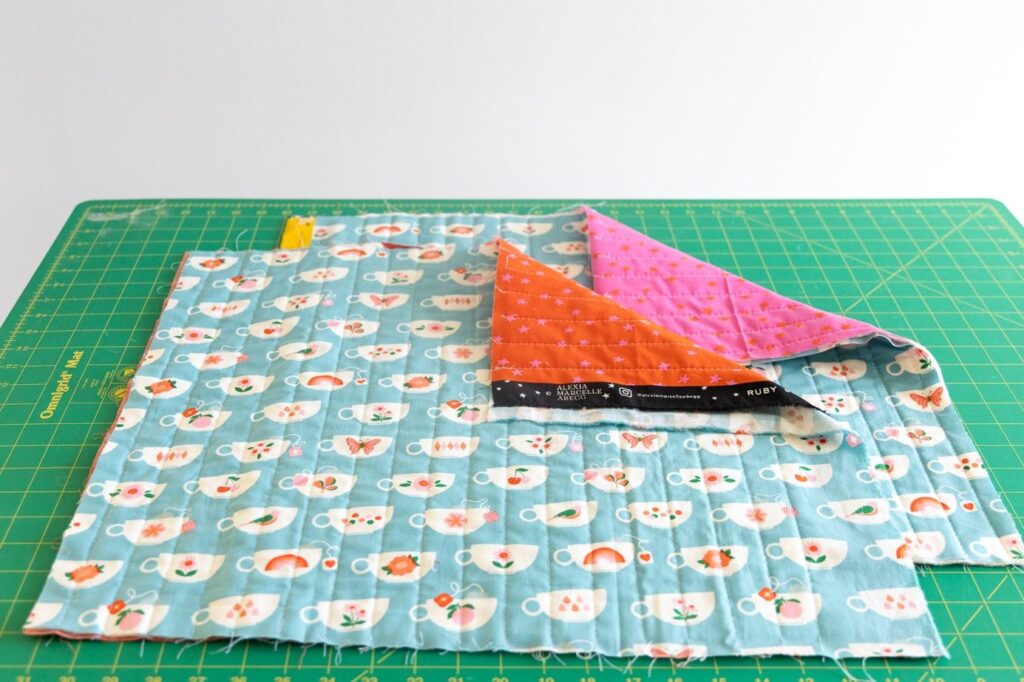
1. Quilt Two Panels
Make two quilt sandwiches:
Lining (wrong side up)
Batting
Outer fabric (right side up)
Quilt however you like — I used straight lines about an inch apart. Do this for both panels. (I chose different linings for a fun surprise inside.)
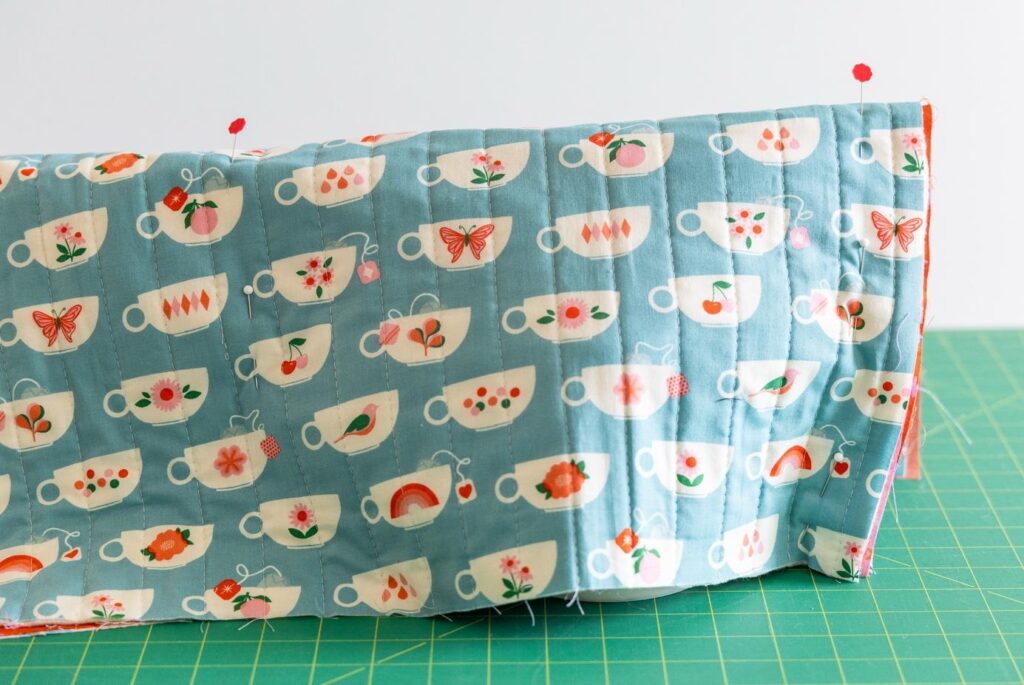
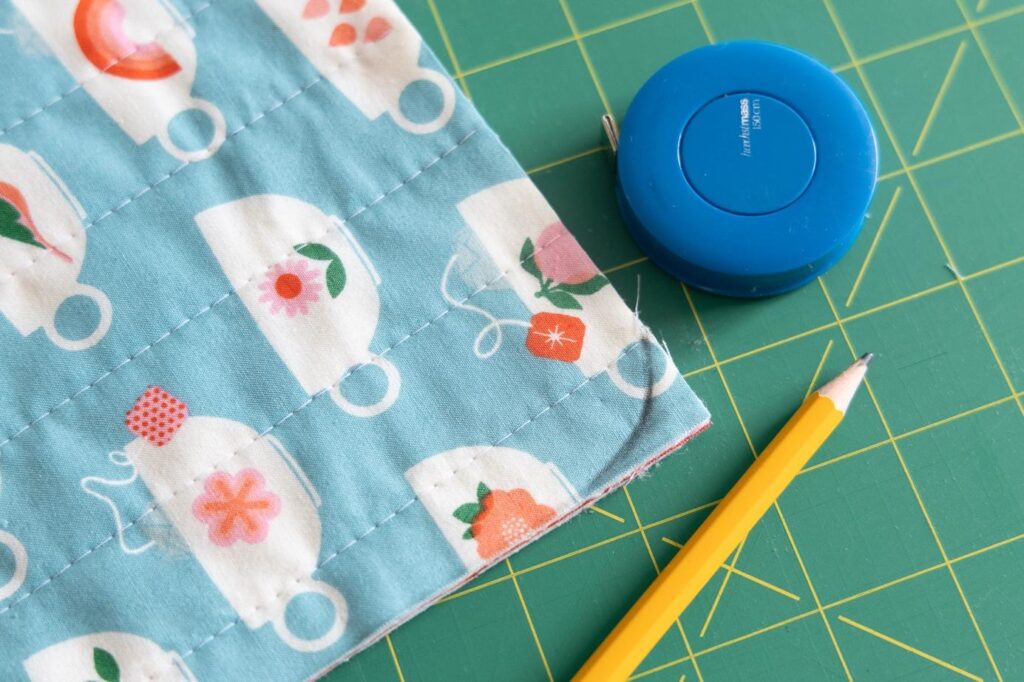
2. Measure for Size
Wrap one panel around your teapot. Add 1–2″ for wiggle room and pin where the sides meet.
Measure the width between pins
Measure the height from bottom to top
These measurements are the basis for your tea cozy shape.
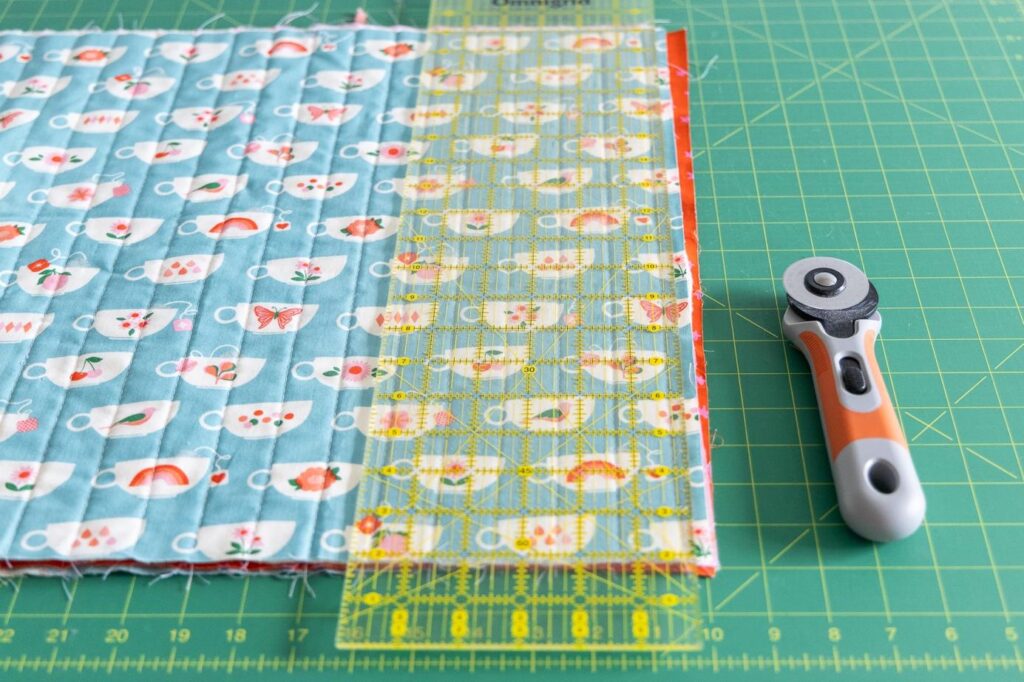
3. Trim and Mark
Lay the quilted panels wrong sides together. Trim bottom and right edges so they’re even.
From the bottom, mark your height + 1½” (to allow for the flap)
From the right, mark the width
4. Shape the Top
Use a round platter (or the printable template) to round off the top. Line it up with your height and width markings and trim. Cut the left side straight.
5. Round the Bottom Corners
Use a small round object (like a roll of tape) to curve the bottom corners. Trim with rotary cutter or scissors.
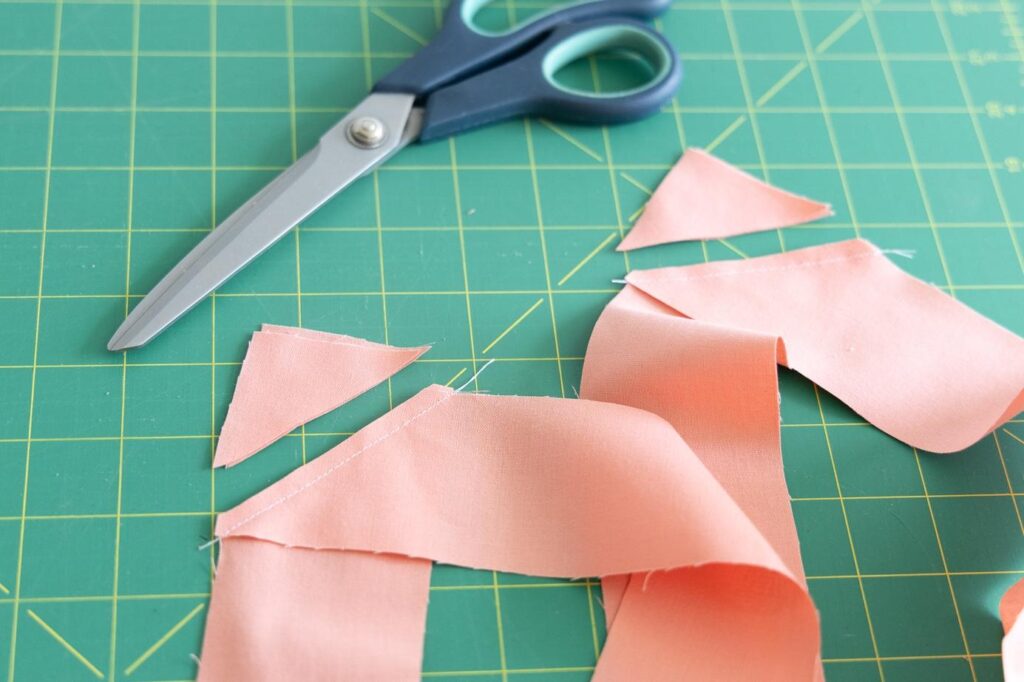
6. Make Your Binding
Cut two 2½” x WOF strips and fold lengthwise. Join if needed. (Here’s a binding tutorial if you need help.)
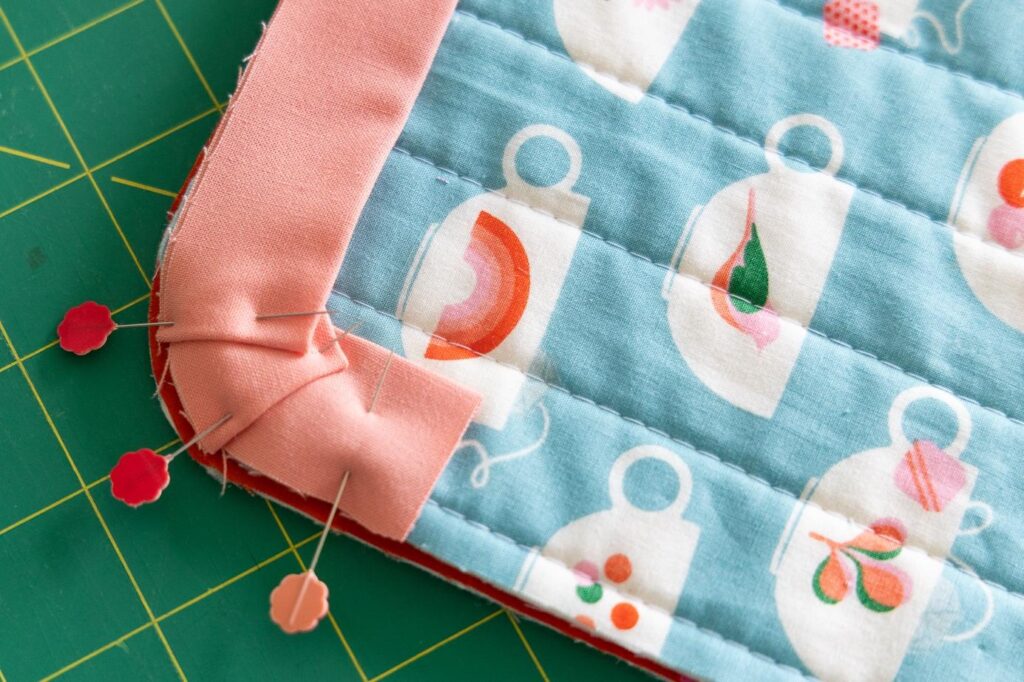
7. Bind Bottom Edge of First Panel
Pin binding to the curved bottom edge. Start and stop a few inches before/after corners. Sew with a ⅜” seam, leaving ends unsewn. Turn to the back and hand stitch in place.
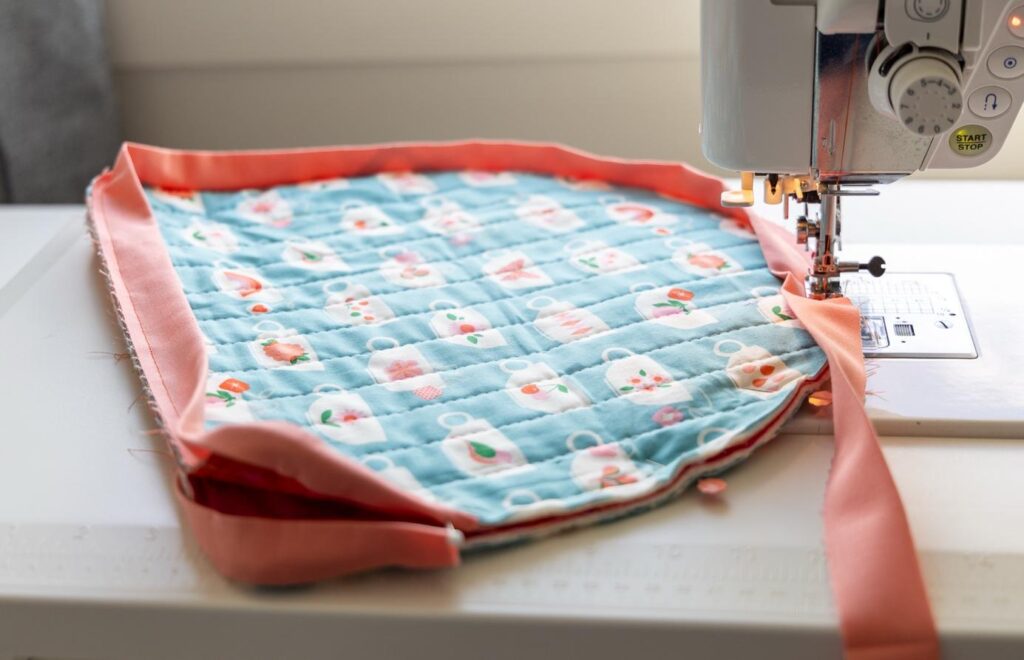
8. Bind Second Panel + Attach
Repeat Step 7, but don’t trim the strip at the end — you’ll use it to join both sides. Layer panels wrong sides together, aligning curves. Pin and continue sewing the binding around the top edge, through all layers. Stop 2″ before the start.
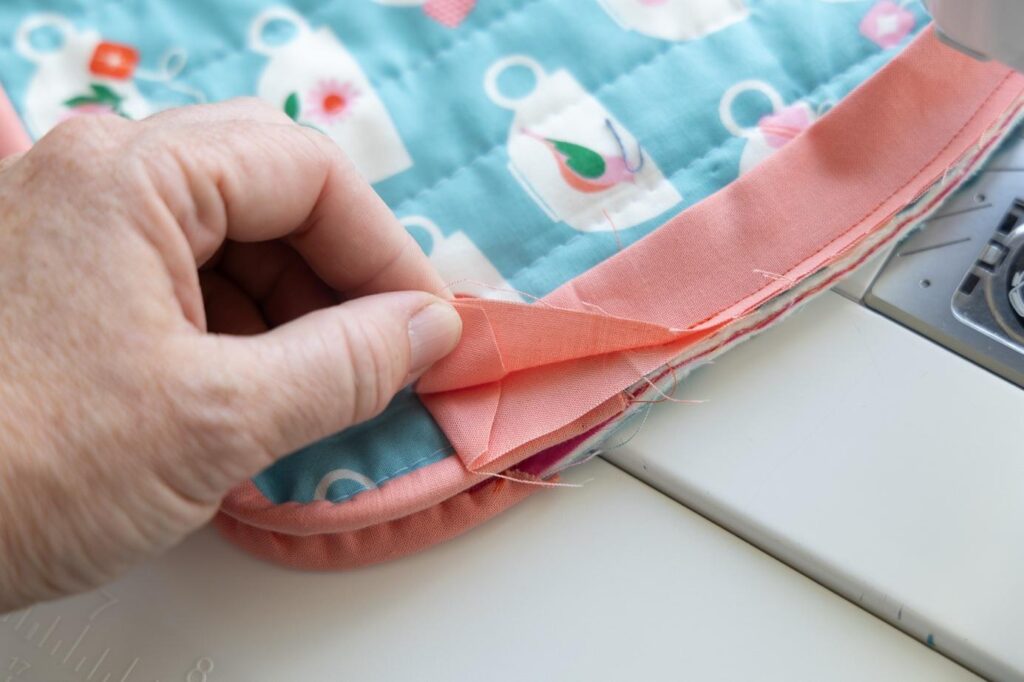
9. Join the Binding
Trim the end with a 1″ overlap, tuck under the raw edge, and finish sewing. Reduce the seam allowance slightly at the end to ease the binding around all layers.
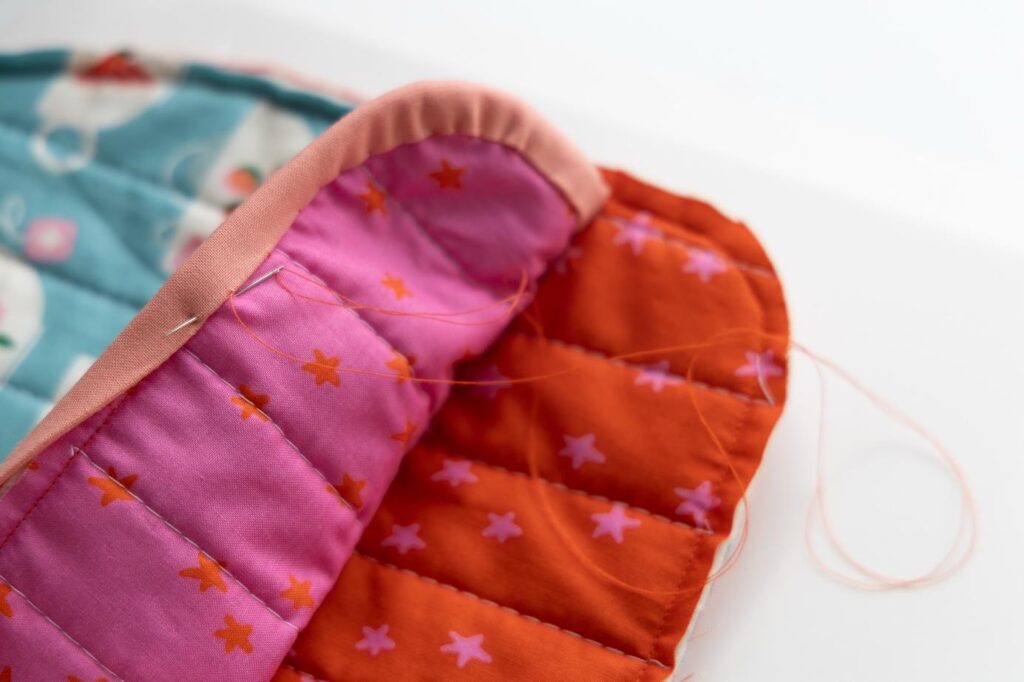
10. Hand Stitch Binding
Turn the binding to the back and hand stitch with your neatest stitches.
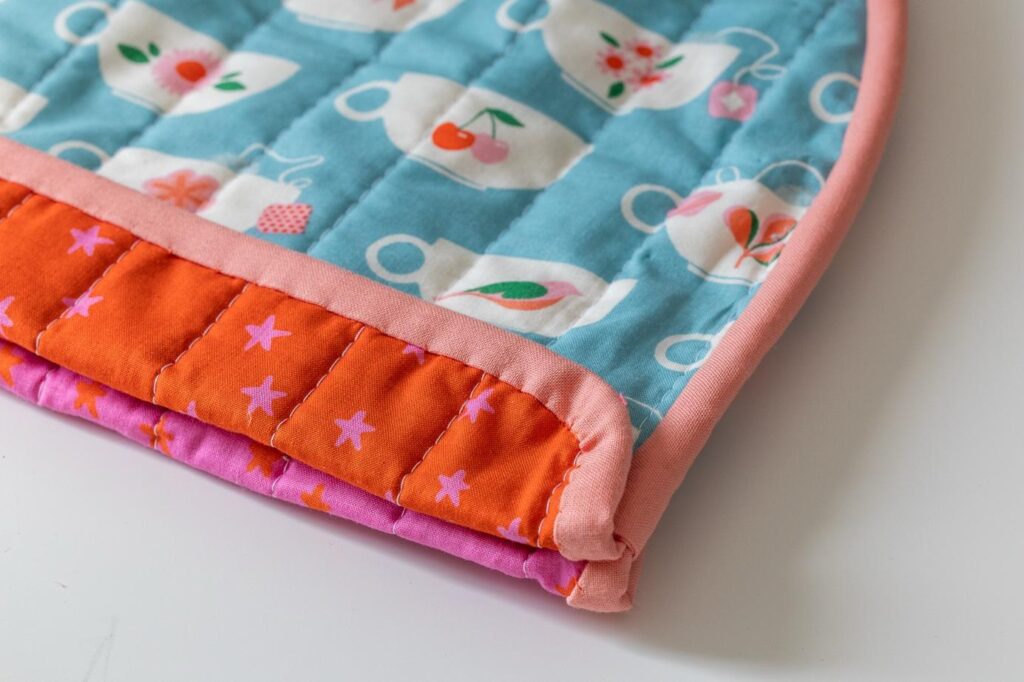
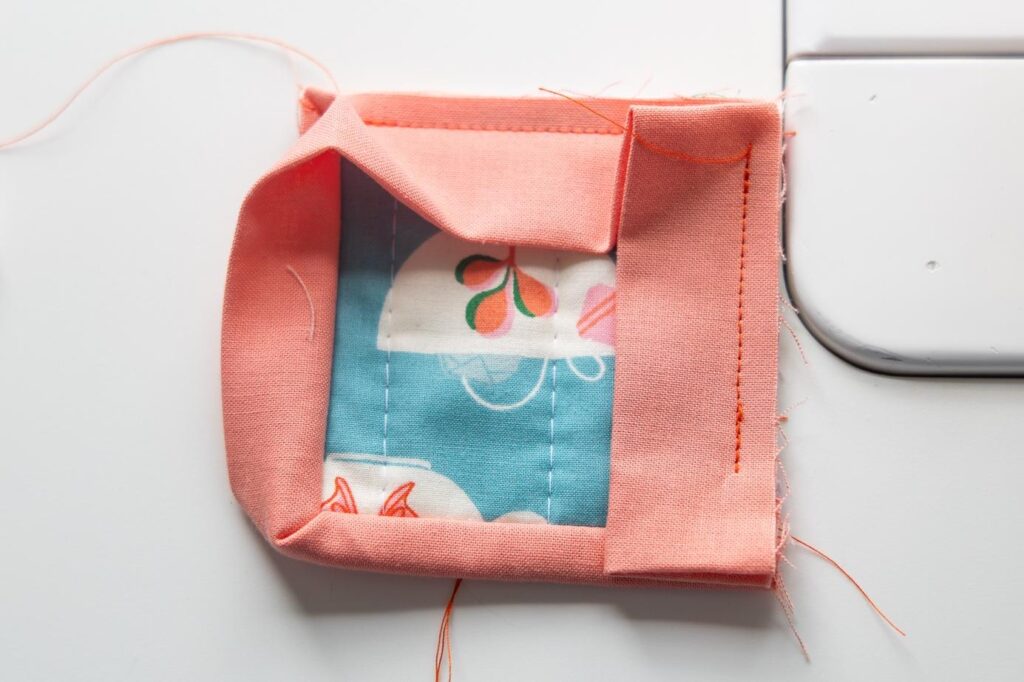
11. Stitch the Flap
Fold up the bottom flap (the extra 1½”) and stitch it to the sides. You can hand or machine sew. (I used a few stitches in case the extra height was needed later.)
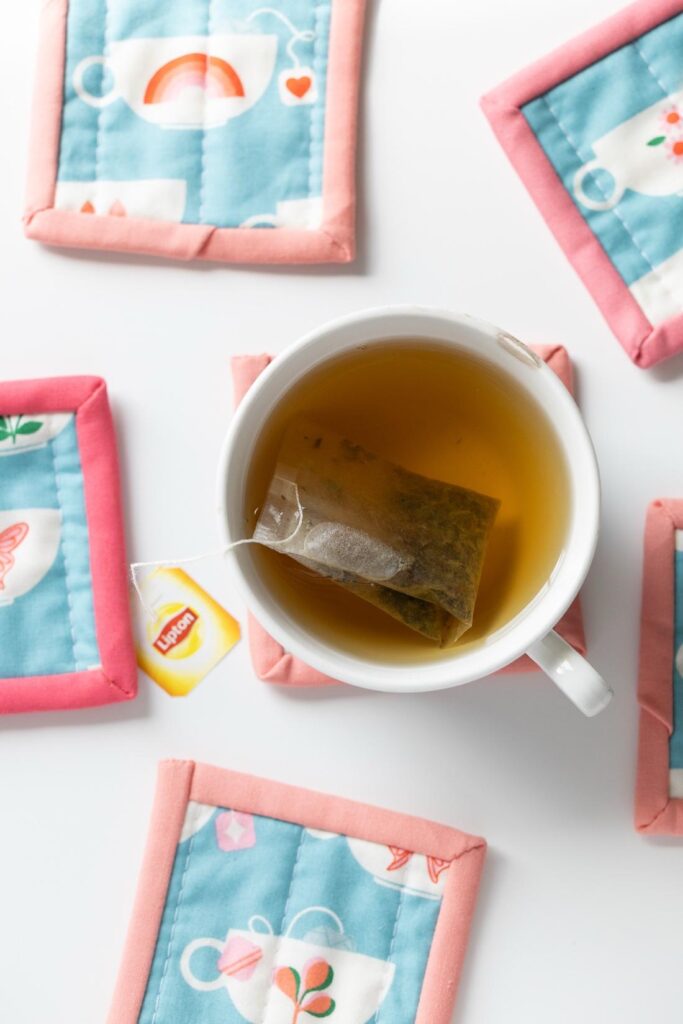
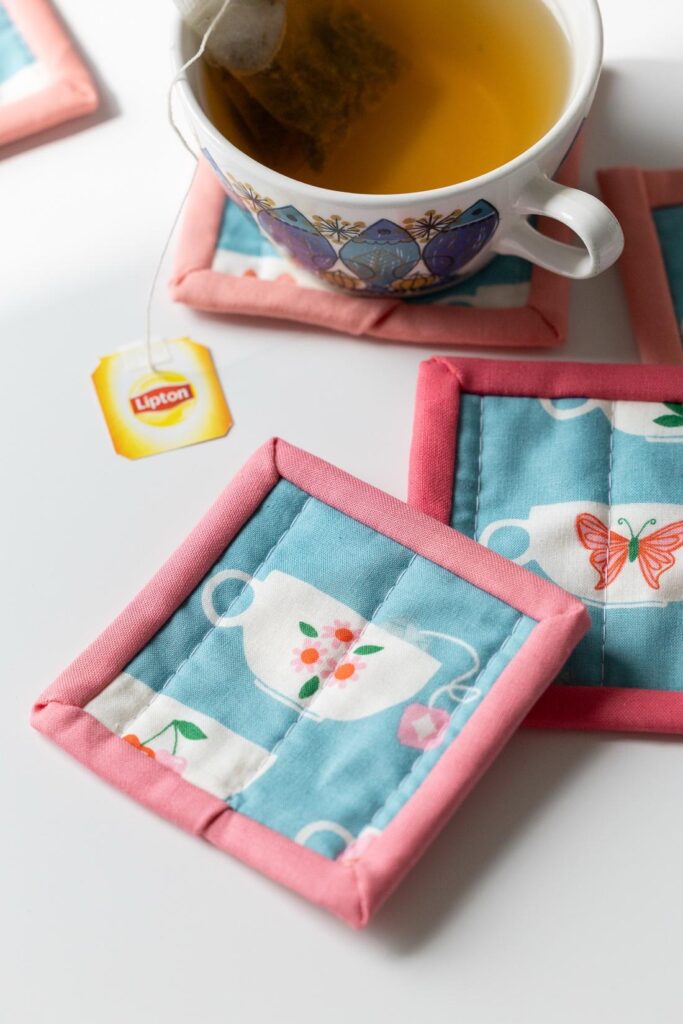
Bonus Project: Matching Coasters
Use your leftover quilted scraps!
Cut 4″ x 4″ squares
Bind like mini quilts
One WOF strip binds two coasters — or raid your stash of binding scraps (you know you’ve got some!).
Want to save time? I’ve made a free printable tea cozy template that fits most medium-sized teapots and includes helpful binding placement marks.
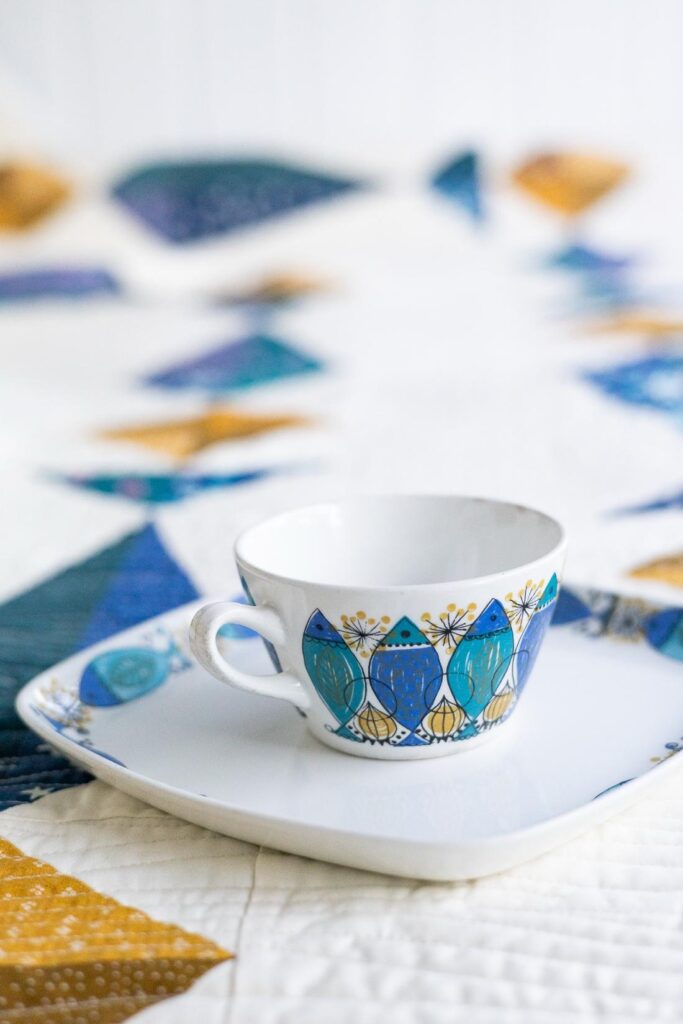
The teacups and teapot in my photos are from the Clupea line, designed in the 1960s by Turi Gramstad Oliver for Figgjo. The flowing fish motif around the rim inspired my newest Scandiquilts pattern, Atlantic Herring.
I hope you had fun stitching up your tea cozy — or dreaming about the fabrics you’ll use! Tag me @scandiquilts if you share your creation — I’d love to see it warming your teapot.
And if you’d like more Scandinavian quilting inspiration, sign up for my newsletter — I’d love to have you along.
Takk for meg! 💙 (That’s Norwegian for “thanks for having me.”)
– Helene
MORE BLOG POSTS LIKE THIS
If you enjoyed this blog post, you will love these tutorials!